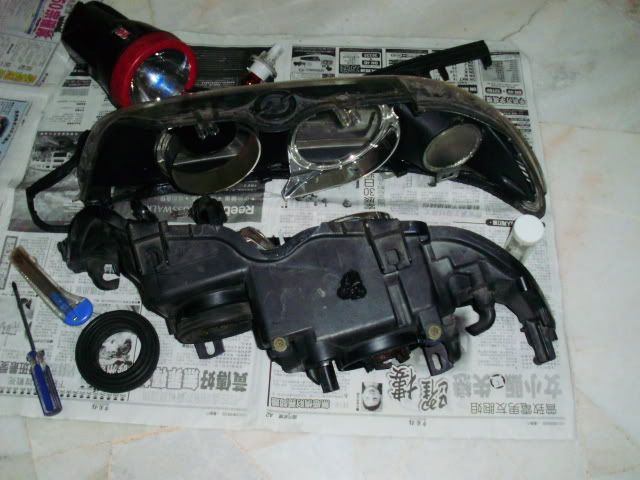
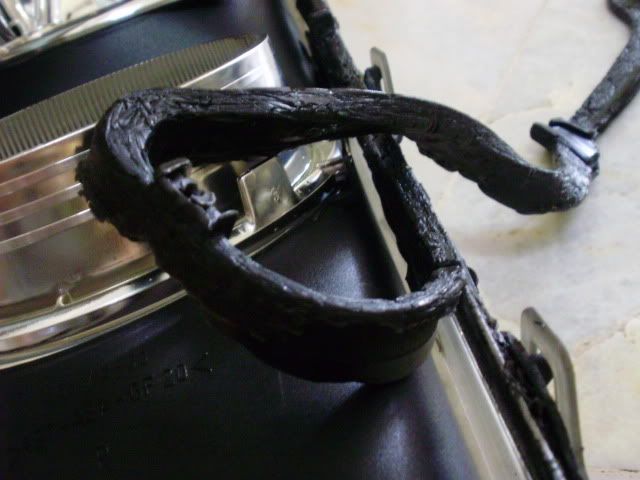
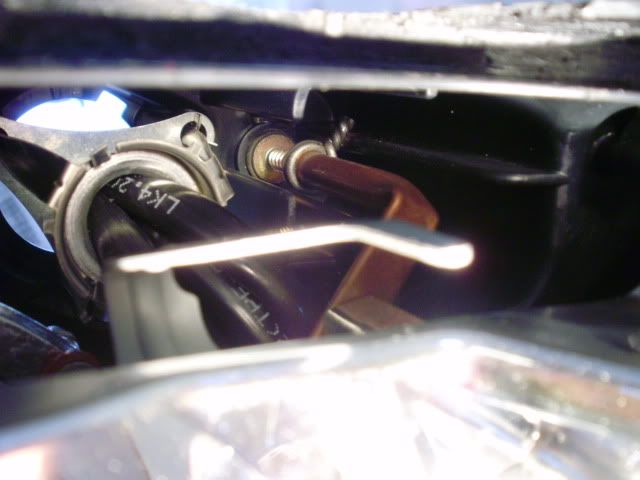
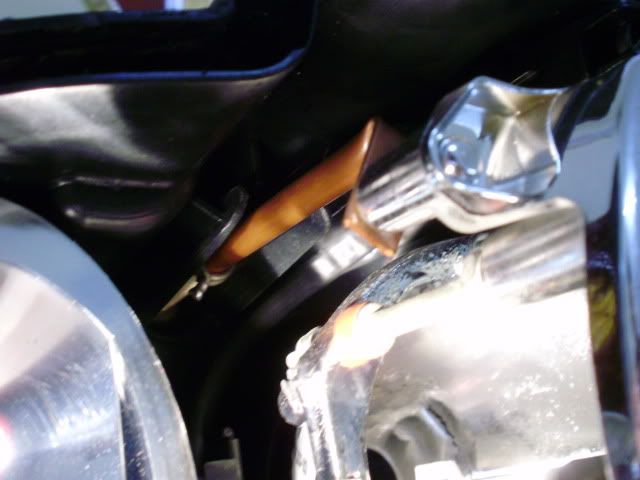
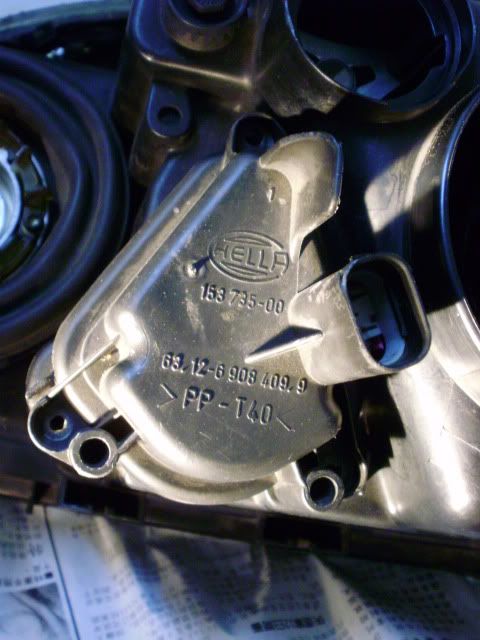
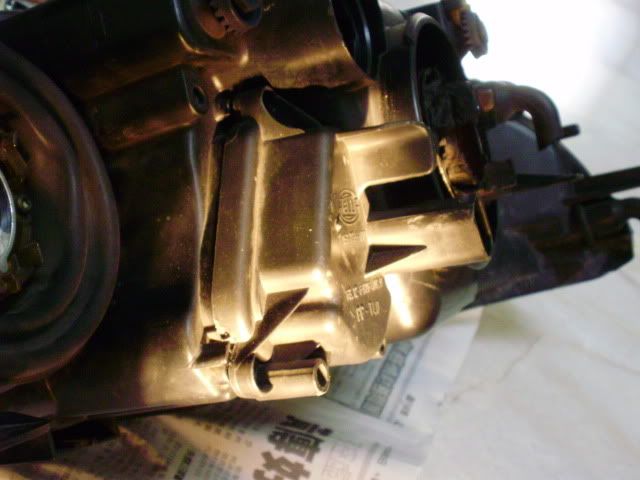
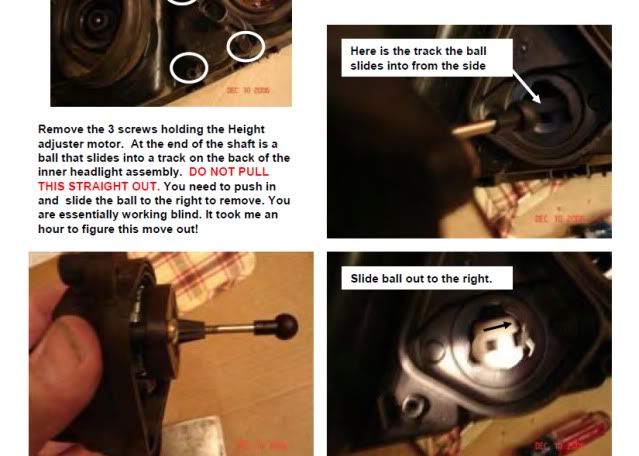
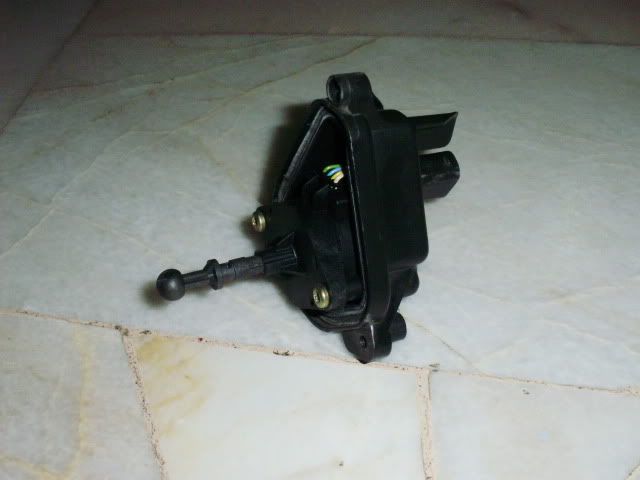
Guys, I have done both the pre-facelift and facelifted xenon hella lights. (Bought new facelift light with broken adjusters, replaced the adjusters, and also replace the existing old pre-facelift adjuster before selling it). Pre-facelift is dead easy compared to the facelifted one. As bro Jarance have posted the facelifted version DIY manual, here I present the pre-facelift DIY manual for you guys:
http://www.bmwtips.com/tipsntricks/headlightadjustment/Adjustment-fix.htm
Bro bmw7833, you dont need a big oven, enough if you can put in one side, keep the oven door open, and when hot enough pry one side out. Then put it back in the oven for the other side and continue. I have done that with my small oven. Tried hairdryer but too slow process.
Any question let me know. Hope this helps