e34_lover's E36 M3 Evo
- Thread starter maxxsp
- Start date
-
Click here to become an Official Member of BMW Club Malaysia Download Form
You are using an out of date browser. It may not display this or other websites correctly.
You should upgrade or use an alternative browser.
You should upgrade or use an alternative browser.
e34_lover
Club Guest
- Joined
- Feb 19, 2009
- Messages
- 107
- Points
- 0
armmar;758513 said:pergh very meticulous person there!!!
Having spent so many years detailing, I am extremely anal about everything. It has to be done properly otherwise it won't be done at all!
initialM
Official Member
- Joined
- Jan 30, 2006
- Messages
- 8,593
- Points
- 63
e34_lover;758519 said:Having spent so many years detailing, I am extremely anal about everything. It has to be done properly otherwise it won't be done at all!
:top::top::top::rock::rock::rock::adore::adore::adore::77::77::77:
e34_lover
Club Guest
- Joined
- Feb 19, 2009
- Messages
- 107
- Points
- 0
Been lagging with my updates..
New sparkplugs

New O2 sensors

These are so expensive.... I never ever want to have to buy them again.....
I never noticed that I hardly have finished pics lol.... I guess I just get too tired after I finish fitting the parts on... Not so fun working to 12-1 in the morning..........
New sparkplugs

New O2 sensors

These are so expensive.... I never ever want to have to buy them again.....
I never noticed that I hardly have finished pics lol.... I guess I just get too tired after I finish fitting the parts on... Not so fun working to 12-1 in the morning..........
e34_lover
Club Guest
- Joined
- Feb 19, 2009
- Messages
- 107
- Points
- 0
Hey everyone,
Been extremely lazy with updates lol....
Car was put back together and it runs great!
Alternator issue has been kind of solved. It still pulses sometimes so I will try to get to the bottom of that issue.
New O2 sensors and sparkplugs have given the car a new life. So much more power now. I always felt that the car felt sluggish because it was running rich. The leak in the headers played a part in the car running rich as well because air was being drawn into the headers giving the O2 sensors false readings.
Clunk from the steering giubo going over bumps has now been fixed. Steering is as tight as ever!
Forgot to upload these pics.
New front control arms, bushings, rear trailing arm bushings and Vorshlag RTAB limiters

Header to midpipe gaskets.

Will take finished pics of my engine bay when my current fixes have been finished.
While working on my headers, my arm was rubbing against the windscreen washer fluid reservoir and it started leaking.
Had a look inside and found that this piece of rubber was rotten and falling apart.

The small piece on the left is a magnet from the reservoir level sensor.


Was all rusted so I decided to sand and paint it.
Cleaned and painted, new rubber plug


No more leak!
Been extremely lazy with updates lol....
Car was put back together and it runs great!
Alternator issue has been kind of solved. It still pulses sometimes so I will try to get to the bottom of that issue.
New O2 sensors and sparkplugs have given the car a new life. So much more power now. I always felt that the car felt sluggish because it was running rich. The leak in the headers played a part in the car running rich as well because air was being drawn into the headers giving the O2 sensors false readings.
Clunk from the steering giubo going over bumps has now been fixed. Steering is as tight as ever!
Forgot to upload these pics.
New front control arms, bushings, rear trailing arm bushings and Vorshlag RTAB limiters

Header to midpipe gaskets.

Will take finished pics of my engine bay when my current fixes have been finished.
While working on my headers, my arm was rubbing against the windscreen washer fluid reservoir and it started leaking.
Had a look inside and found that this piece of rubber was rotten and falling apart.

The small piece on the left is a magnet from the reservoir level sensor.


Was all rusted so I decided to sand and paint it.
Cleaned and painted, new rubber plug


No more leak!
e34_lover
Club Guest
- Joined
- Feb 19, 2009
- Messages
- 107
- Points
- 0
Removed my Injectors to service them. They were also sent for ultrasonic cleaning.


I have a feeling that these are OEM and not original ones. No BMW markings on them and the pintle caps are not the BMW finned type. Not really sure what happened to the original injectors.

Paint on the injectors looking shoddy

Stripped them

Removed the pintles, spacers and o-rings. New lower o-ring and spacer pictured

New VS old filter

Painted, o-rings, spacers and pintle cap installed


Testing the resistance on all the injectors. All of them were in spec. Could not get a picture of me testing them lol

Injector air pipe removed

Some sort of build-up on the inside and outside of the air pipe. Not really sure why there should be so much build-up


Water after soaking the air pipe and bits connected to it

Cleaning

Cleaned on the right, polished on the left

All clean inside

 .
.


I have a feeling that these are OEM and not original ones. No BMW markings on them and the pintle caps are not the BMW finned type. Not really sure what happened to the original injectors.

Paint on the injectors looking shoddy

Stripped them

Removed the pintles, spacers and o-rings. New lower o-ring and spacer pictured

New VS old filter

Painted, o-rings, spacers and pintle cap installed


Testing the resistance on all the injectors. All of them were in spec. Could not get a picture of me testing them lol

Injector air pipe removed

Some sort of build-up on the inside and outside of the air pipe. Not really sure why there should be so much build-up


Water after soaking the air pipe and bits connected to it

Cleaning

Cleaned on the right, polished on the left

All clean inside

 .
.
e34_lover
Club Guest
- Joined
- Feb 19, 2009
- Messages
- 107
- Points
- 0
initialM;768210 said:Walauweh so detail one. Can do for my kanchill ka?
Haha sure!
e34_lover
Club Guest
- Joined
- Feb 19, 2009
- Messages
- 107
- Points
- 0
556129;774551 said:Just amazing is all I can say for the work u hv done. What kind of mileage does it hv and did u get it off a dealer in ttdi called Peter 2 yrs ago
Sorry for the late reply lol, been really busy.
Thanks for the kind comments! It has about 90k miles right now. Nah, I bought it off Kenny from Johor. I think the car you are referring to is owned by another member here.
e34_lover
Club Guest
- Joined
- Feb 19, 2009
- Messages
- 107
- Points
- 0
Lol, my flickr account is full... Have to use photobucket instead of upgrading to pro.
Anyways, been busy with a projector retrofit project.
Lighting on my M3 has always been crap and I wanted to do something about it. Instead of the typical "stick some rebased HID bulbs onto H1's etc", I decided to undertake the more difficult route that would yield better results. The problem with installing rebased HID's is that the projector was never designed for it. The reflection of light would be all over the place because the HID bulbs are way longer.
I went for OEM 4300K's because I am after a more original look than fake 10000000000000K HIDS that put out less light than 4300K's.
Got my parts from theretrofitsource.com in the US.
I never really planned for a DIY so there aren't that many pics.
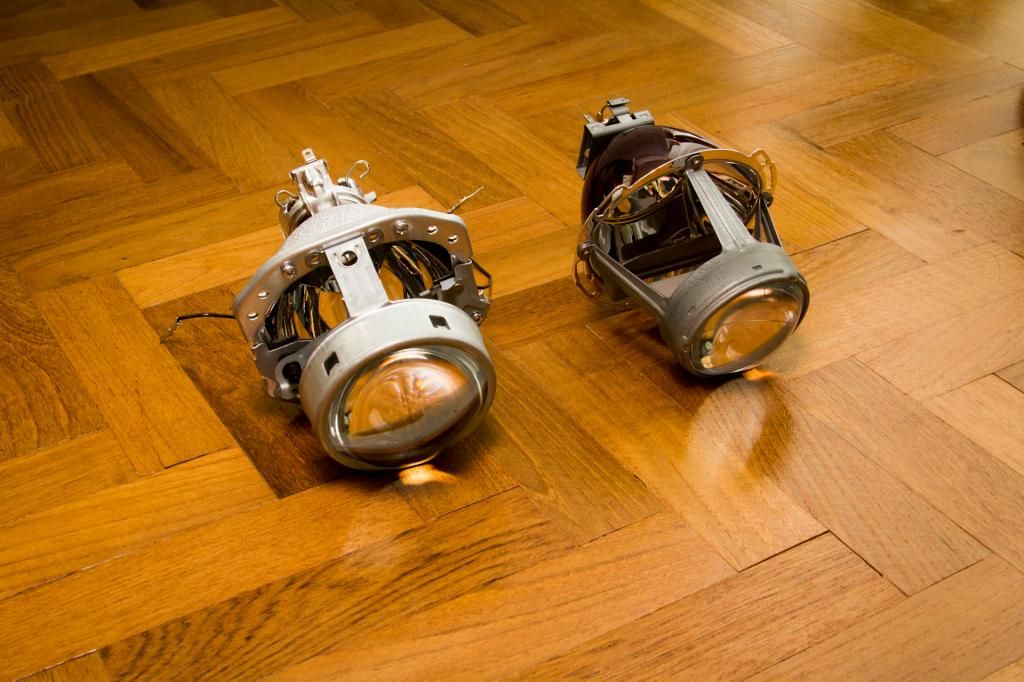
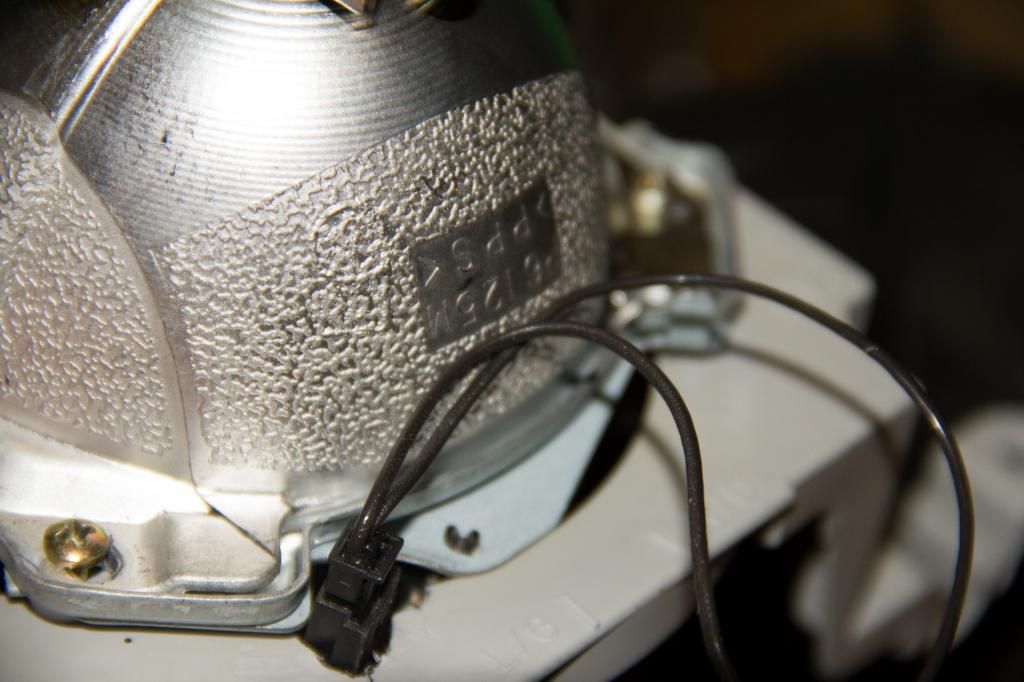
New EVOX-R's next to the original BOSCH ones.
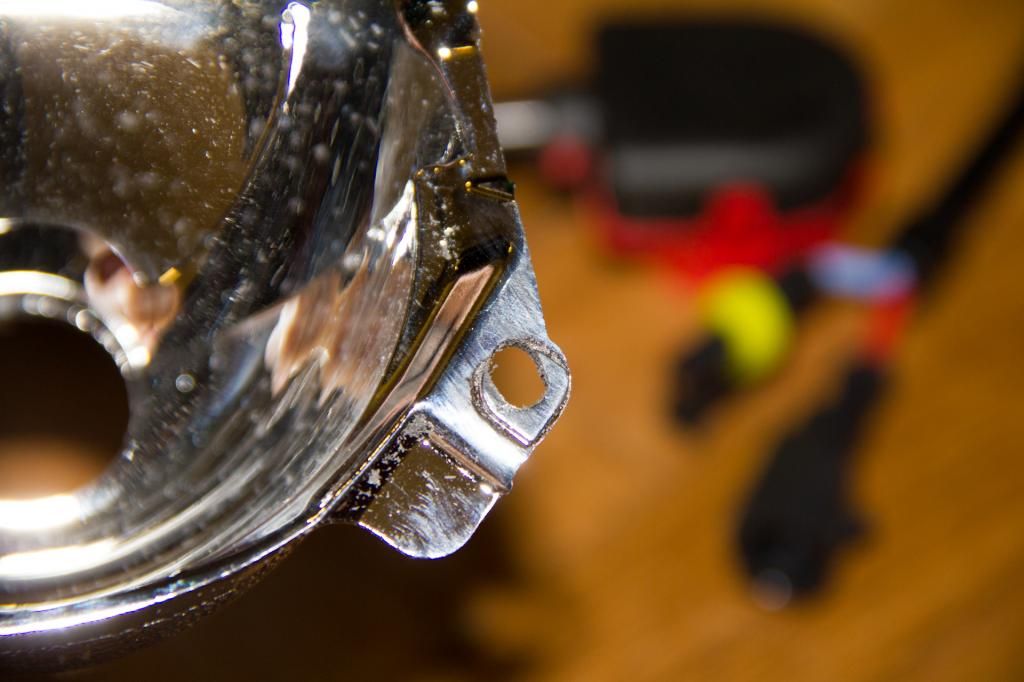
Doesn't fit...
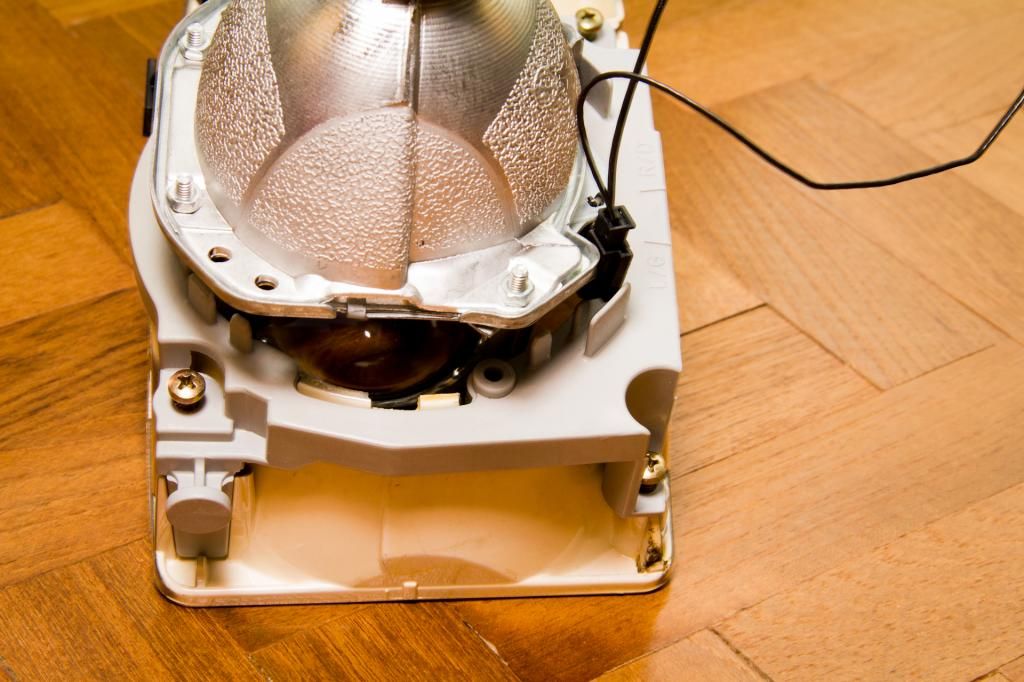
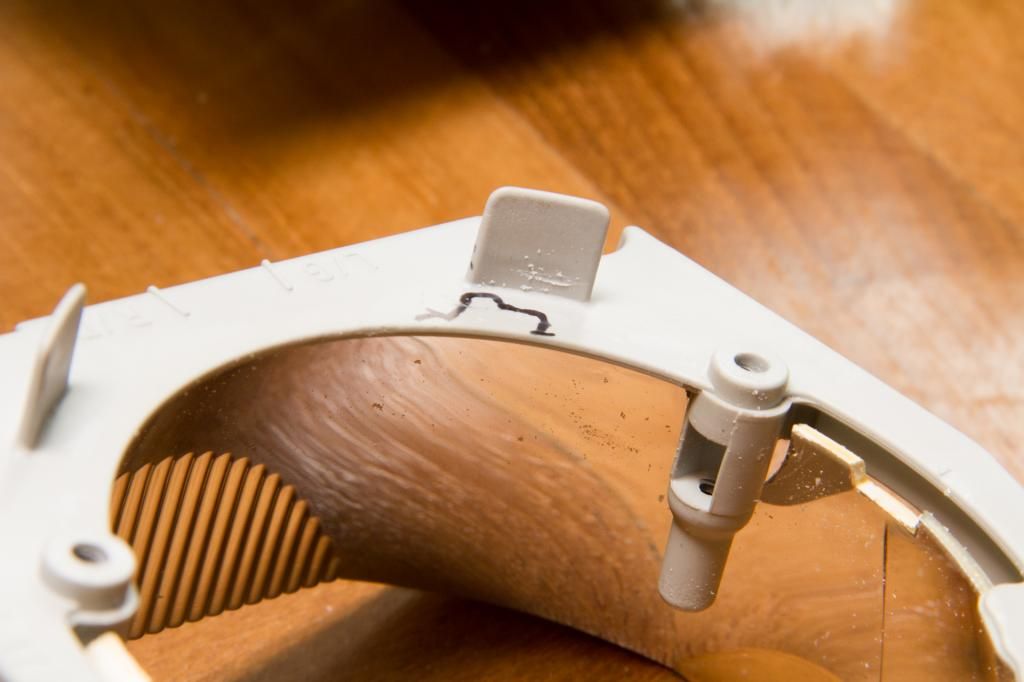
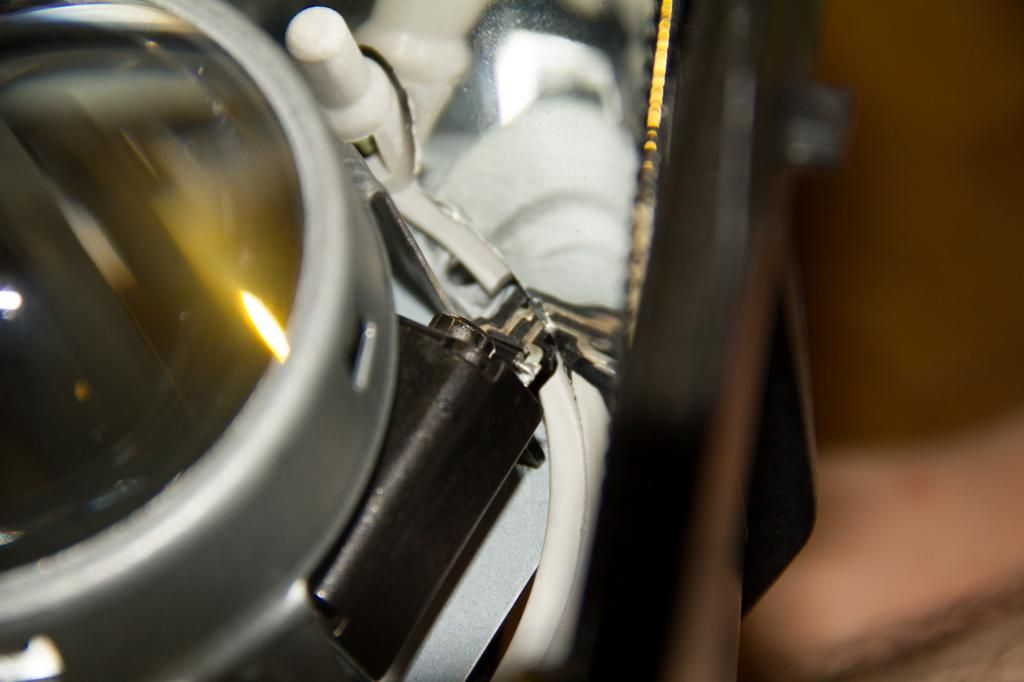
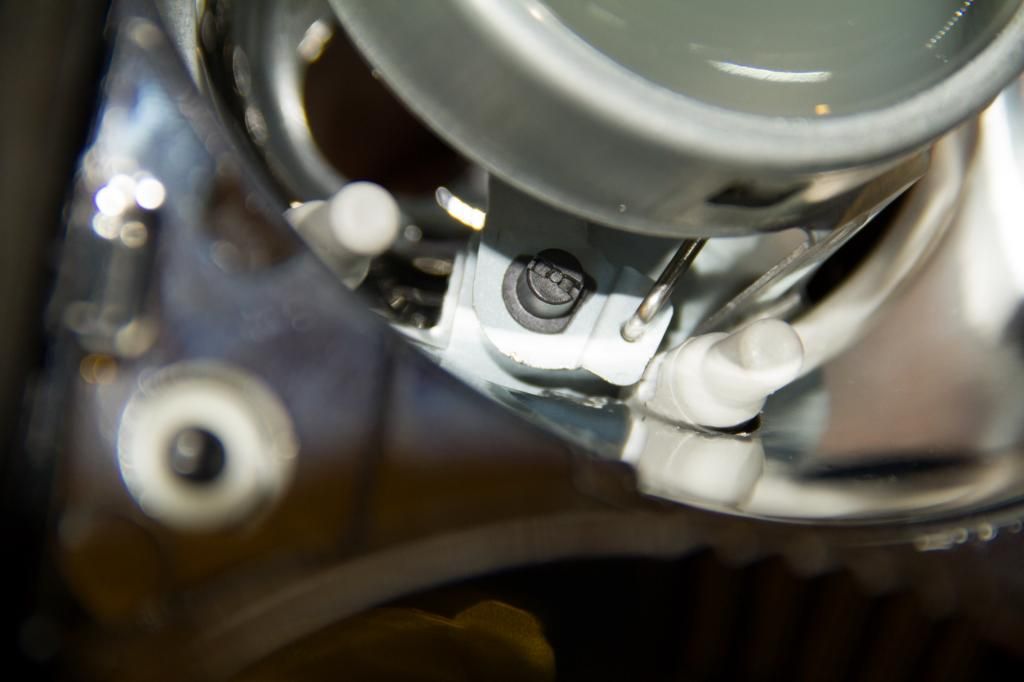
Requires some cutting of the original mounting points.
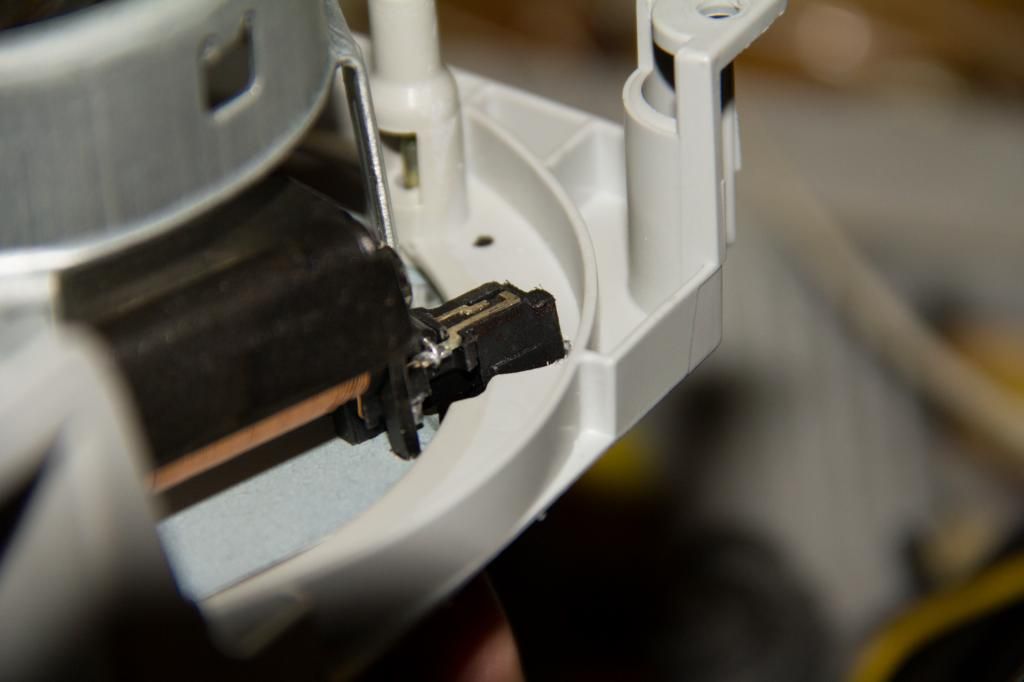
What projector retrofit?
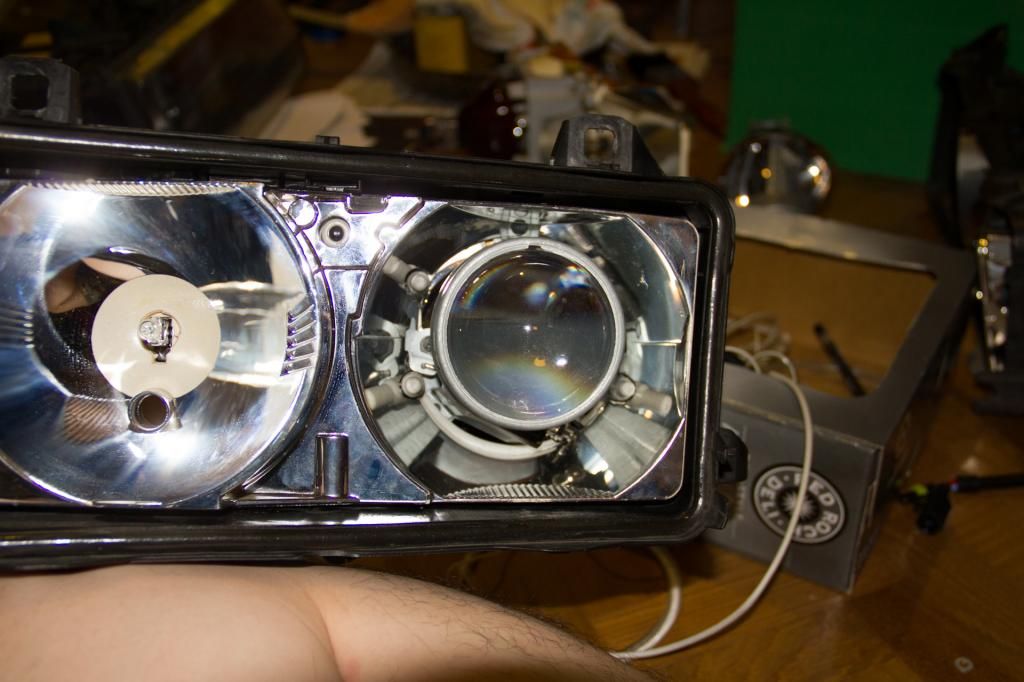
The projectors are LHD so I had to make some custom cut off shields. I need to find those pictures. I am pretty sure I took pictures of them...
Fitted with brand new headlight covers. They now say AL which according to some people actually bought BOSCH over so they no longer say BOSCH. Dont quote me on this though... but Mini headlights are made by AL.
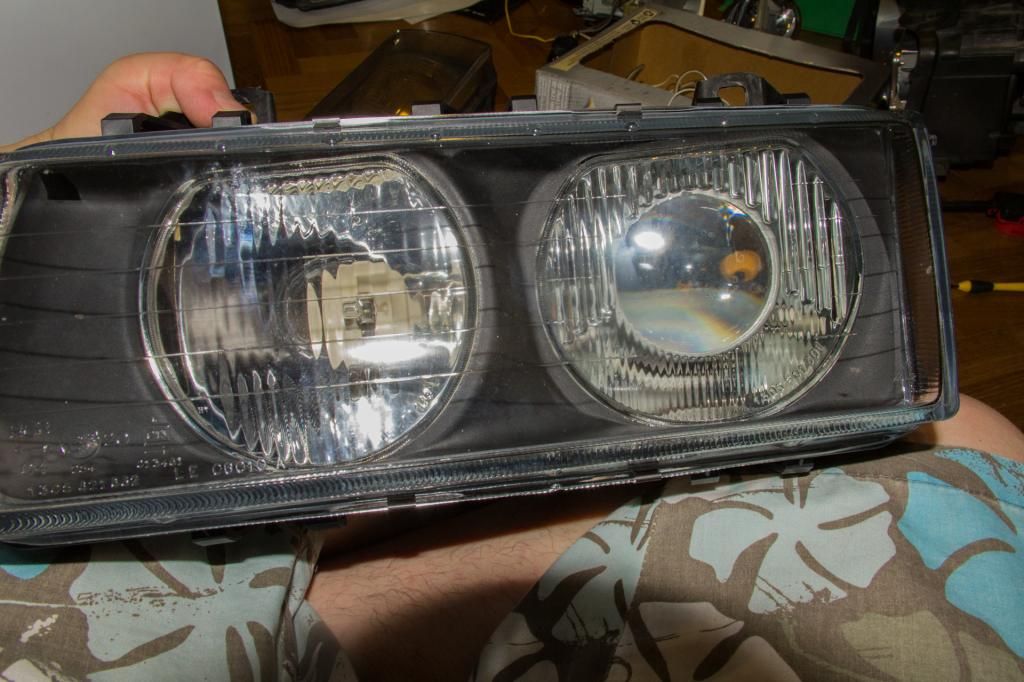
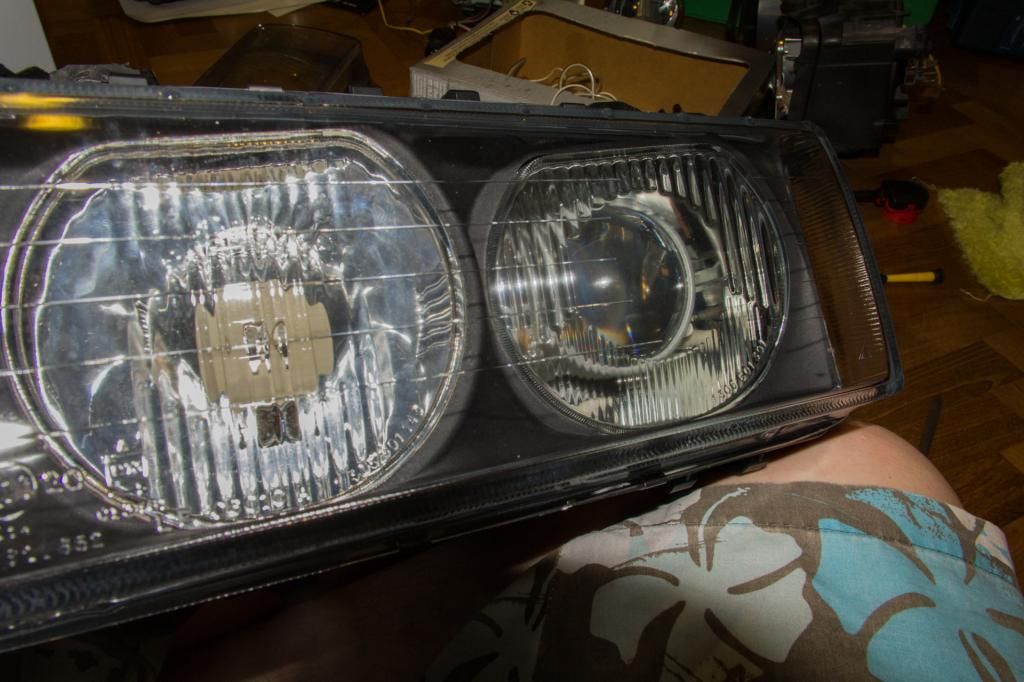
Yes, there are some watermarks inside the cover lol. I have taken pics of it and will put it up when I have time. There was a dead flea inside as well.....
I actually took the cover apart and polished the insides. I cant stand it not being perfect..... Will find my pics and put them up.
There are still some slight adjustments that need to be made. Will take some pictures of the output when everything has been tweaked but the amount of light is amazing, Bi-Xenons are amazing, colour shift is amazing...
Anyways, been busy with a projector retrofit project.
Lighting on my M3 has always been crap and I wanted to do something about it. Instead of the typical "stick some rebased HID bulbs onto H1's etc", I decided to undertake the more difficult route that would yield better results. The problem with installing rebased HID's is that the projector was never designed for it. The reflection of light would be all over the place because the HID bulbs are way longer.
I went for OEM 4300K's because I am after a more original look than fake 10000000000000K HIDS that put out less light than 4300K's.
Got my parts from theretrofitsource.com in the US.
I never really planned for a DIY so there aren't that many pics.
New EVOX-R's next to the original BOSCH ones.

Doesn't fit...

Requires some cutting of the original mounting points.


What projector retrofit?

The projectors are LHD so I had to make some custom cut off shields. I need to find those pictures. I am pretty sure I took pictures of them...
Fitted with brand new headlight covers. They now say AL which according to some people actually bought BOSCH over so they no longer say BOSCH. Dont quote me on this though... but Mini headlights are made by AL.


Yes, there are some watermarks inside the cover lol. I have taken pics of it and will put it up when I have time. There was a dead flea inside as well.....
I actually took the cover apart and polished the insides. I cant stand it not being perfect..... Will find my pics and put them up.
There are still some slight adjustments that need to be made. Will take some pictures of the output when everything has been tweaked but the amount of light is amazing, Bi-Xenons are amazing, colour shift is amazing...
B33mEr
Club Guest
- Joined
- Jun 4, 2008
- Messages
- 3,448
- Points
- 0
Chrix;778154 said:Having seen them in person, they look SHWEEEET!...especially on a already awesome E36
Not only awesome but the sound it makes is just simply wicked!!! :rock:
e34_lover
Club Guest
- Joined
- Feb 19, 2009
- Messages
- 107
- Points
- 0
B33mEr;778729 said:Not only awesome but the sound it makes is just simply wicked!!! :rock:
Hehe, yours can sound the same dude.... I will message you in a bit.
e34_lover
Club Guest
- Joined
- Feb 19, 2009
- Messages
- 107
- Points
- 0
Chrix;778961 said:What was the cost for those replacement lenses?
Ah forgot to check that for you. I will send you a message on whatsapp!
e34_lover
Club Guest
- Joined
- Feb 19, 2009
- Messages
- 107
- Points
- 0
Started working on my car again because some issues started to emerge. Rough idle, stumbling under acceleration and a few other minor things that needed touching up. I decided that since the car is about 16-17 years old I would just replace most of the important bits.
Some of the pictures are out of focus and I apologise for that. Really hard to use a DSLR with one hand.
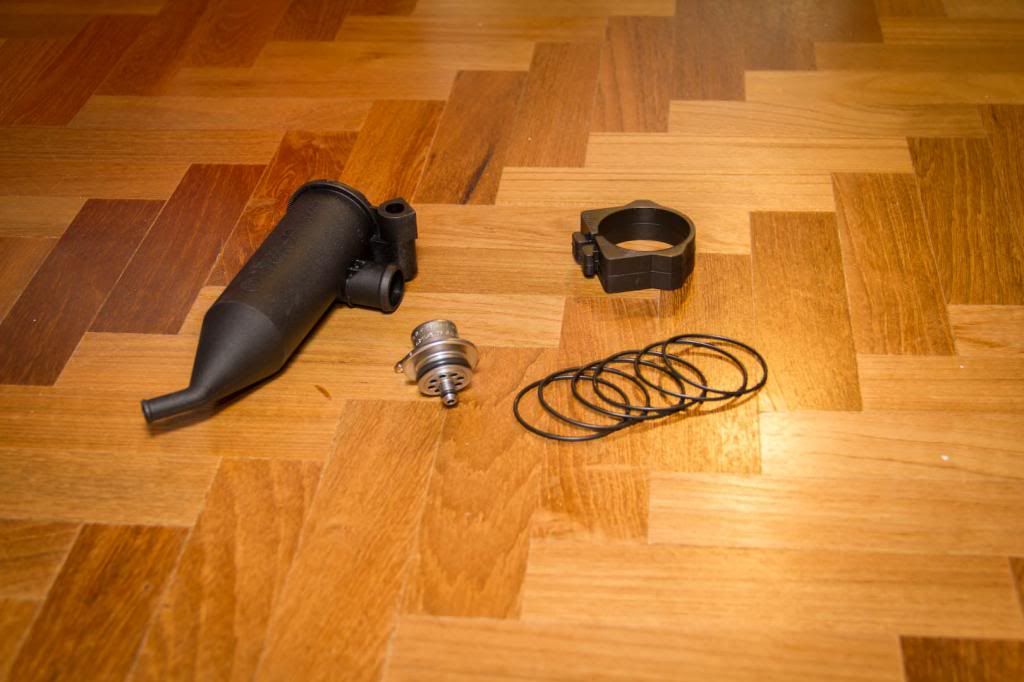
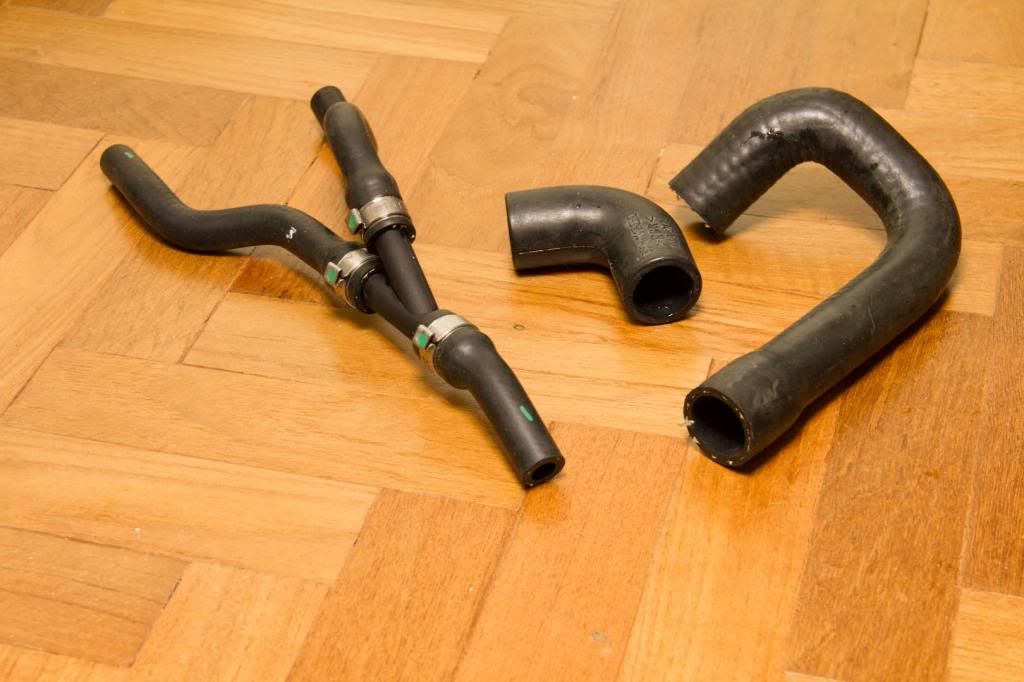
Some pictures of the parts that were used.
ICV hoses.
Oil seperator, fuel pressure regulator, ICV mount and Intake plenum o-rings.
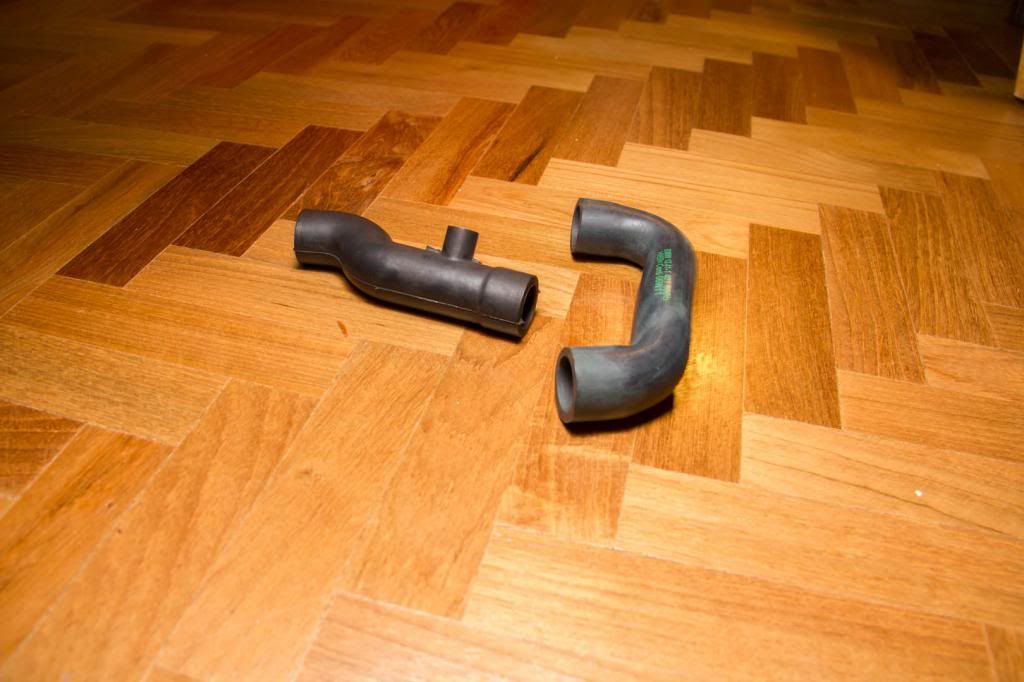
Oil seperator hoses.
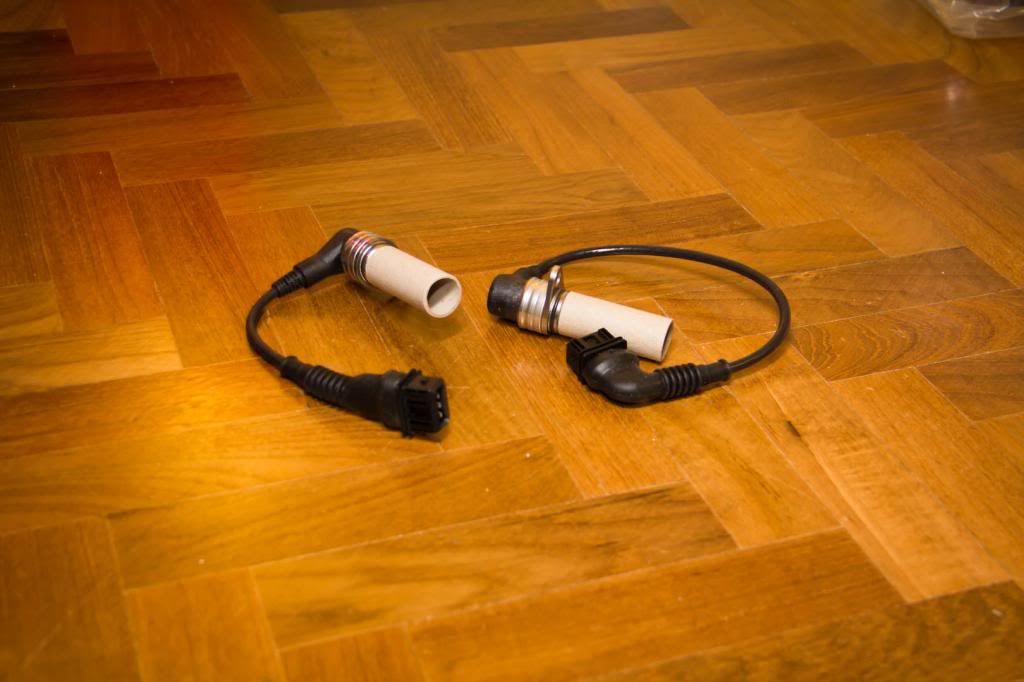
Original Intake and Exhaust Camshaft sensors.
Intake plenum removed and started working on the oil seperator.
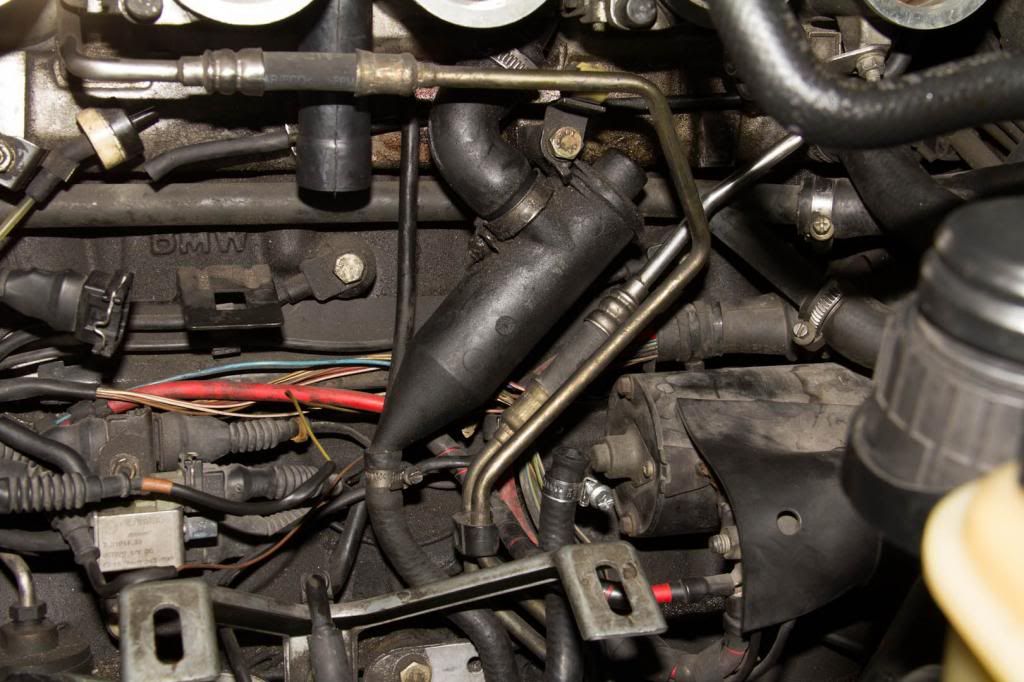
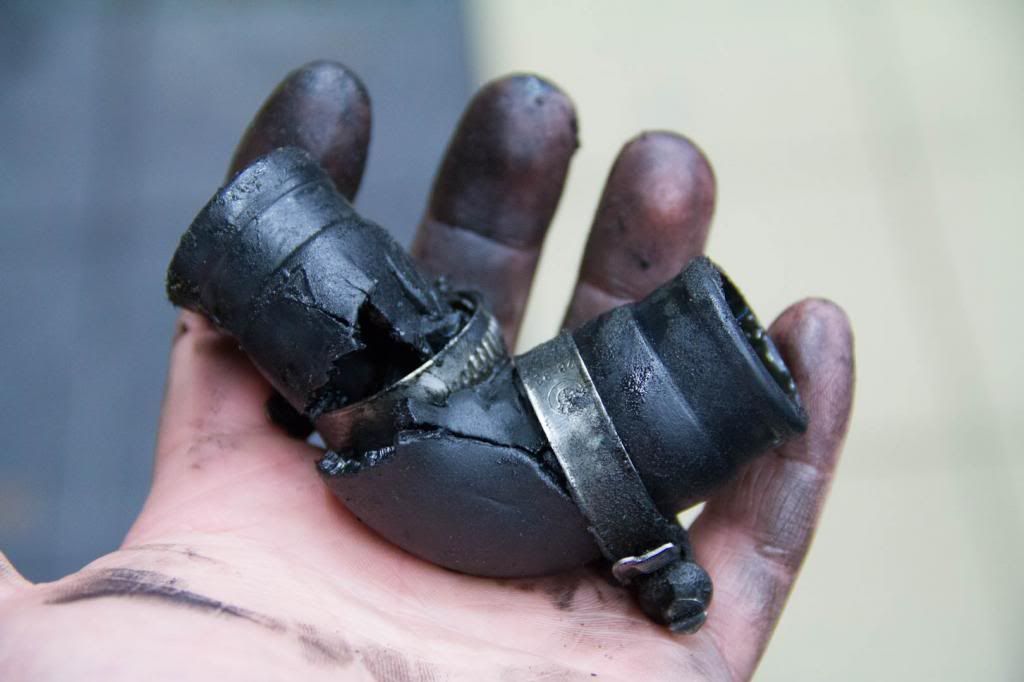
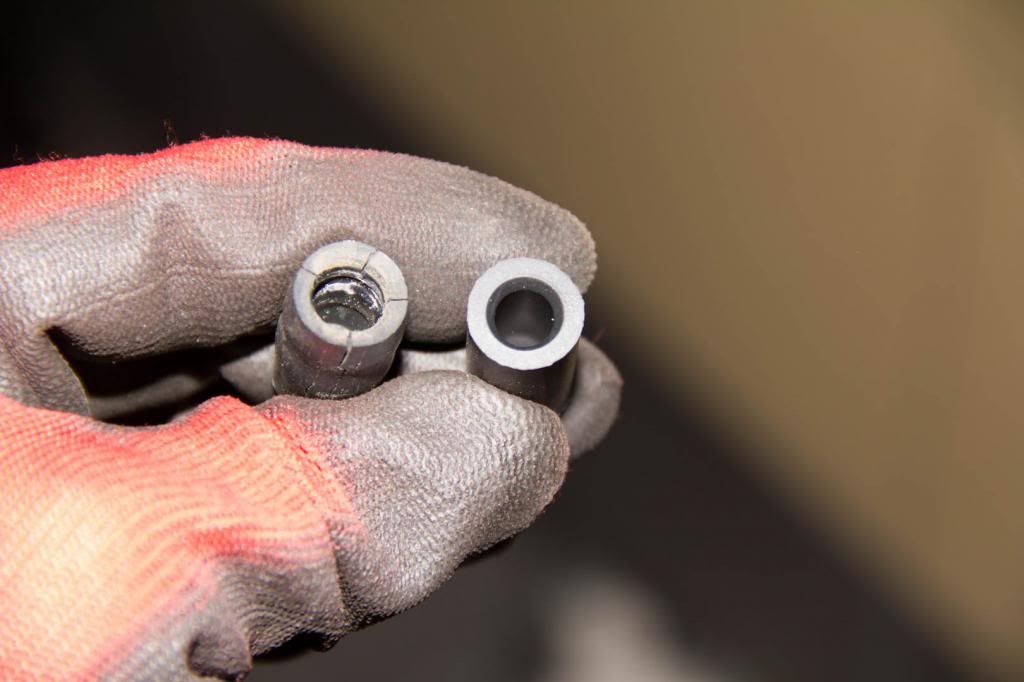
Oil spraying out of the hose that connects to the oil seperator from the cylinder head. There was a small split at the bend of the hose.
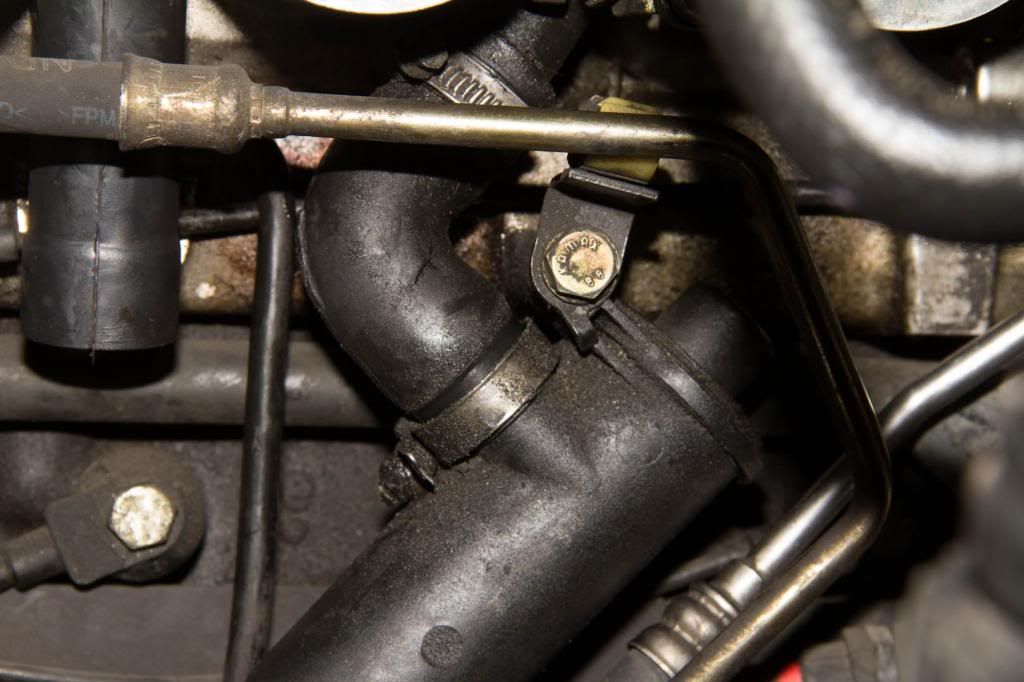
Hose was very soft and brittle. It fell apart upon removal.
Oil seperator with some of the hoses attached
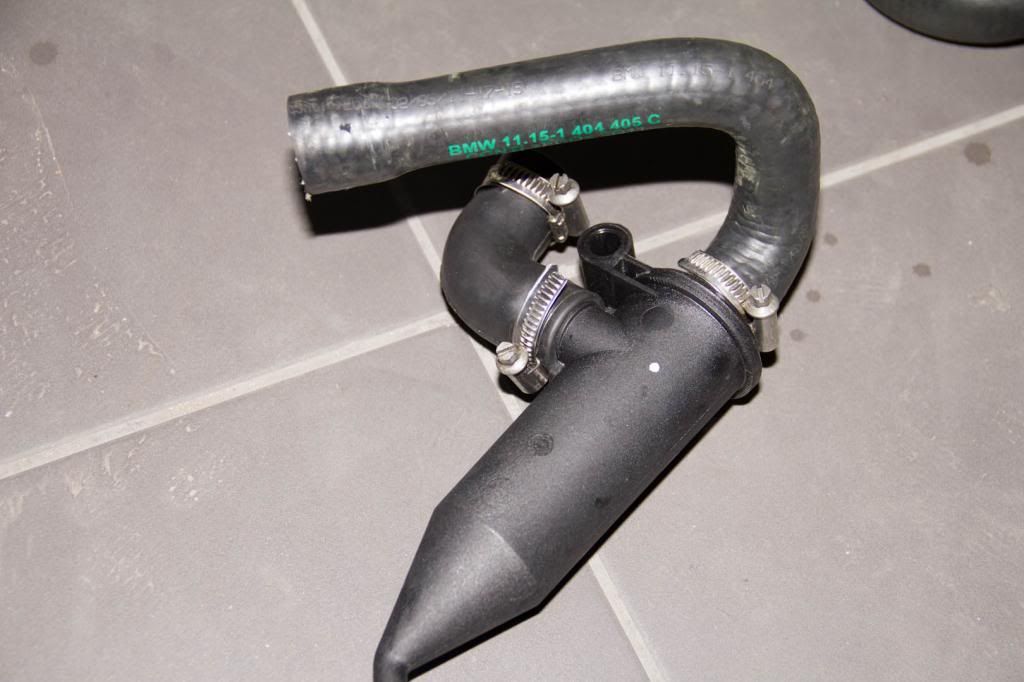
Old vs new oil seperator hose
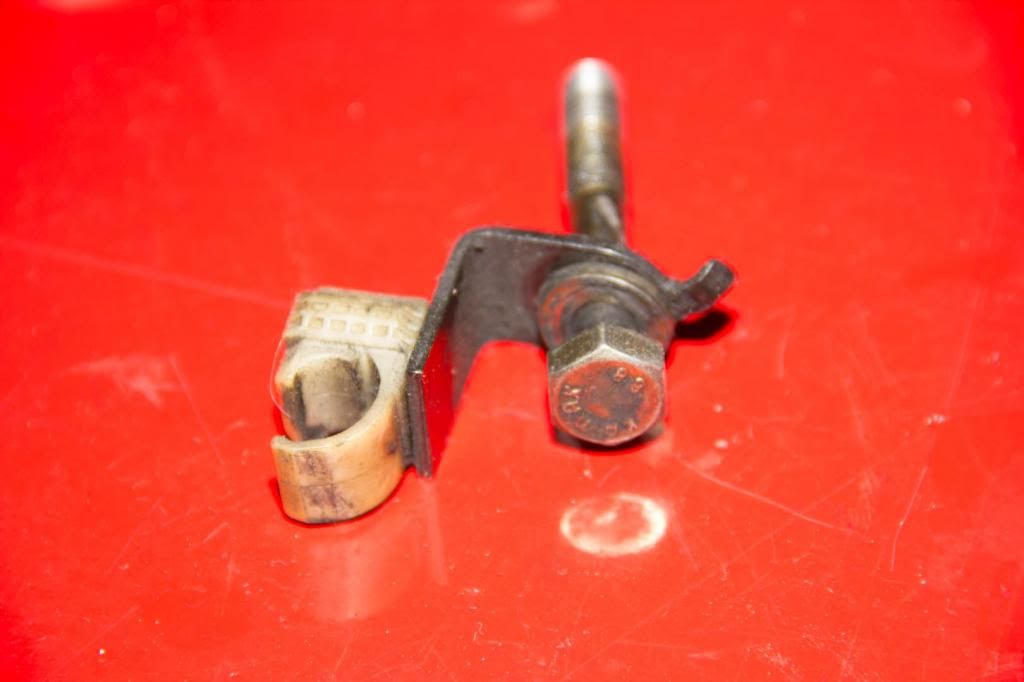
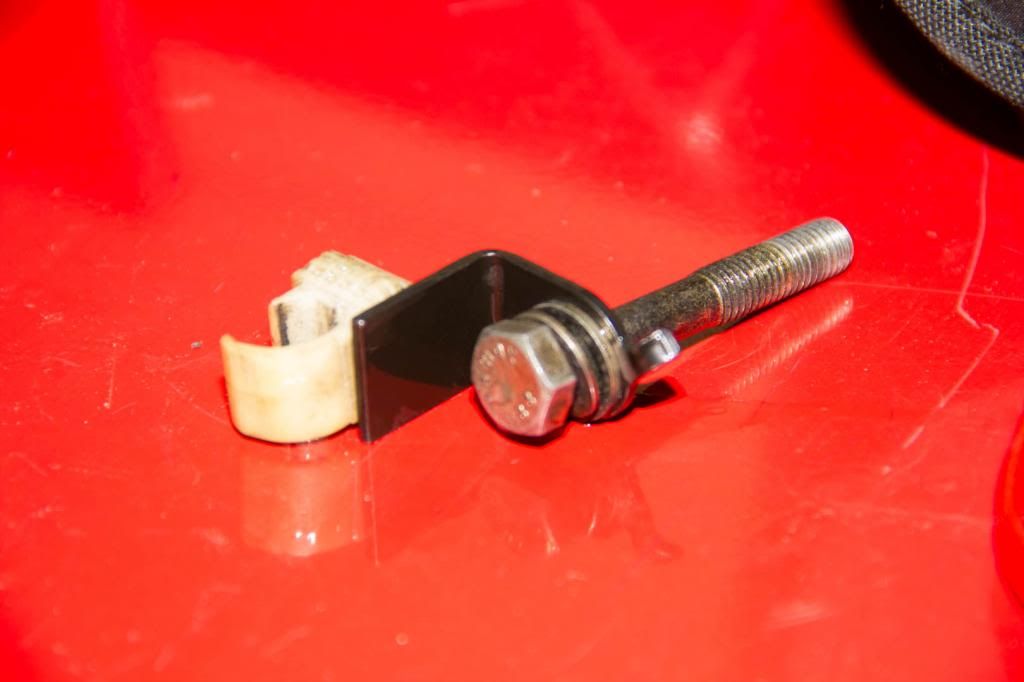
Cleaned up the oil seperator mounting bolt and fuel line clip
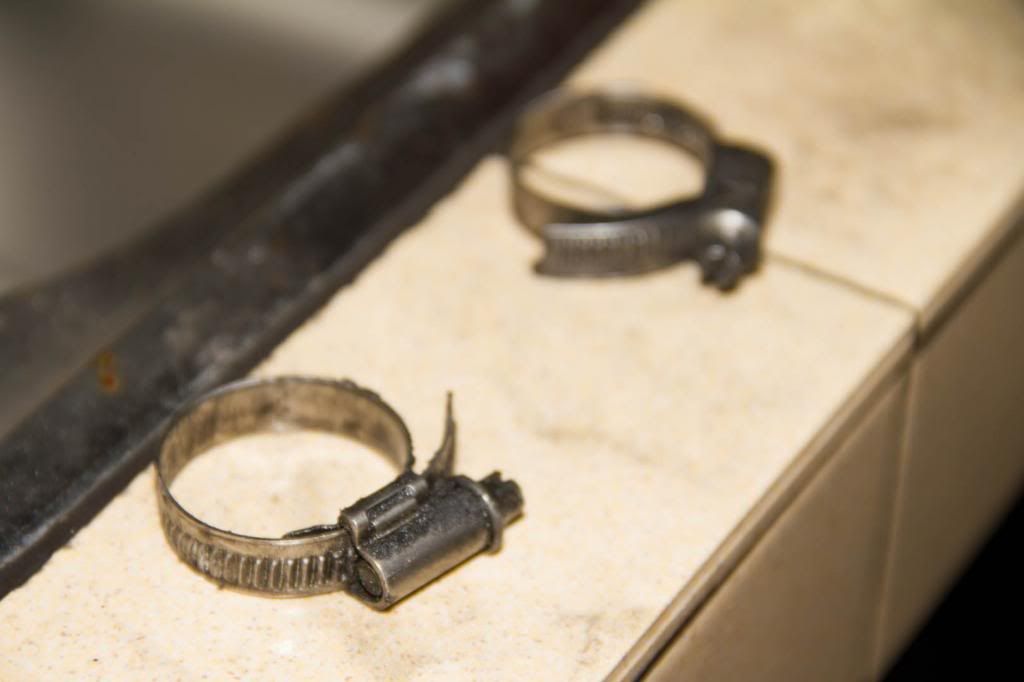
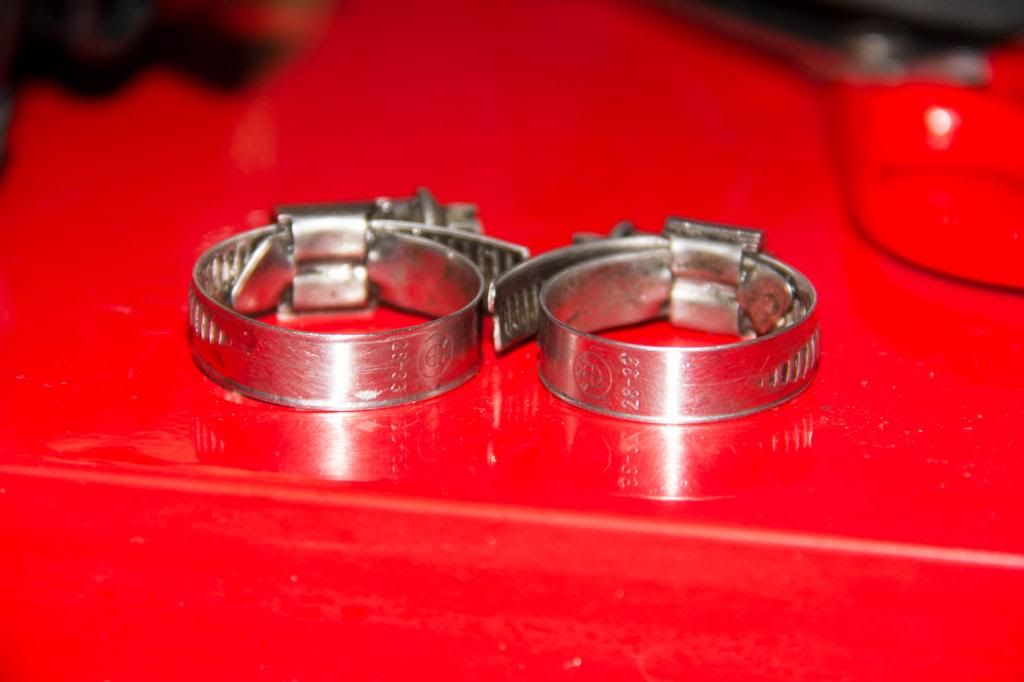
Cleaned up the oil seperator hose clamps
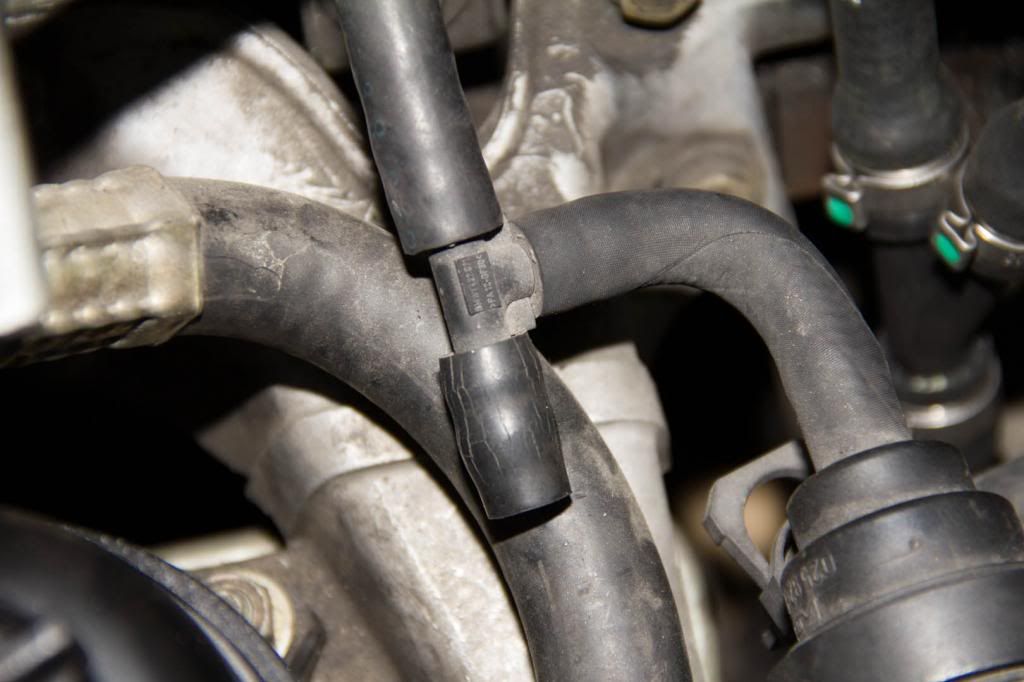
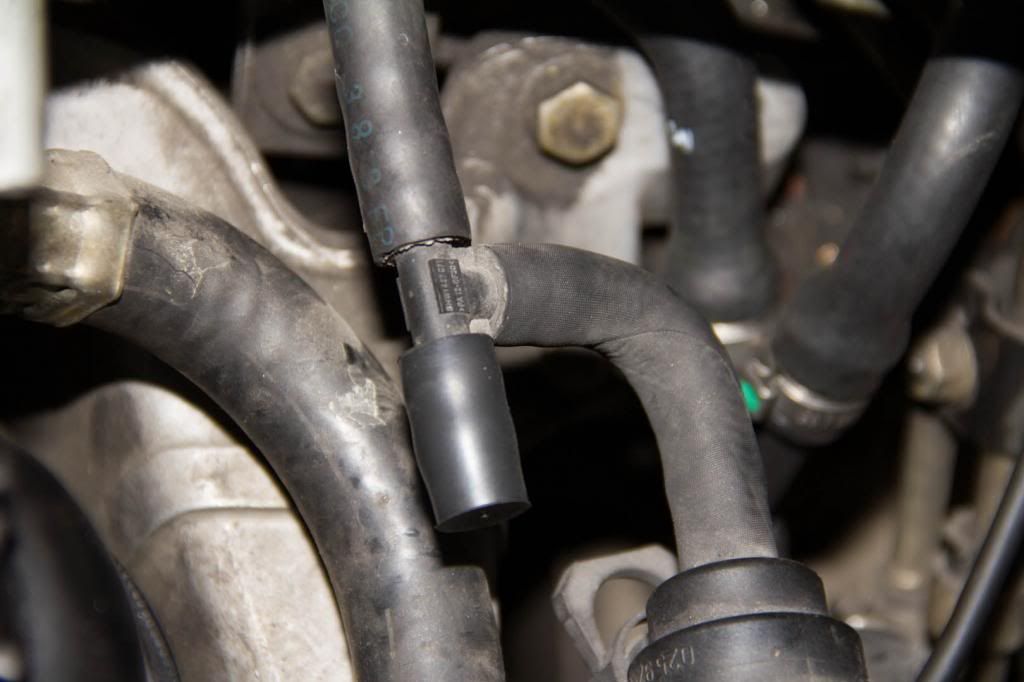
Found that a piece from the fuel tank ventilation was cracked so I replaced it
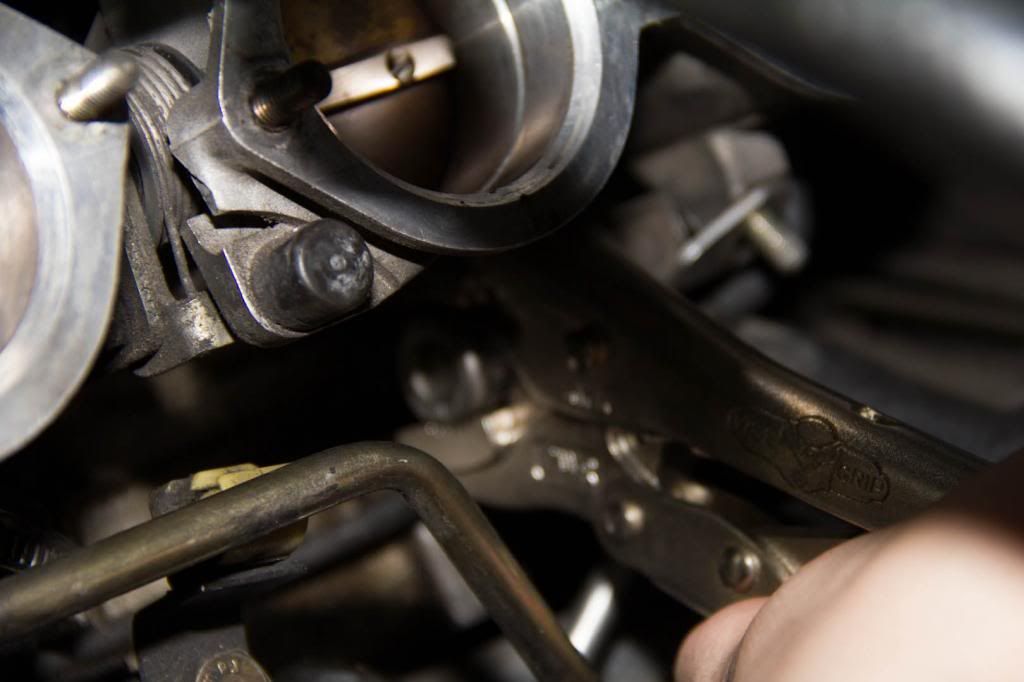
Removing the fuel pressure regulator. Had to bring out the vice-grips to remove it.
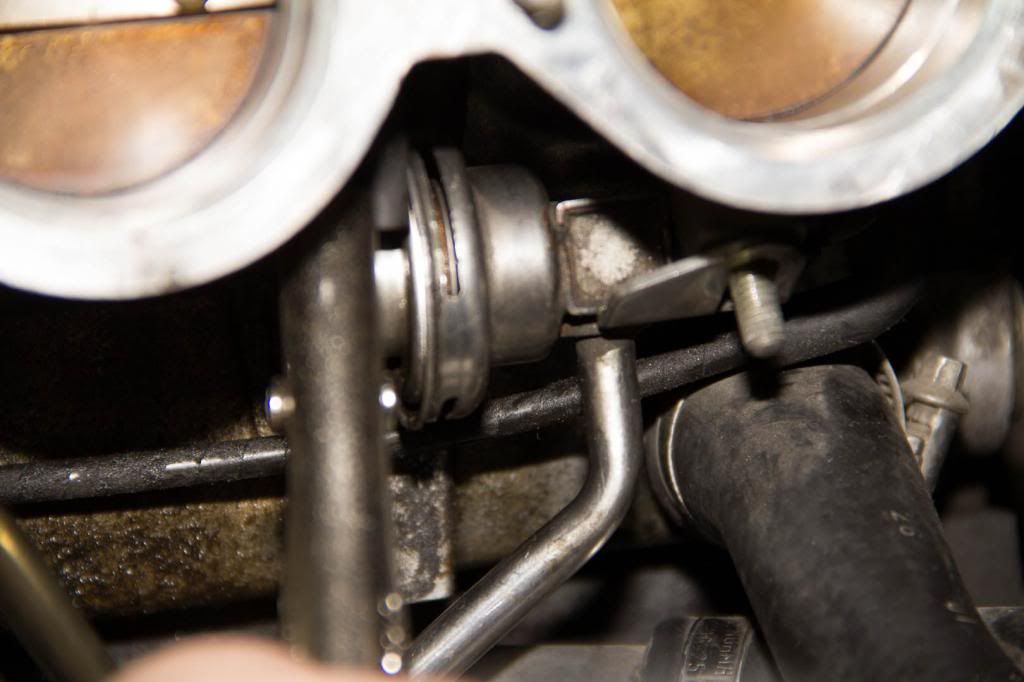
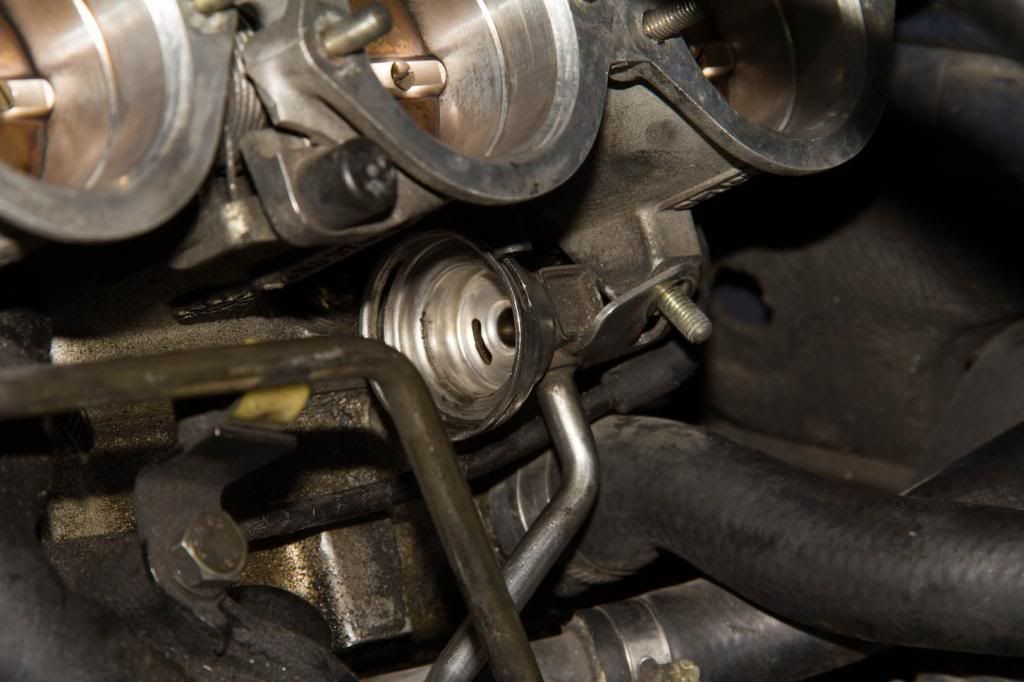
New regulator installed. It wasn't really necessary but I decided to change it while I was there.
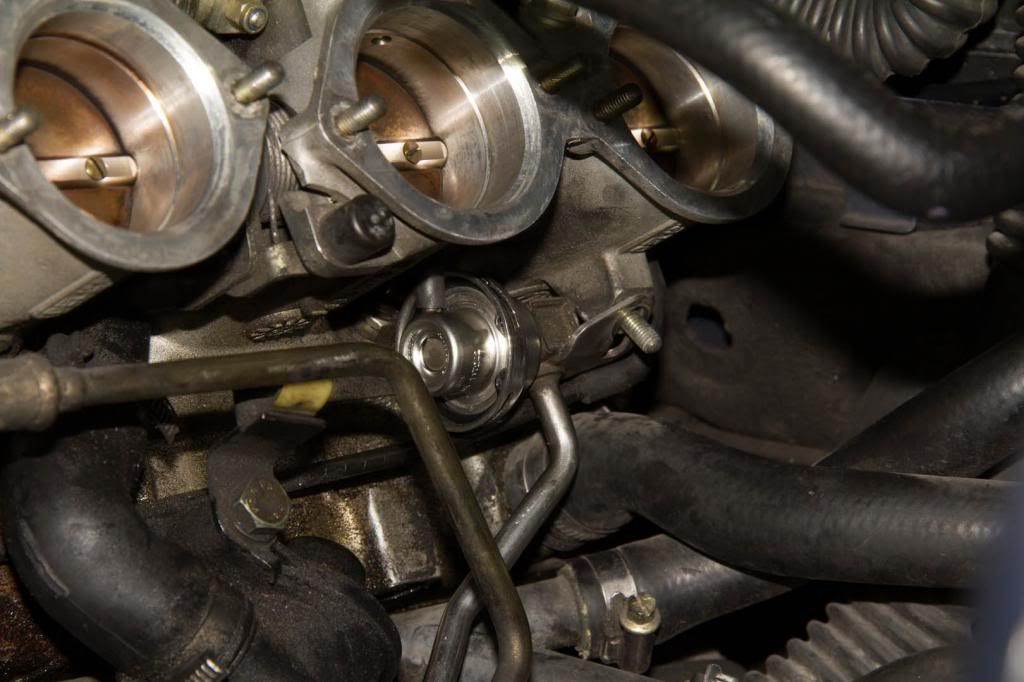
Cleaned up as much oil as I could while everything was apart.
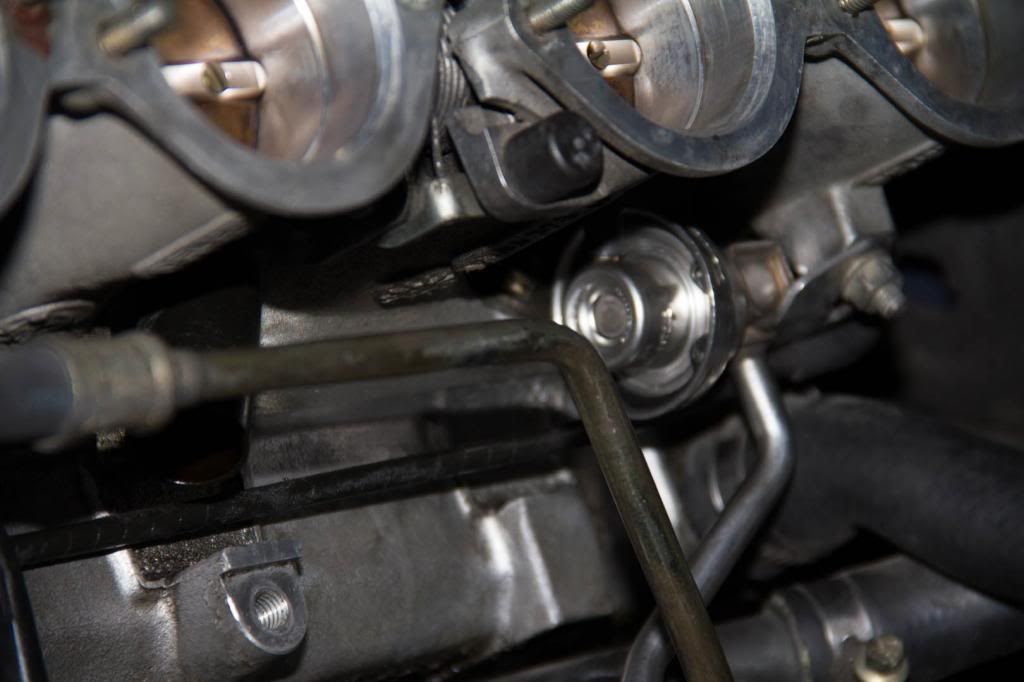
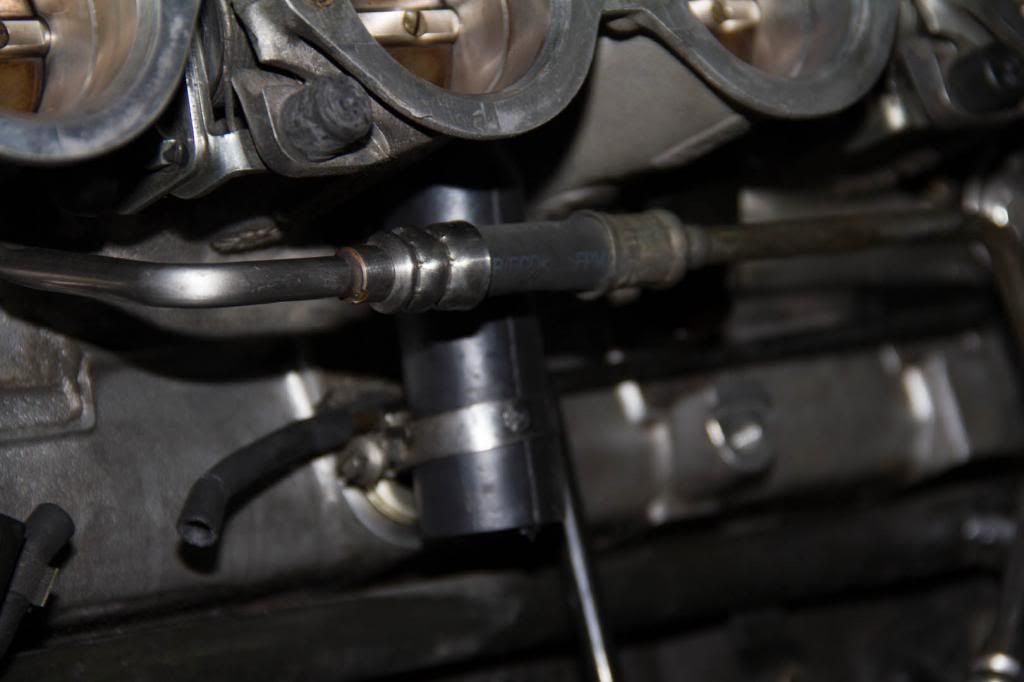
You can see the new ICV hose in this pic. As you can also see, the vacuum hoses are shot.
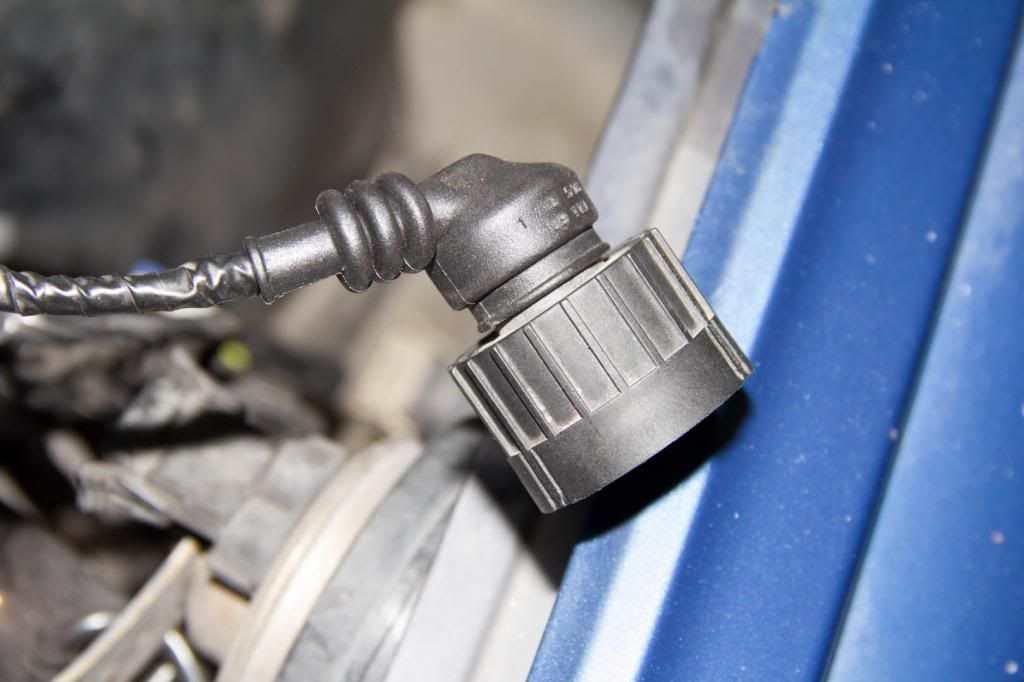
Knock sensor was starting to crack so it got replaced as well to prevent issues in the future.
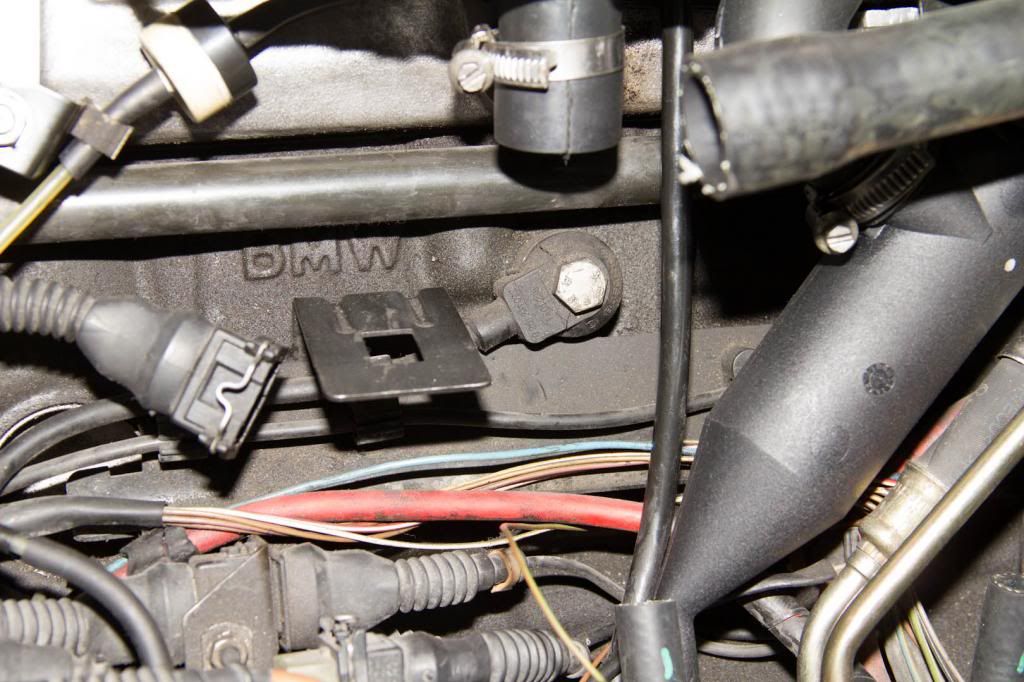
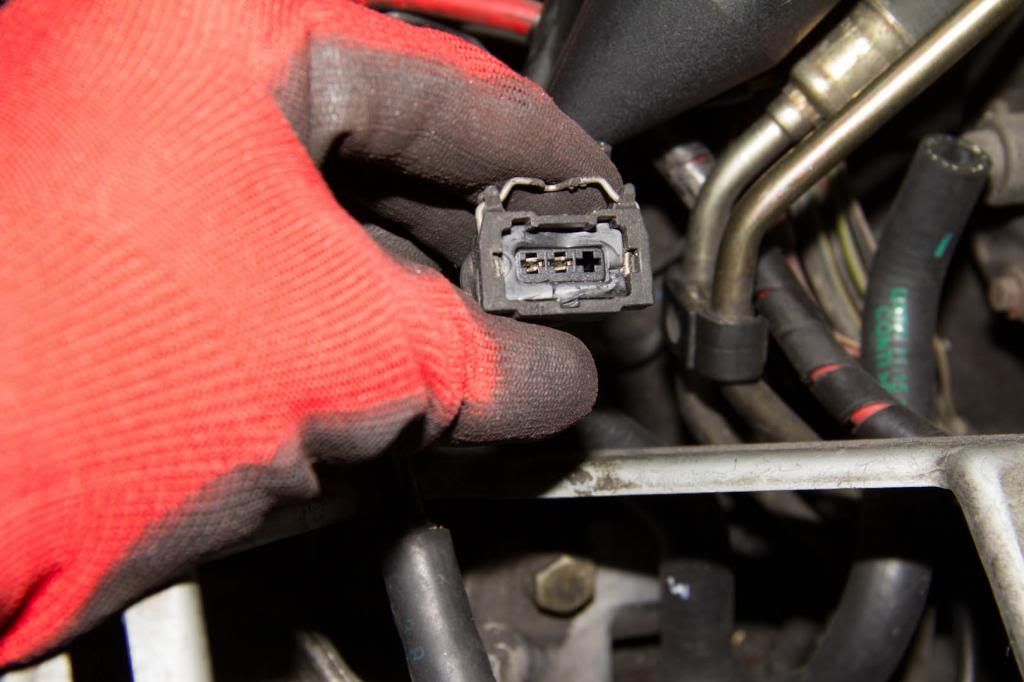
When I removed it the plug was actually brittle and broke off inside the female plug on the engine wiring harness so I had to fish it out with a screwdriver
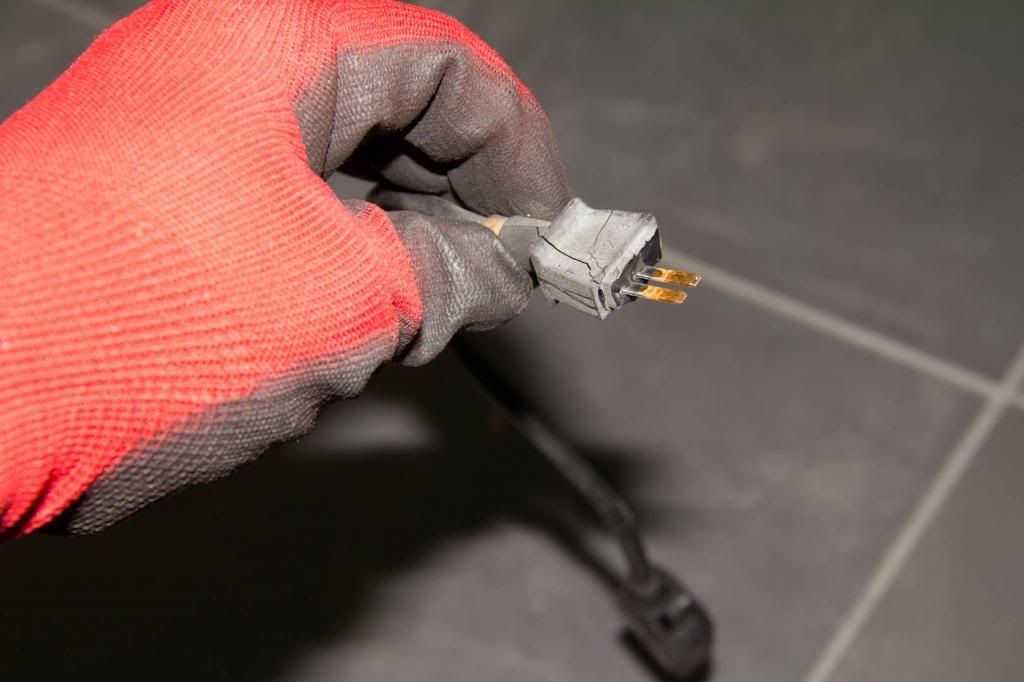
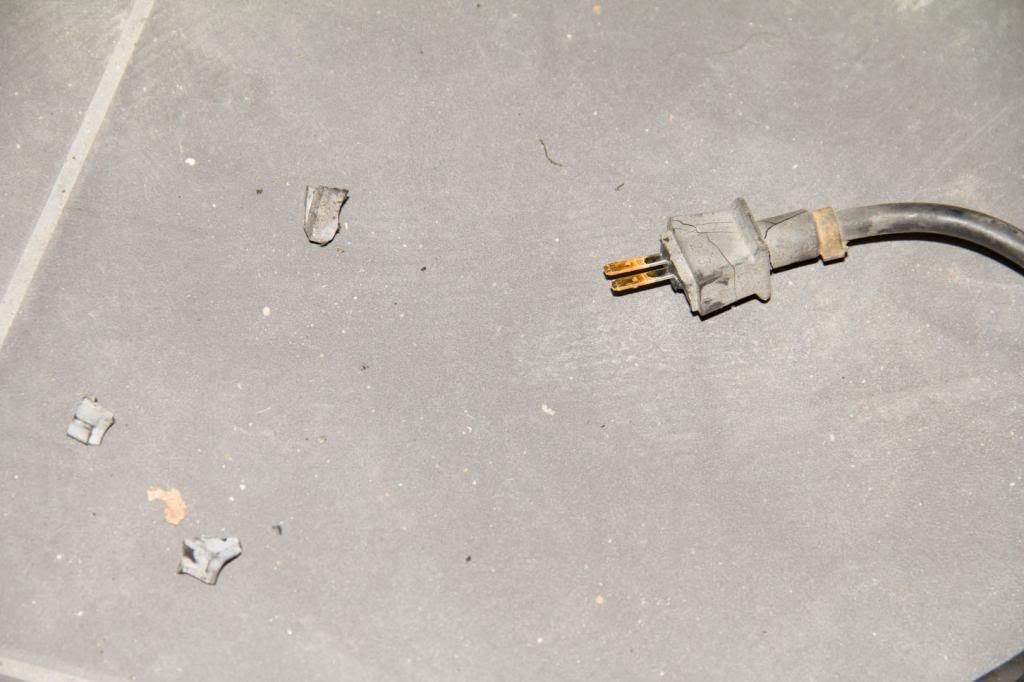
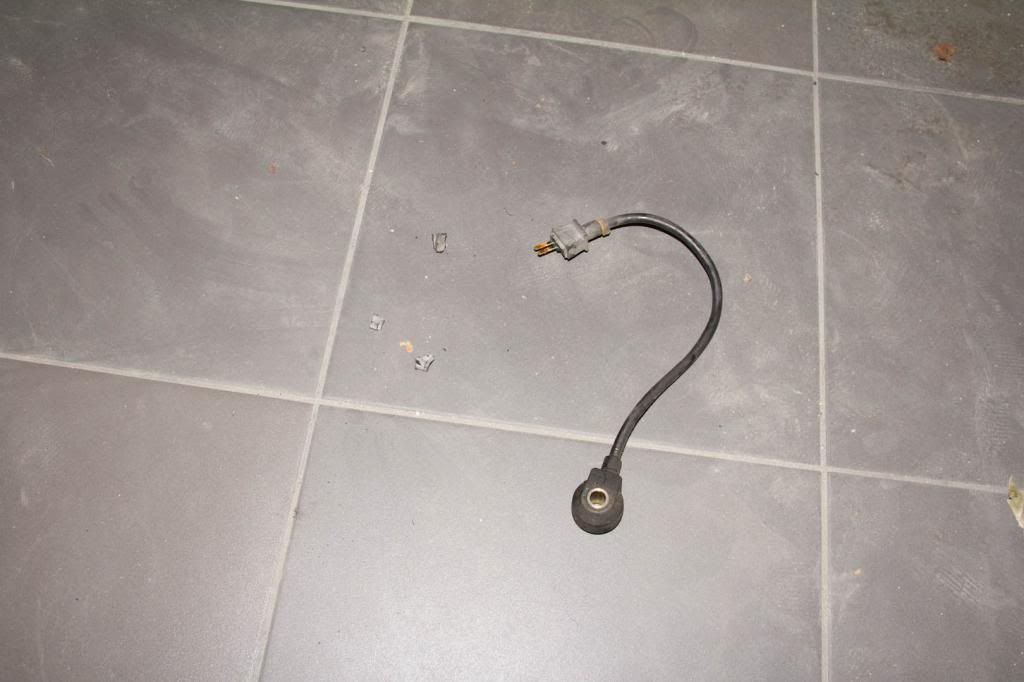
New knock sensor (trying out a new style of photography)
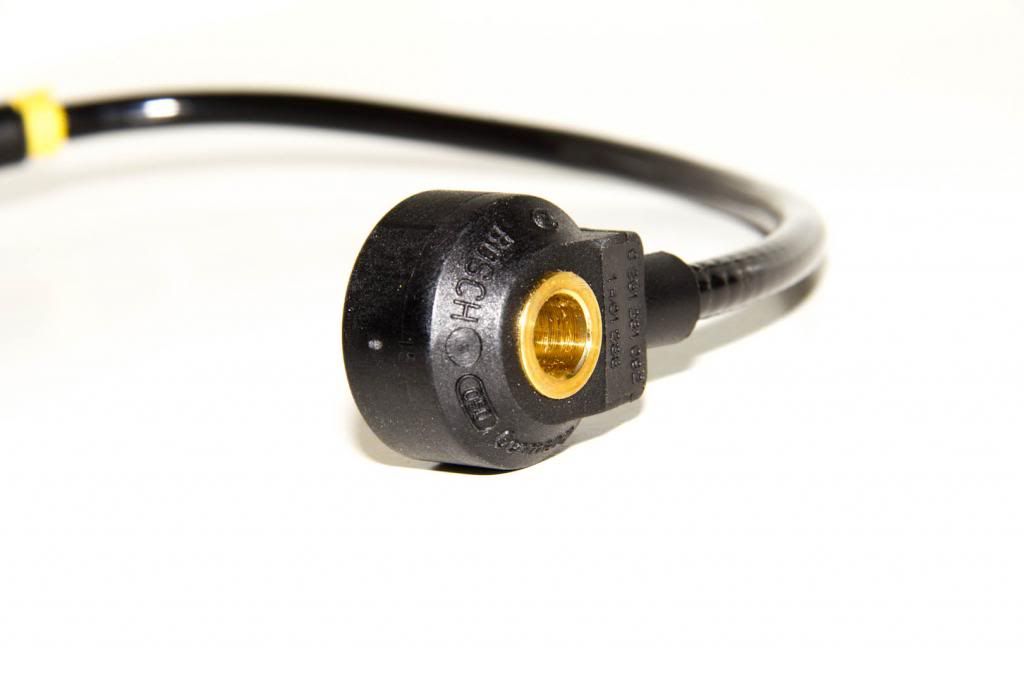
Looks like my belief of preventative maintenance is starting to work out for me lol!
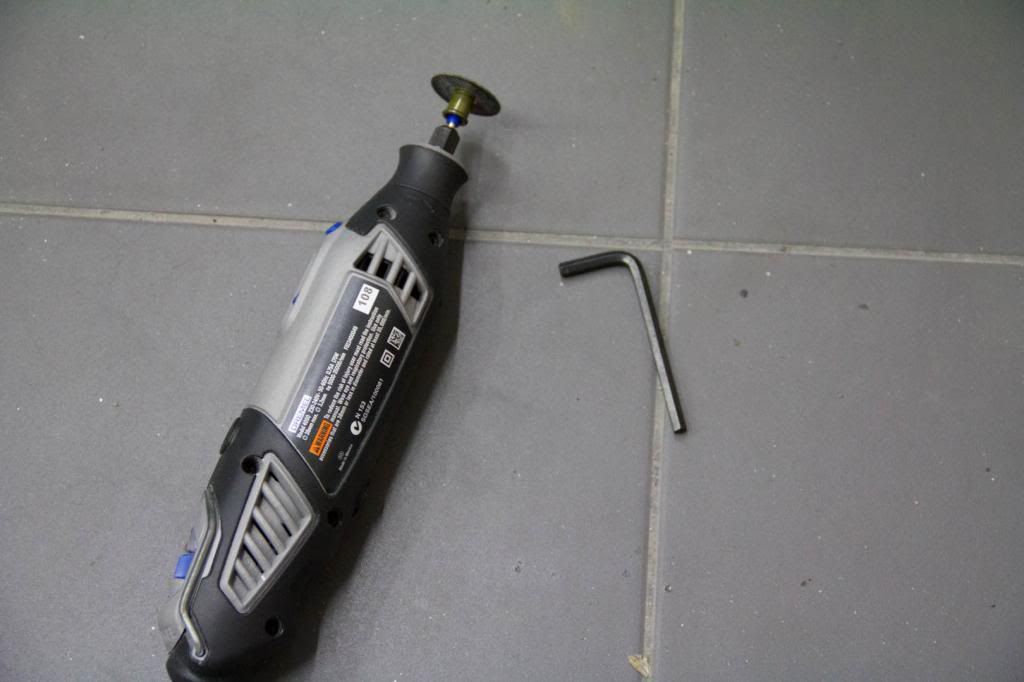
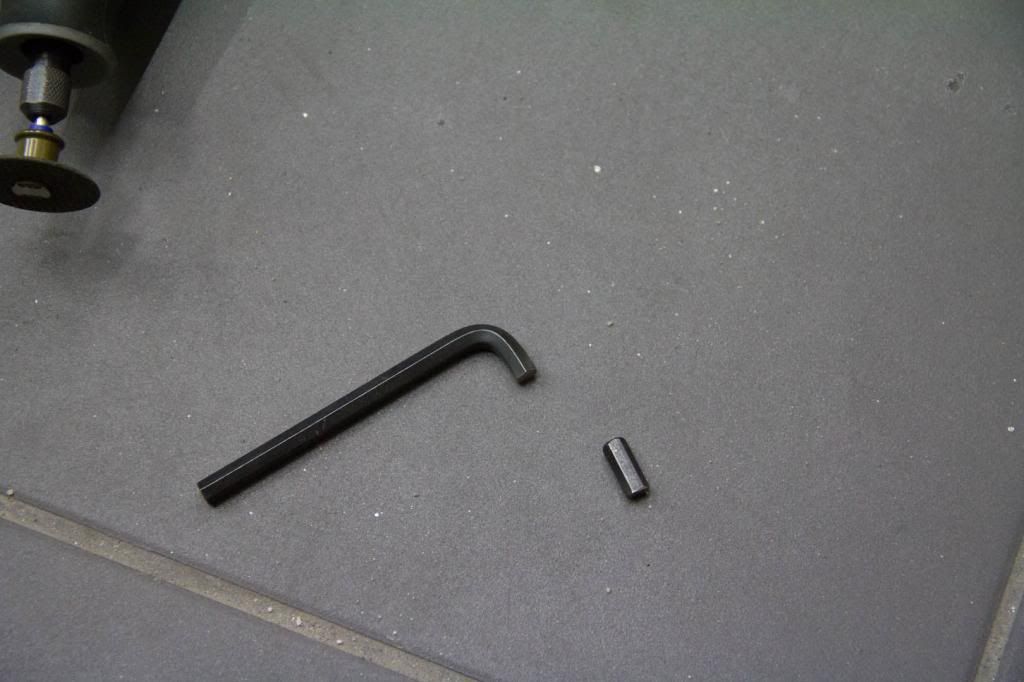
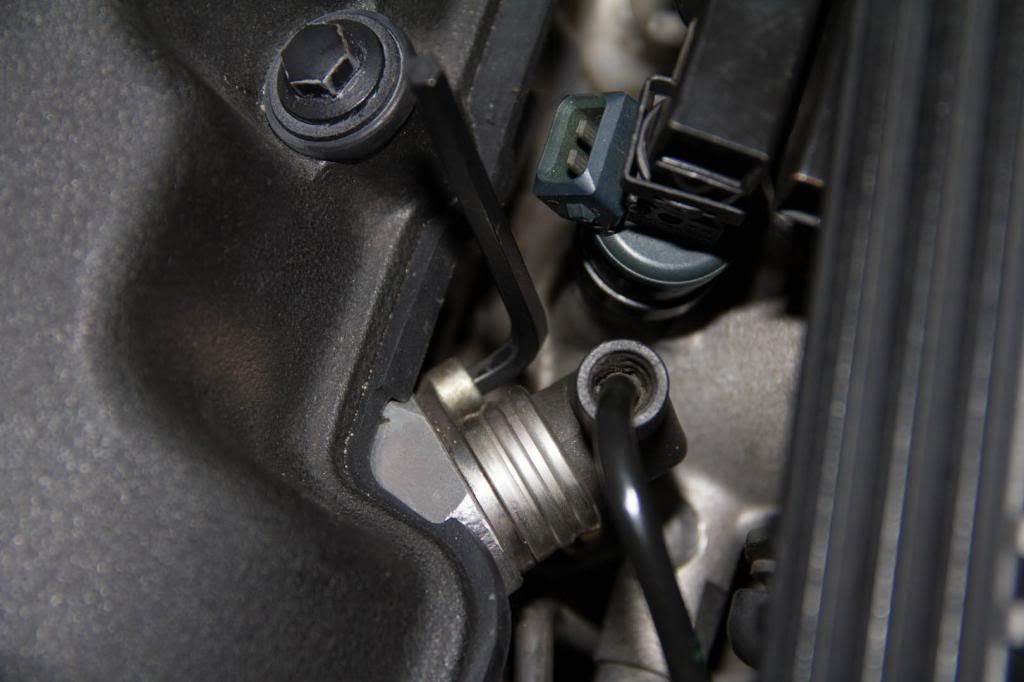
Ran into a small issue when I tried to change the intake camshaft position sensor. Damn allen key wouldn't fit without removal of the fuel injectors...
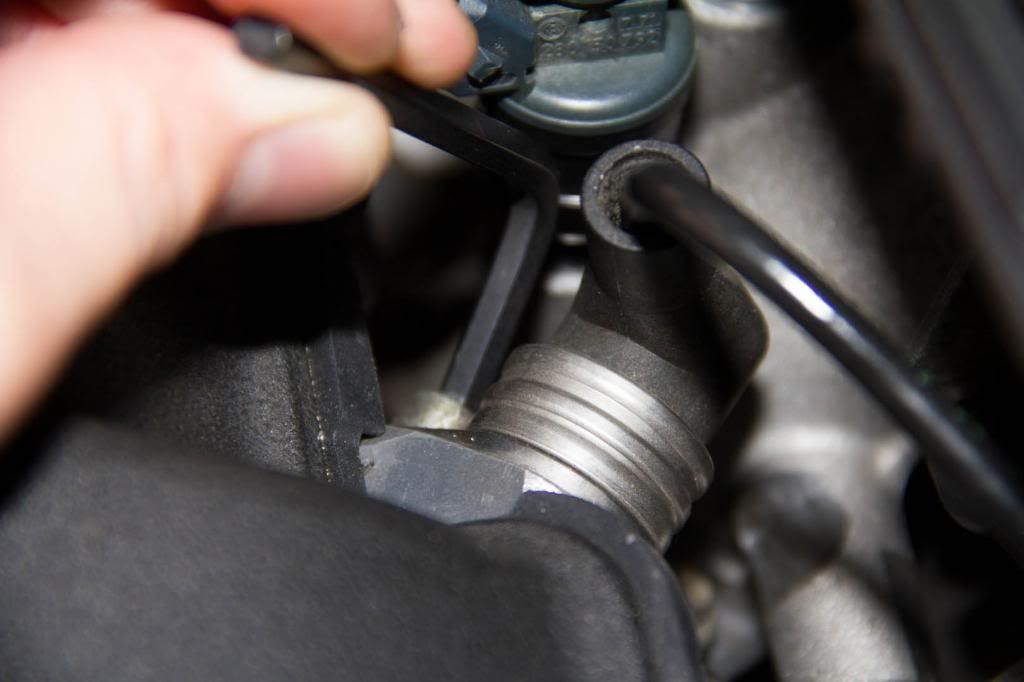
Small job for my trusty dremel!
Done!
Fits perfectly
New intake camshaft position sensor goes in.
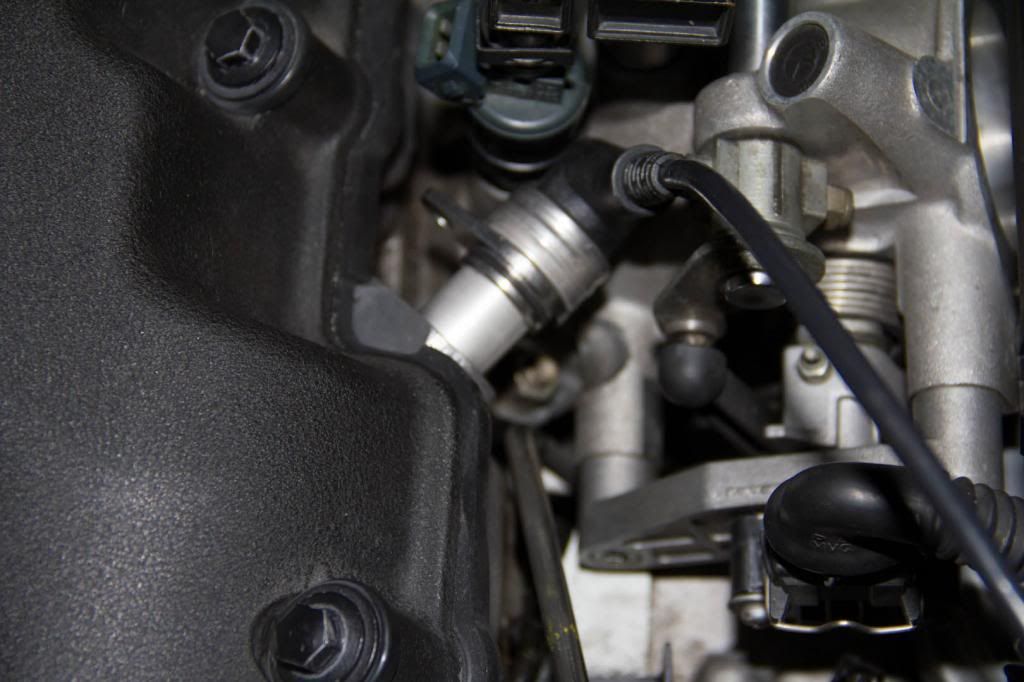
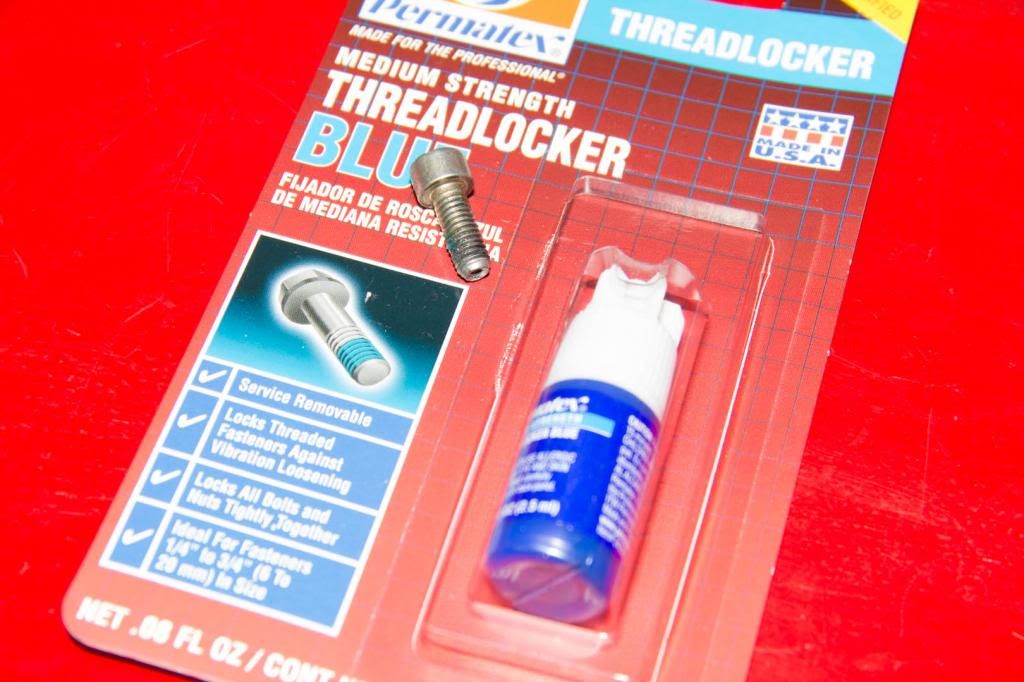
Used blue threadlocker on the camshaft position sensor bolts
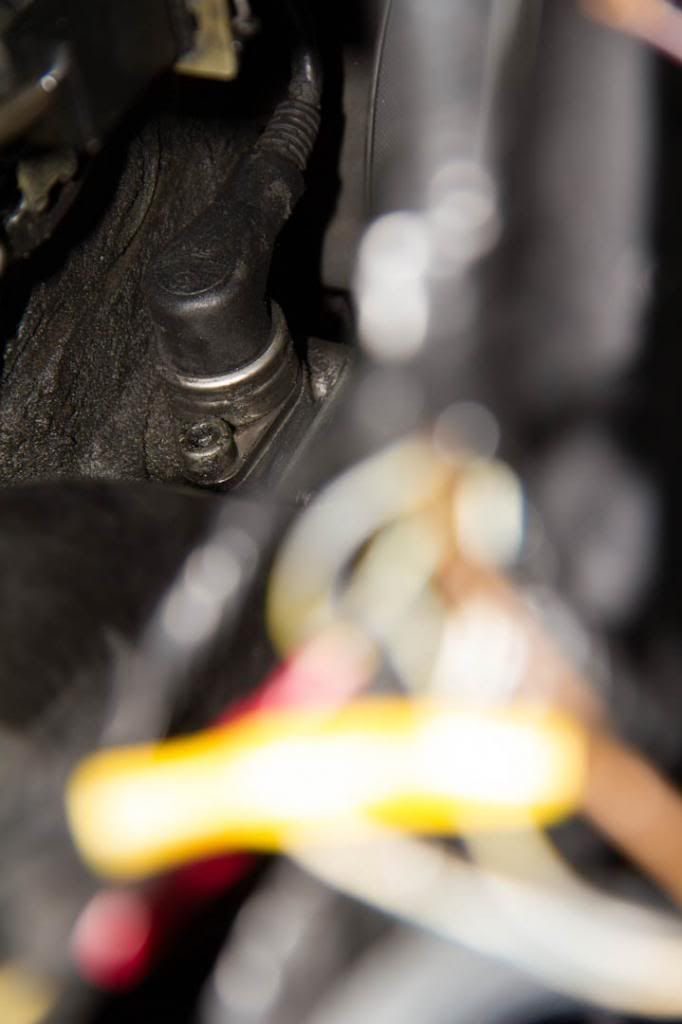
Old crankshaft position sensor. There was an oil leak behind my vanos previously so it got really dirty down here. I had it repaired using new o-rings.
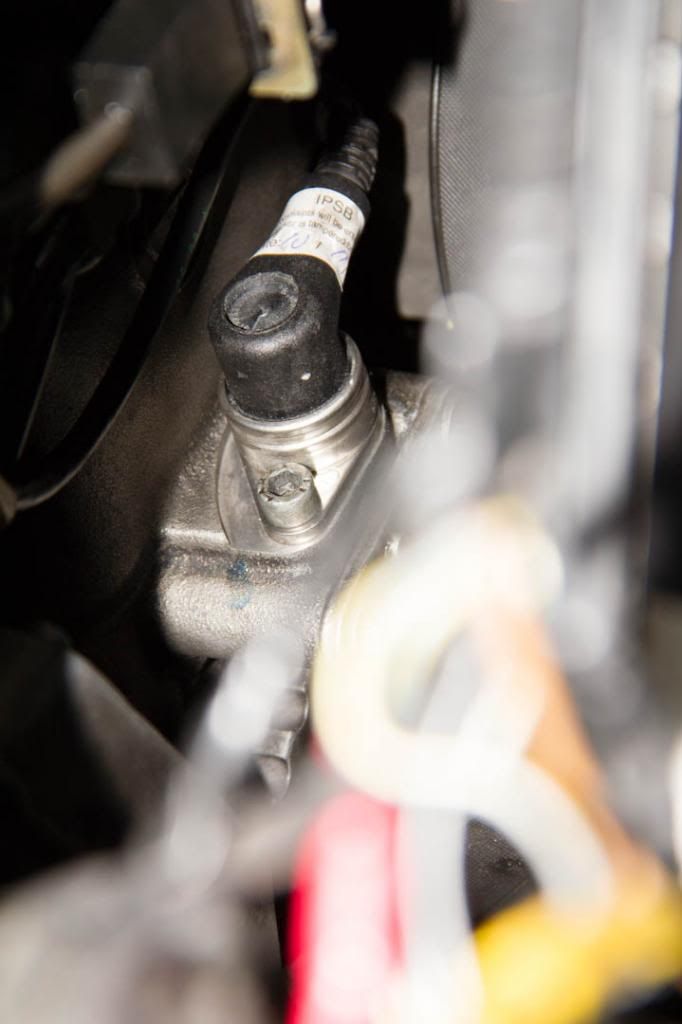
Replaced the sensor and cleaned up the oil. Will check periodically to see if it has actually stopped leaking.
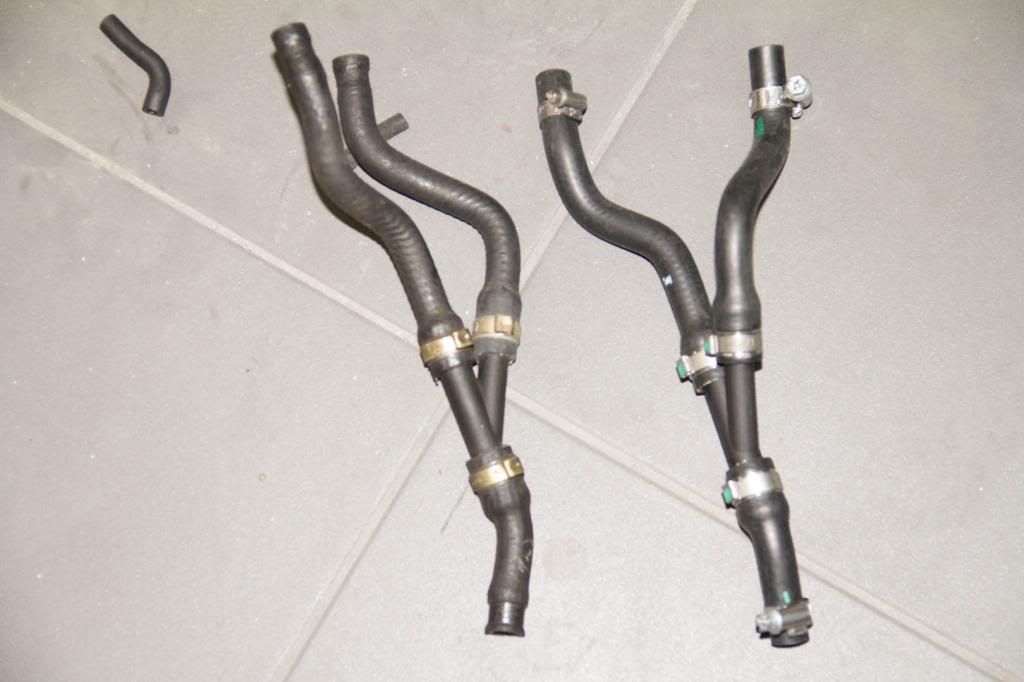
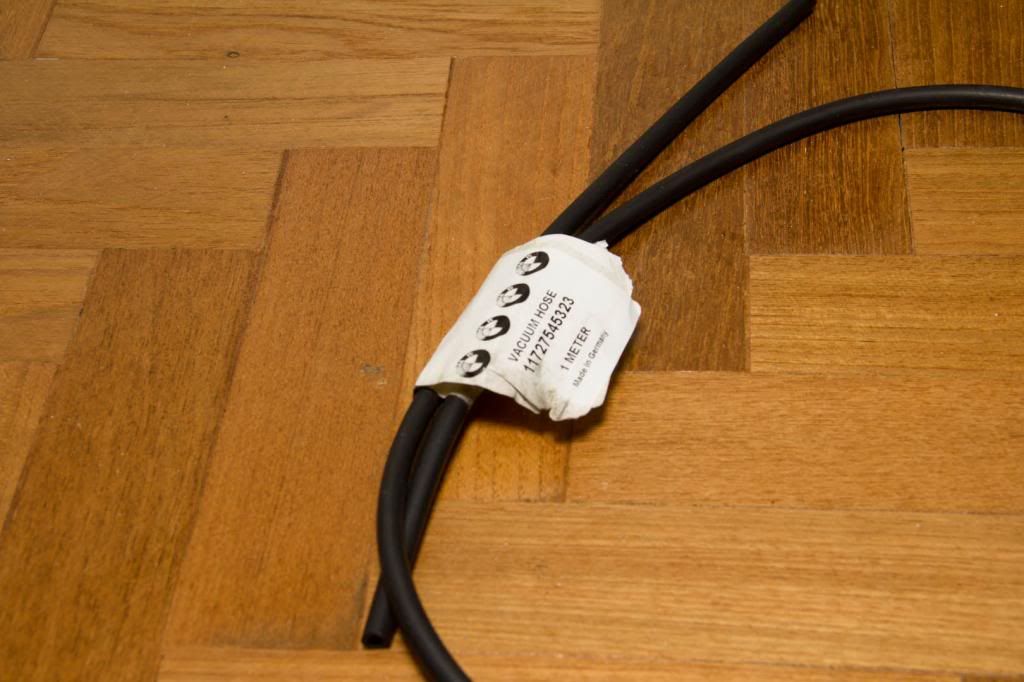
I knew that my vacuum hoses were cracking from my previous repair so I ordered a meter of new vacuum hoses to fix the leaks.
Cracked hoses
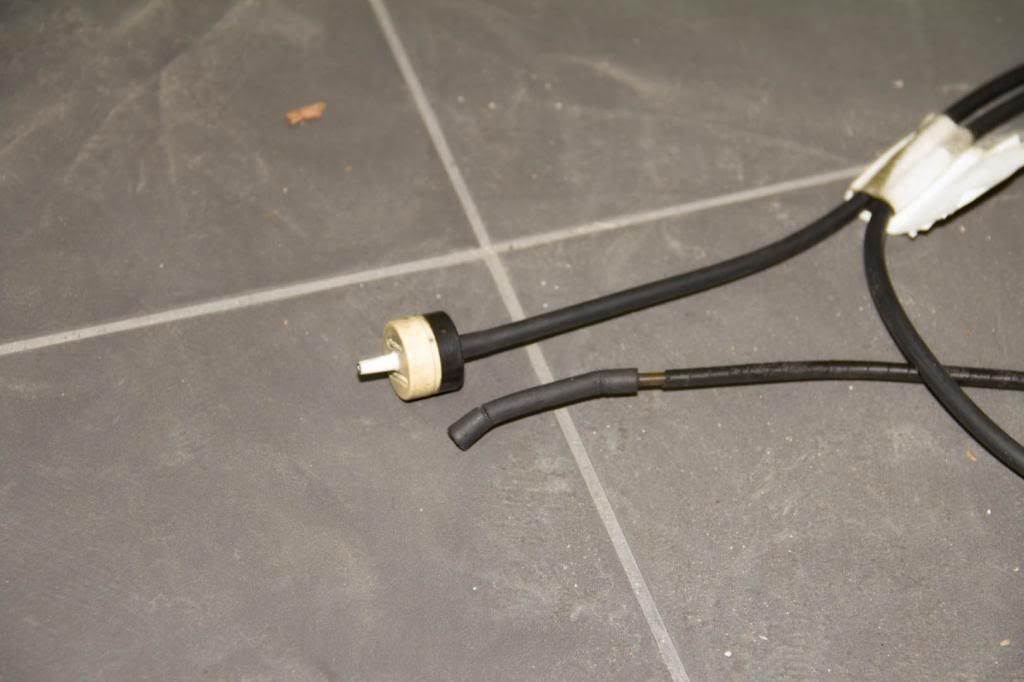
Looks like the vacuum hose was taking in engine oil fumes from the cracked oil seperator hose.
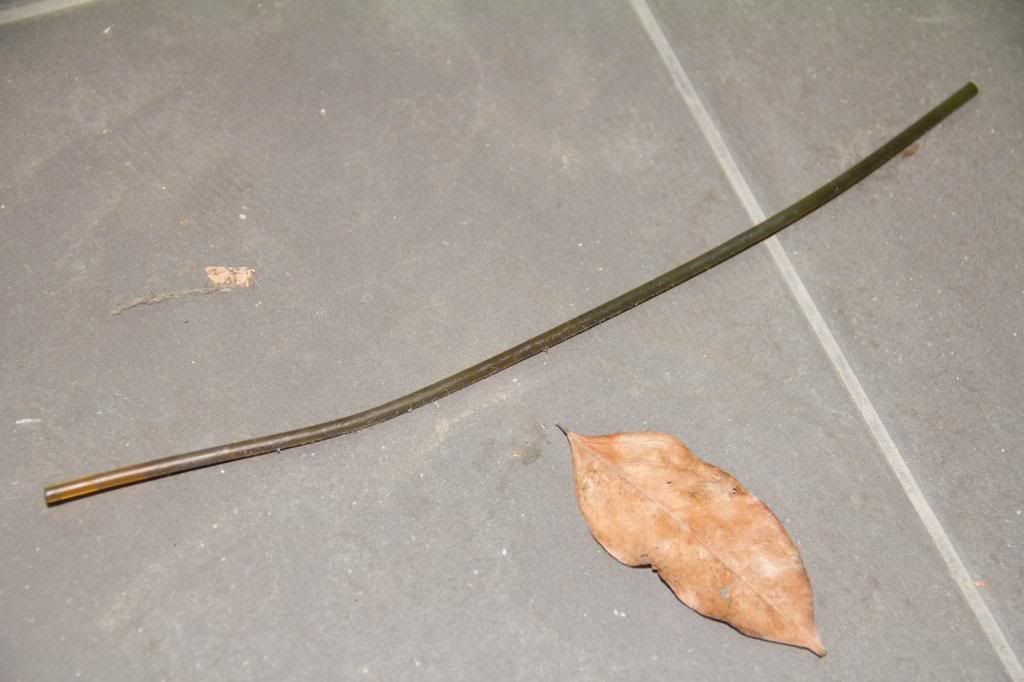
Tried to clean out the inside of the hose and lots of oil got cleaned out but it seems to be stained from the oil.
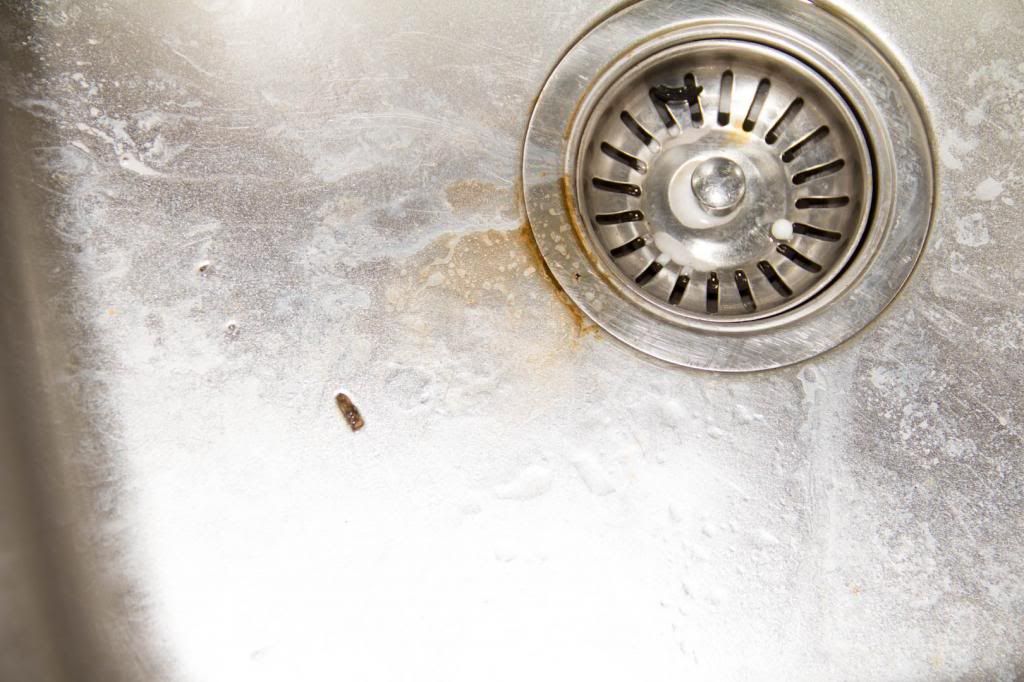
Better but stained brown.
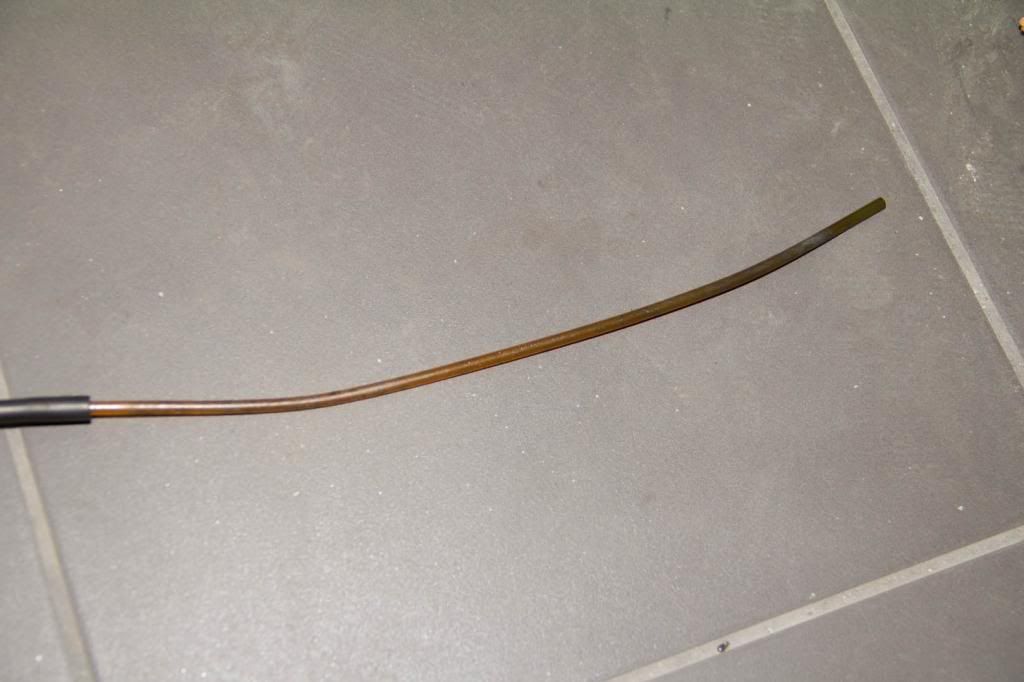
New vacuum hose cut to length and put together on the one way valve.
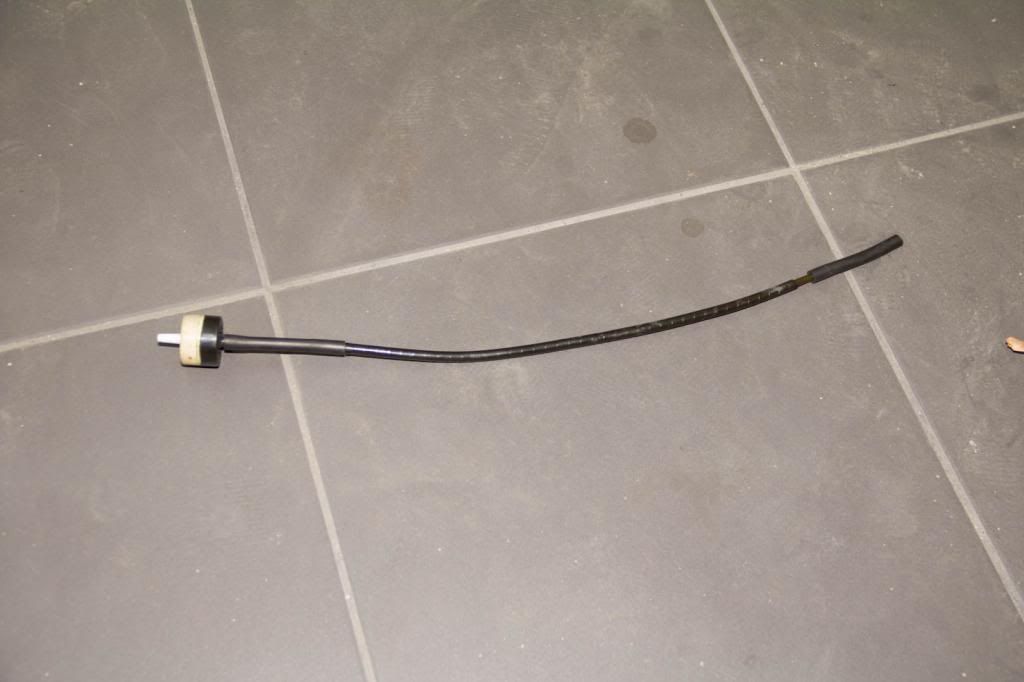
More cracked hoses.
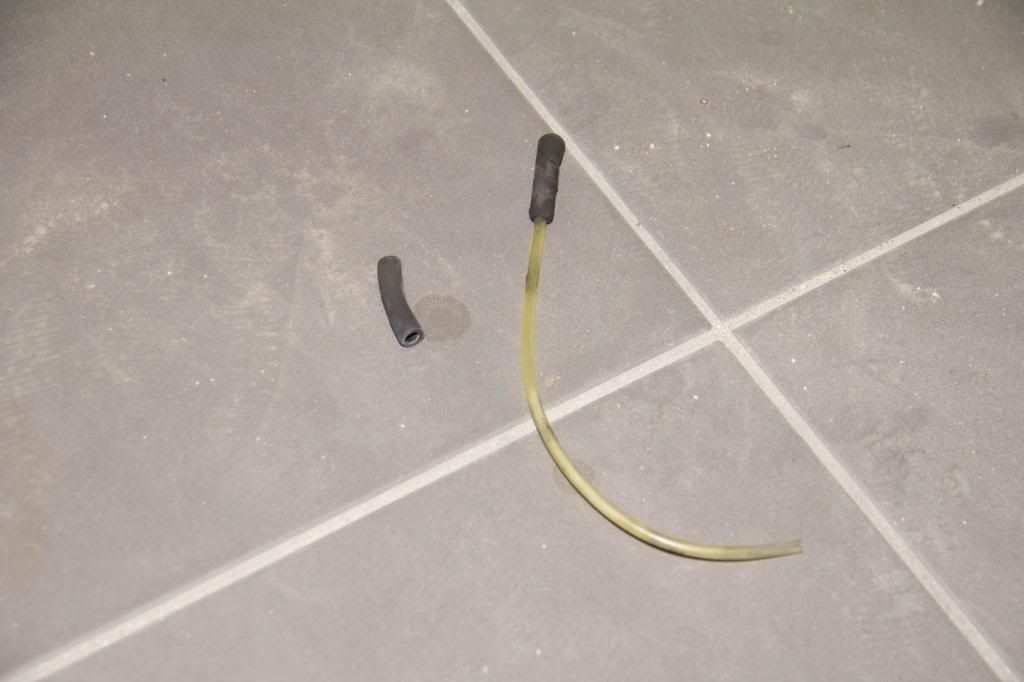
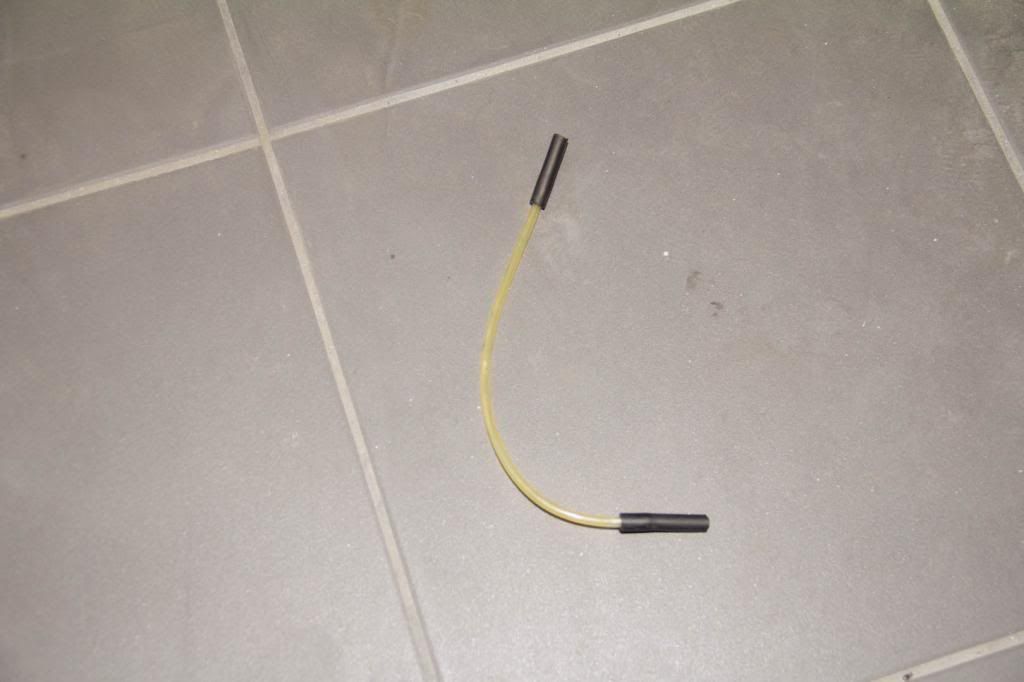
New hose cut to length.
Semi-finished picture. You can see the new hoses and the ICV mount that was missing
More to come tomorrow!
Some of the pictures are out of focus and I apologise for that. Really hard to use a DSLR with one hand.
Some pictures of the parts that were used.
ICV hoses.

Oil seperator, fuel pressure regulator, ICV mount and Intake plenum o-rings.

Oil seperator hoses.

Original Intake and Exhaust Camshaft sensors.

Intake plenum removed and started working on the oil seperator.

Oil spraying out of the hose that connects to the oil seperator from the cylinder head. There was a small split at the bend of the hose.

Hose was very soft and brittle. It fell apart upon removal.

Oil seperator with some of the hoses attached

Old vs new oil seperator hose

Cleaned up the oil seperator mounting bolt and fuel line clip


Cleaned up the oil seperator hose clamps


Found that a piece from the fuel tank ventilation was cracked so I replaced it


Removing the fuel pressure regulator. Had to bring out the vice-grips to remove it.


New regulator installed. It wasn't really necessary but I decided to change it while I was there.

Cleaned up as much oil as I could while everything was apart.

You can see the new ICV hose in this pic. As you can also see, the vacuum hoses are shot.

Knock sensor was starting to crack so it got replaced as well to prevent issues in the future.

When I removed it the plug was actually brittle and broke off inside the female plug on the engine wiring harness so I had to fish it out with a screwdriver


New knock sensor (trying out a new style of photography)

Looks like my belief of preventative maintenance is starting to work out for me lol!
Ran into a small issue when I tried to change the intake camshaft position sensor. Damn allen key wouldn't fit without removal of the fuel injectors...

Small job for my trusty dremel!

Done!

Fits perfectly

New intake camshaft position sensor goes in.

Used blue threadlocker on the camshaft position sensor bolts

Old crankshaft position sensor. There was an oil leak behind my vanos previously so it got really dirty down here. I had it repaired using new o-rings.

Replaced the sensor and cleaned up the oil. Will check periodically to see if it has actually stopped leaking.

I knew that my vacuum hoses were cracking from my previous repair so I ordered a meter of new vacuum hoses to fix the leaks.

Cracked hoses

Looks like the vacuum hose was taking in engine oil fumes from the cracked oil seperator hose.

Tried to clean out the inside of the hose and lots of oil got cleaned out but it seems to be stained from the oil.

Better but stained brown.

New vacuum hose cut to length and put together on the one way valve.

More cracked hoses.

New hose cut to length.

Semi-finished picture. You can see the new hoses and the ICV mount that was missing
More to come tomorrow!
e34_lover
Club Guest
- Joined
- Feb 19, 2009
- Messages
- 107
- Points
- 0
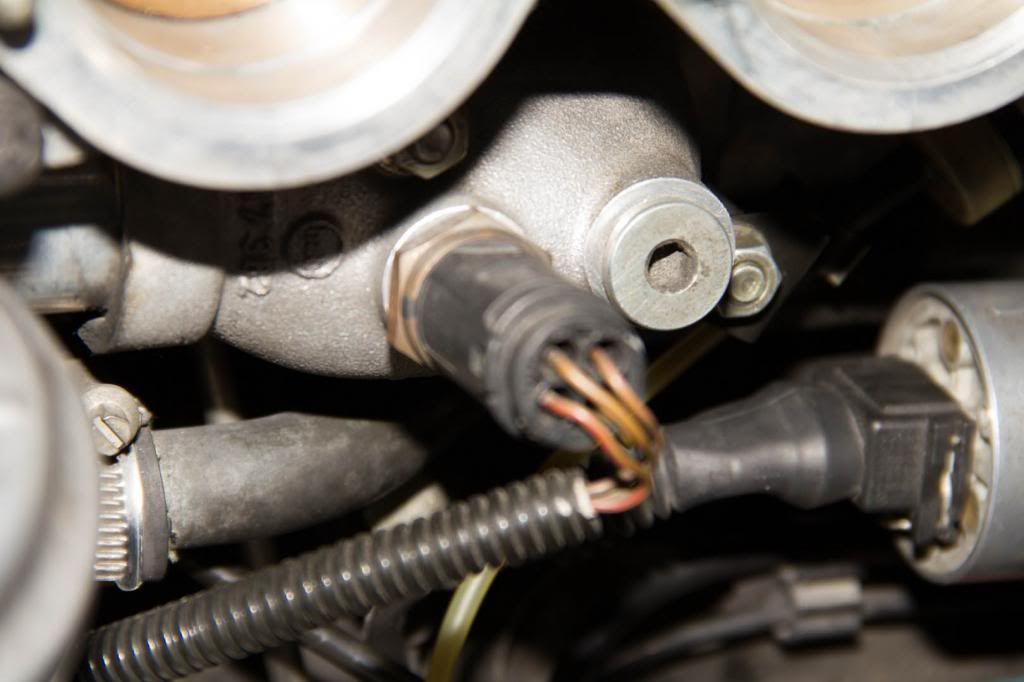
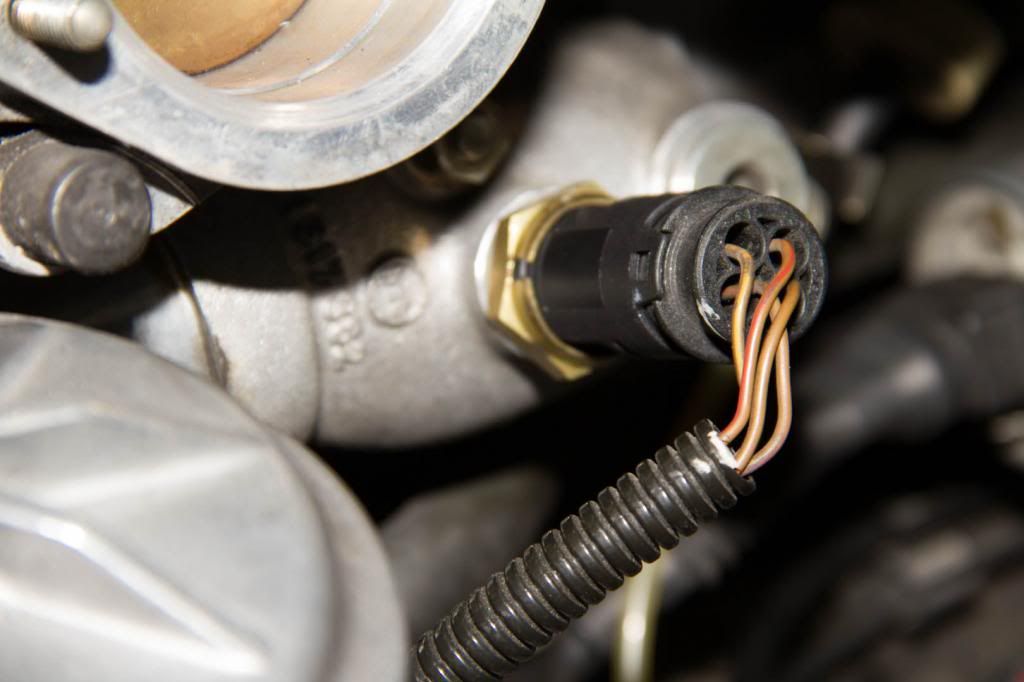
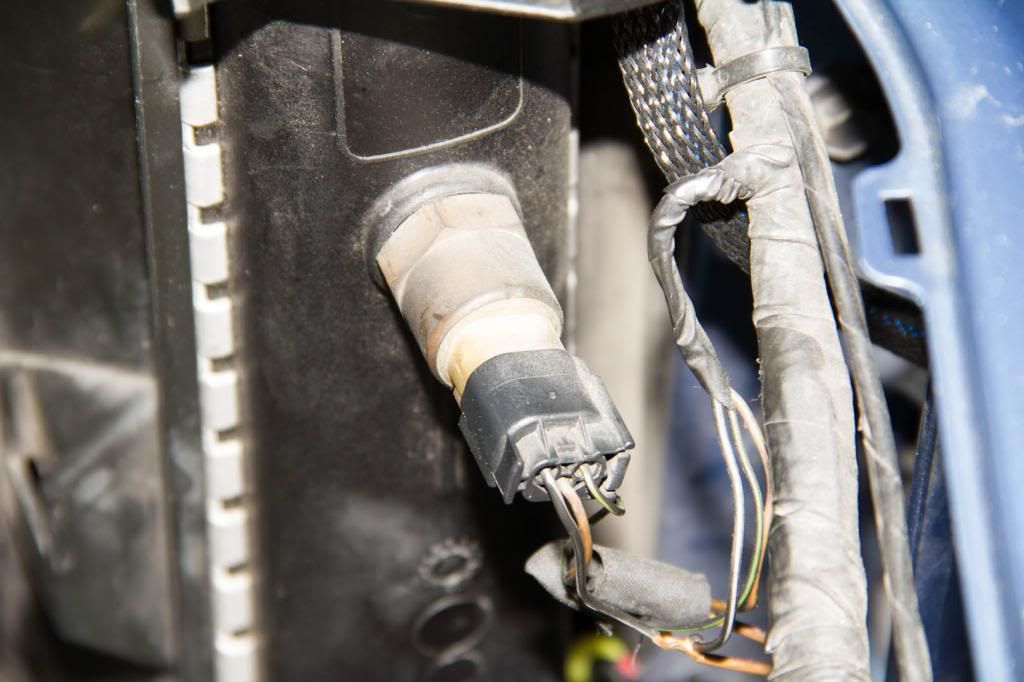
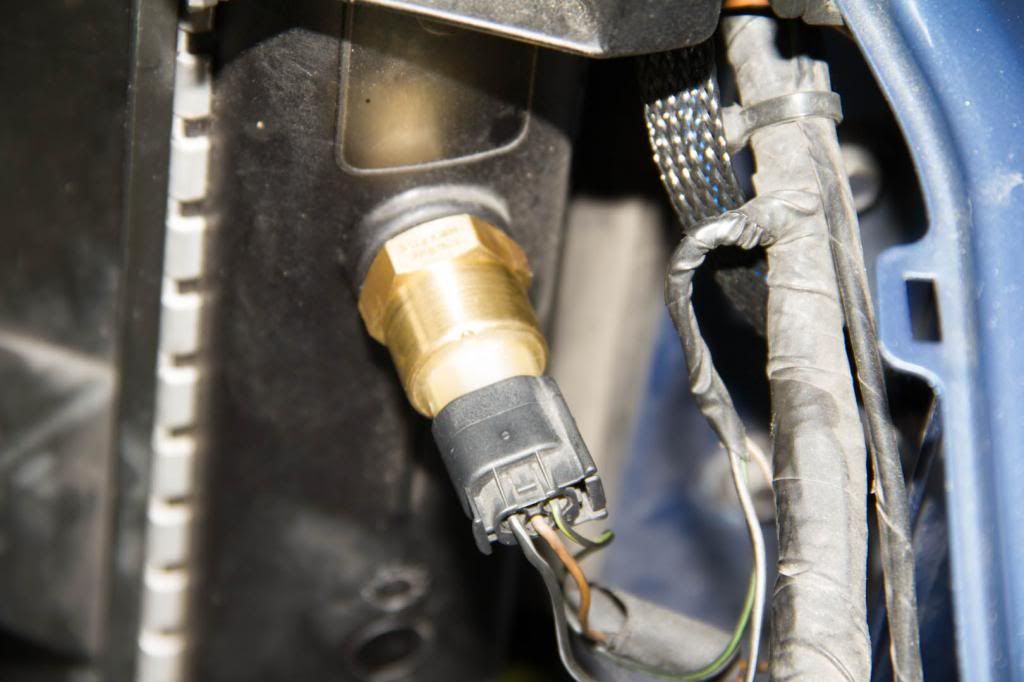
Coolant temp sensors. The one on the left is to trigger the high speed and low speed fans. The one on the right sends temperature information to the cluster. It also tells the ECU when to run in open and closed loop so I decided to change it.
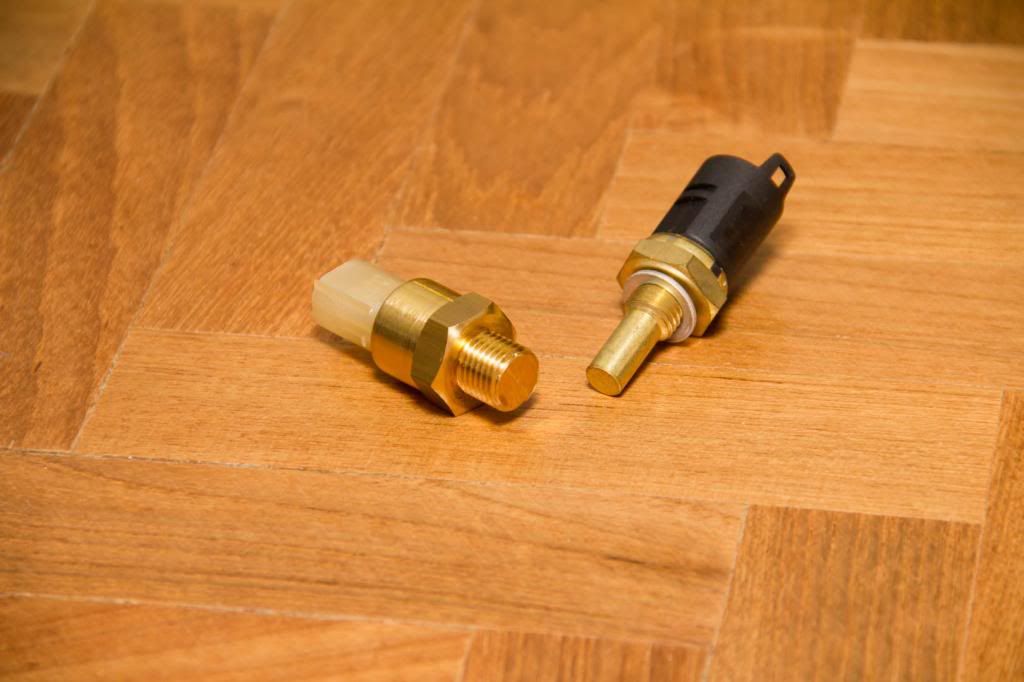
Old sensor
New one
Old sensor
New one
Previous owner bypassed the Aux fan control to run it at either low speed or high speed all the time. It was unnecessary to me so I removed it.
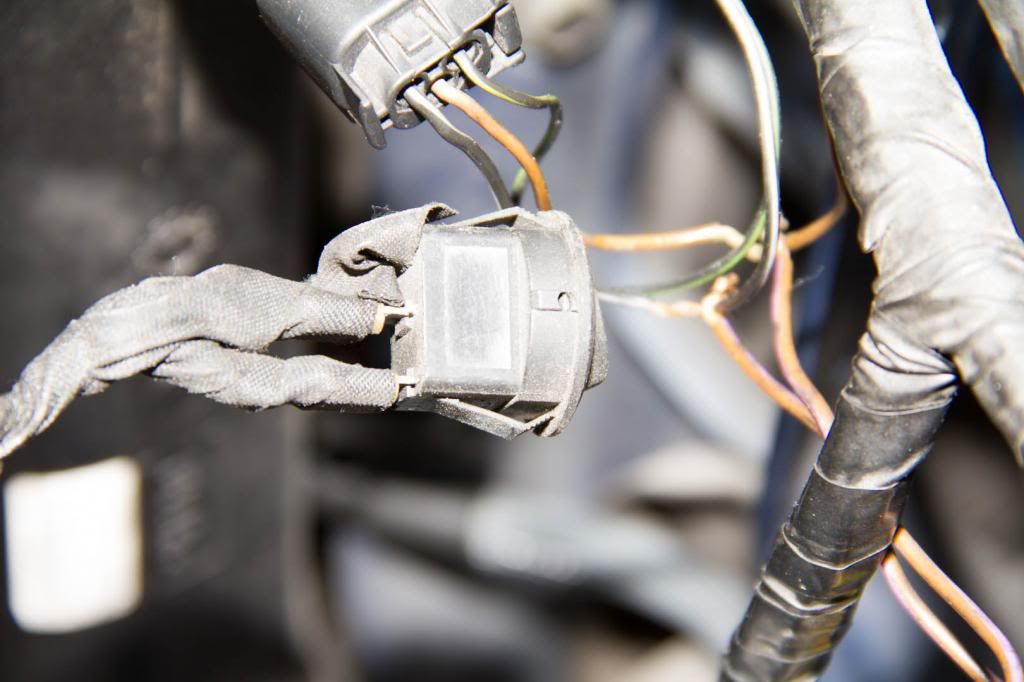
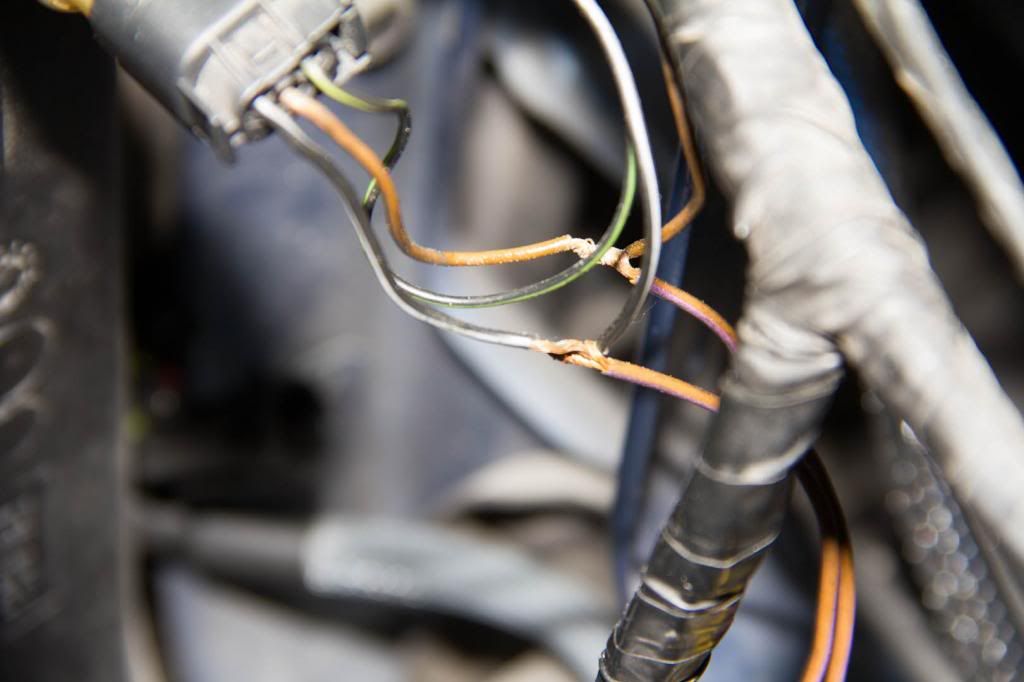
Will add the finished pic later. Can't seem to find it
Coolant vent hose that was missing on my car. Previous owner replaced it with a normal rubber hose....
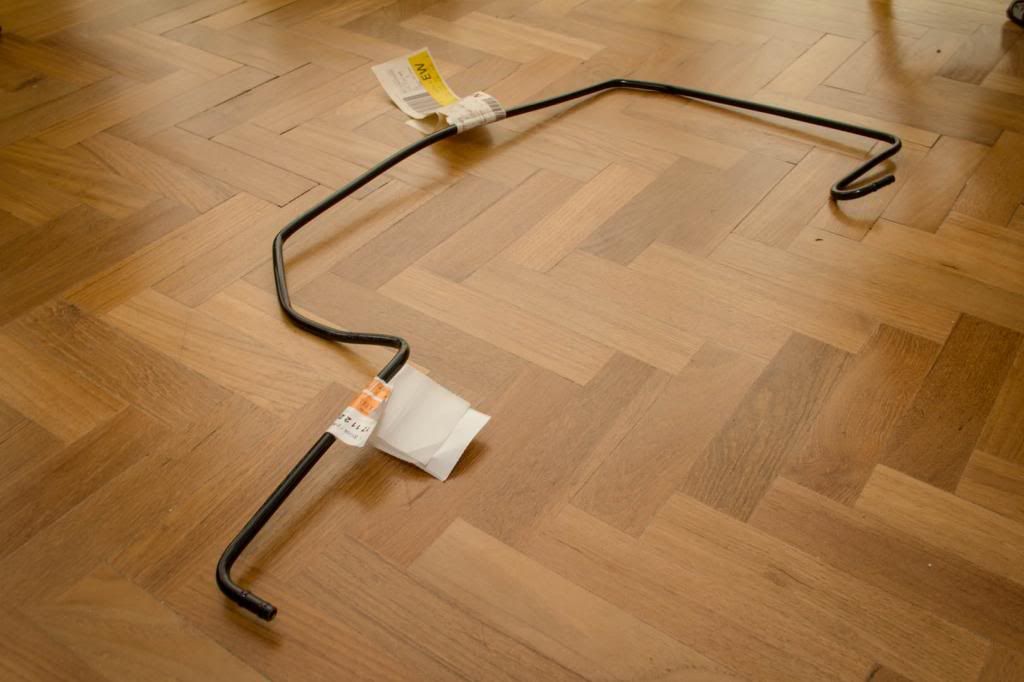
Rubber hose that was installed by the previous owner
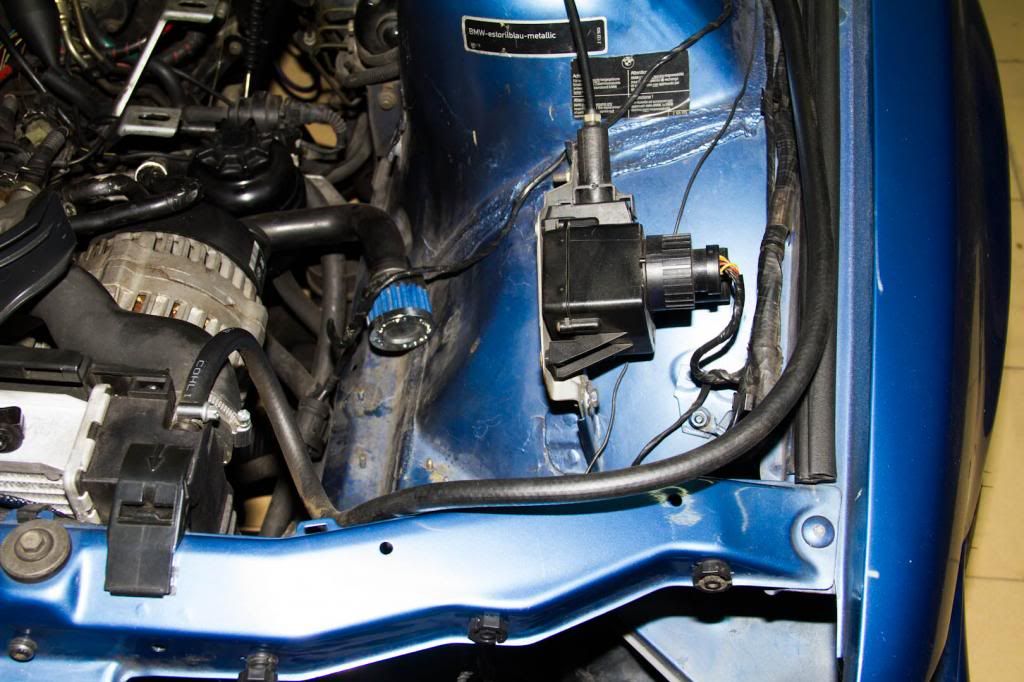
Missing clips for the vent hose
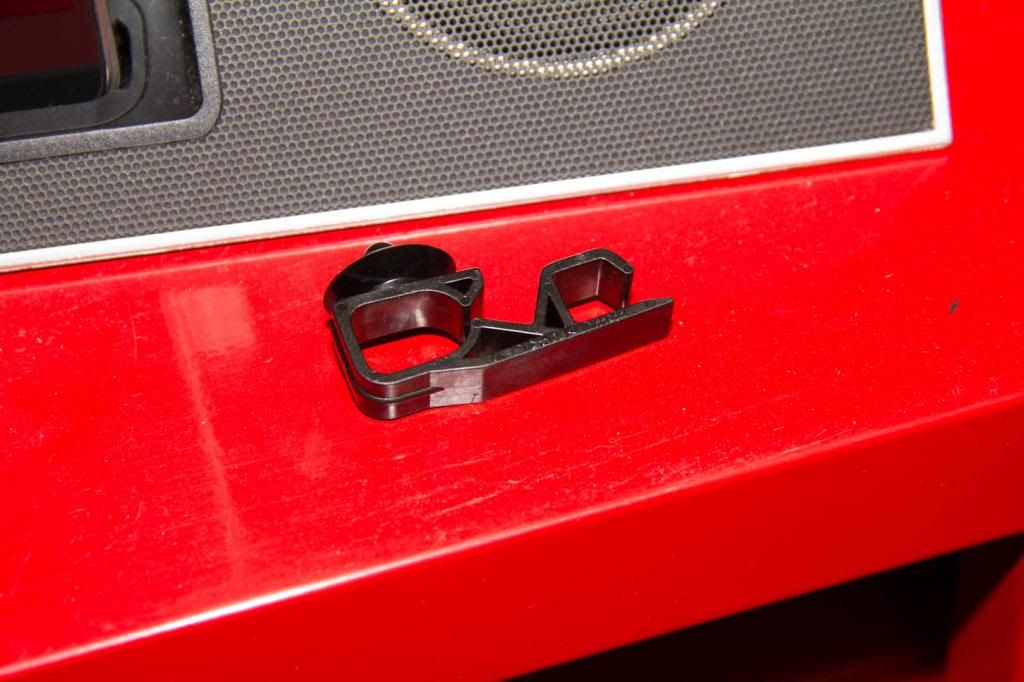
Installed
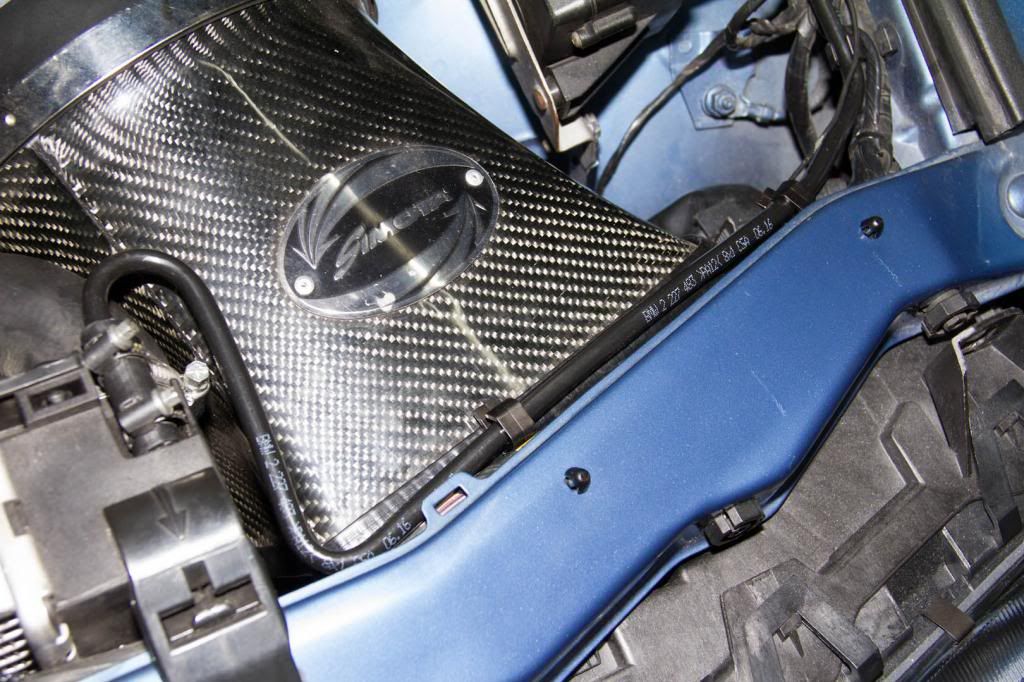
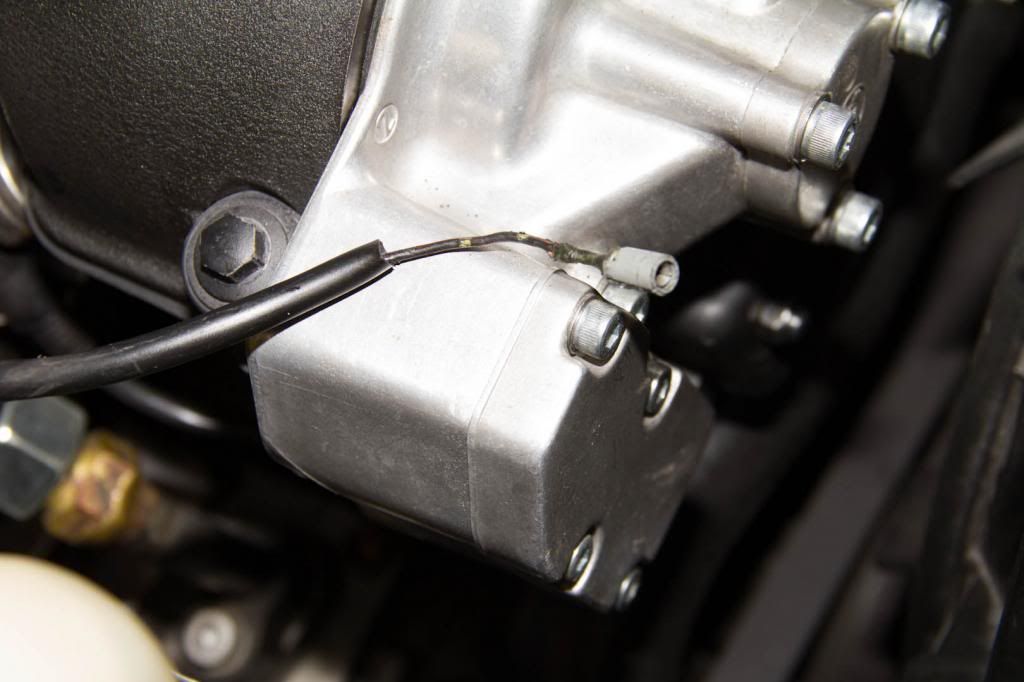
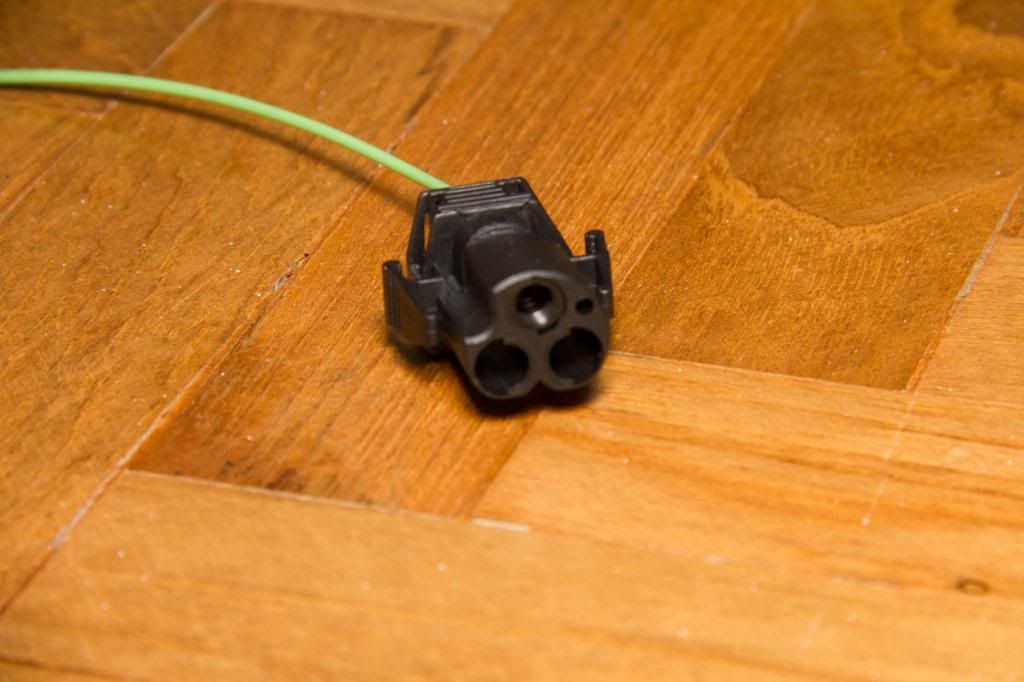
This is a picture of the compressor plug, or whats left of it.
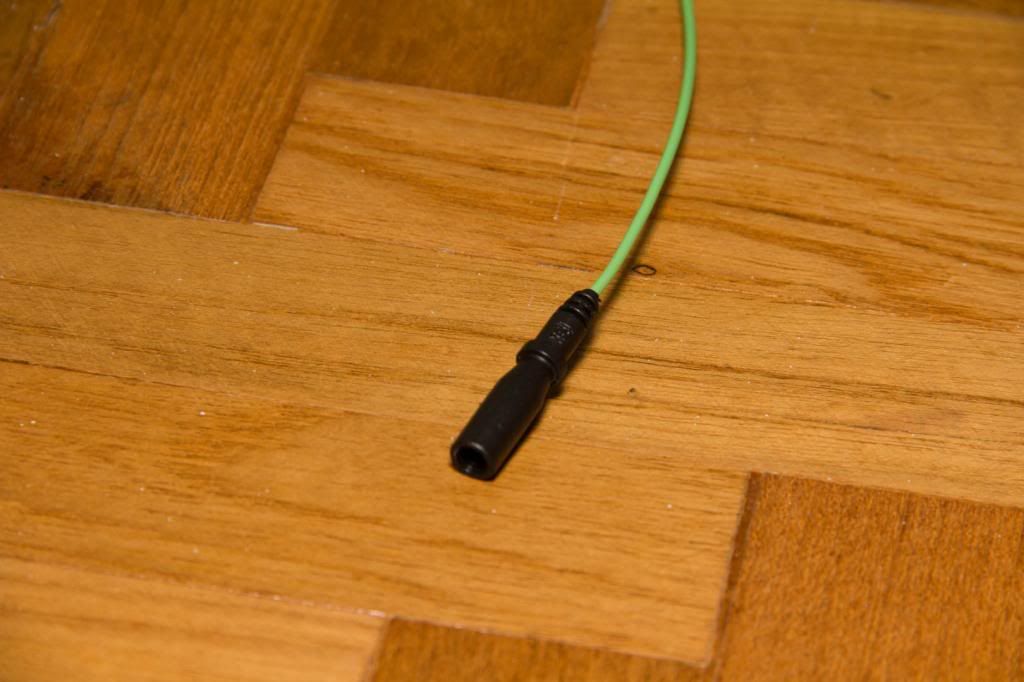
This is what is supposed to be on the end of that wire.
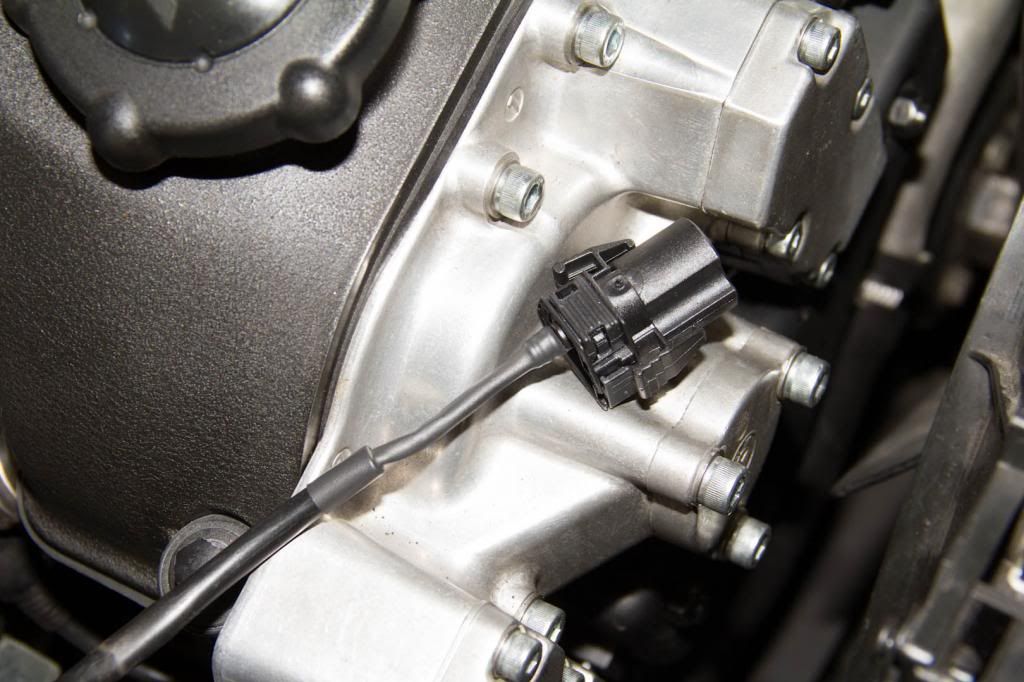
Connected into the plug for the compressor
Soldered on and heatshrink was used
This connector being broken seems to be quite common on E36's. I believe it is because mechanics lean on it and break off the brittle plastic parts.
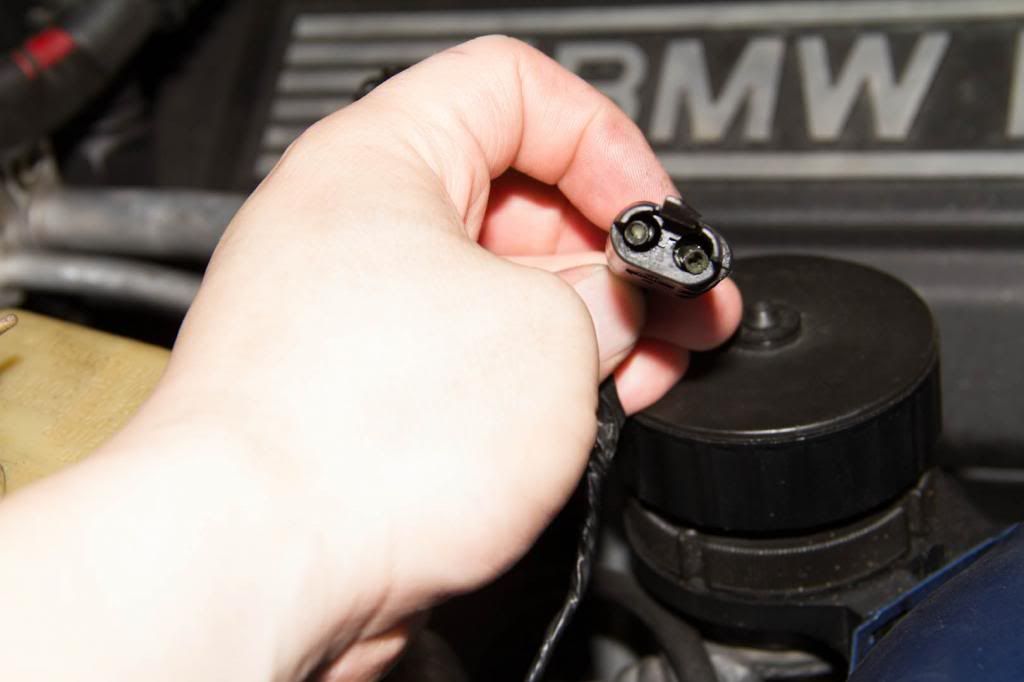
Uses the same connector as the compressor.
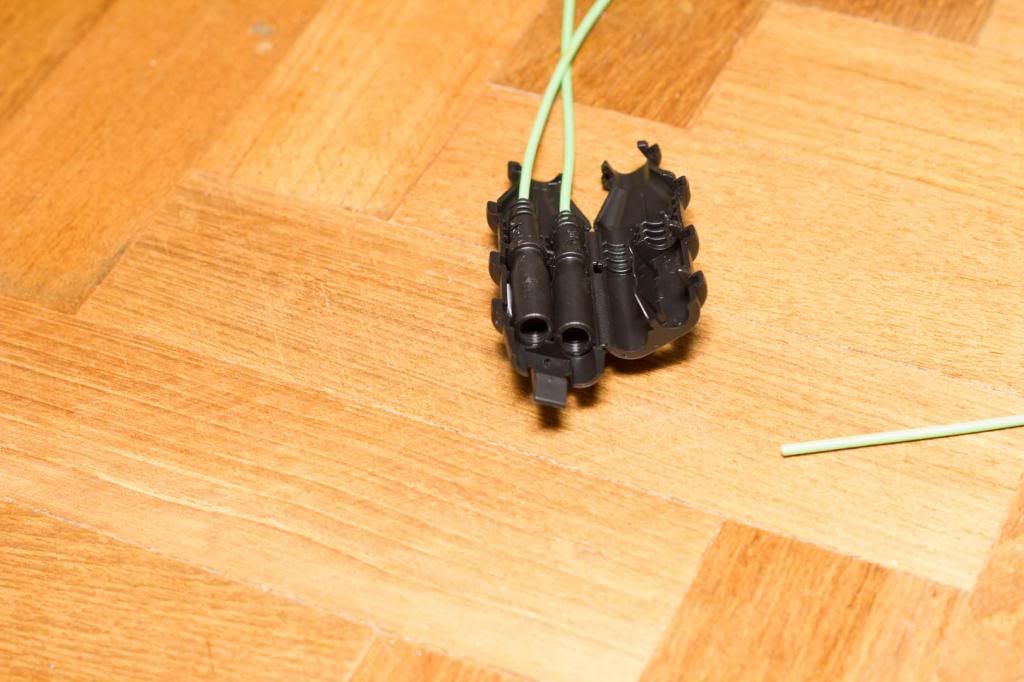
Soldered together and heatshrink used again.
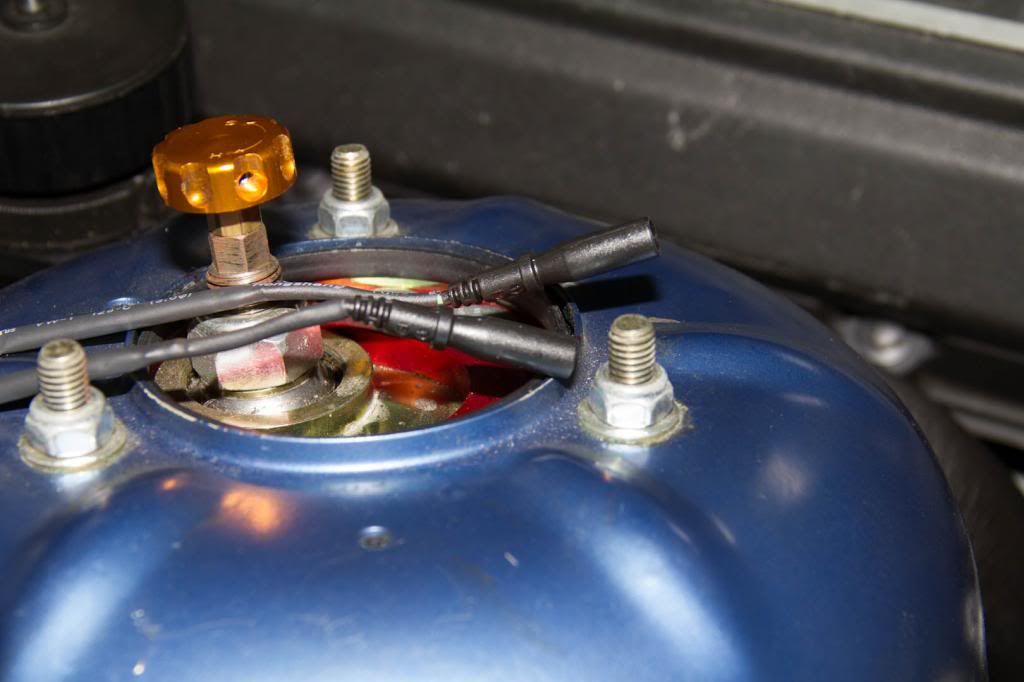
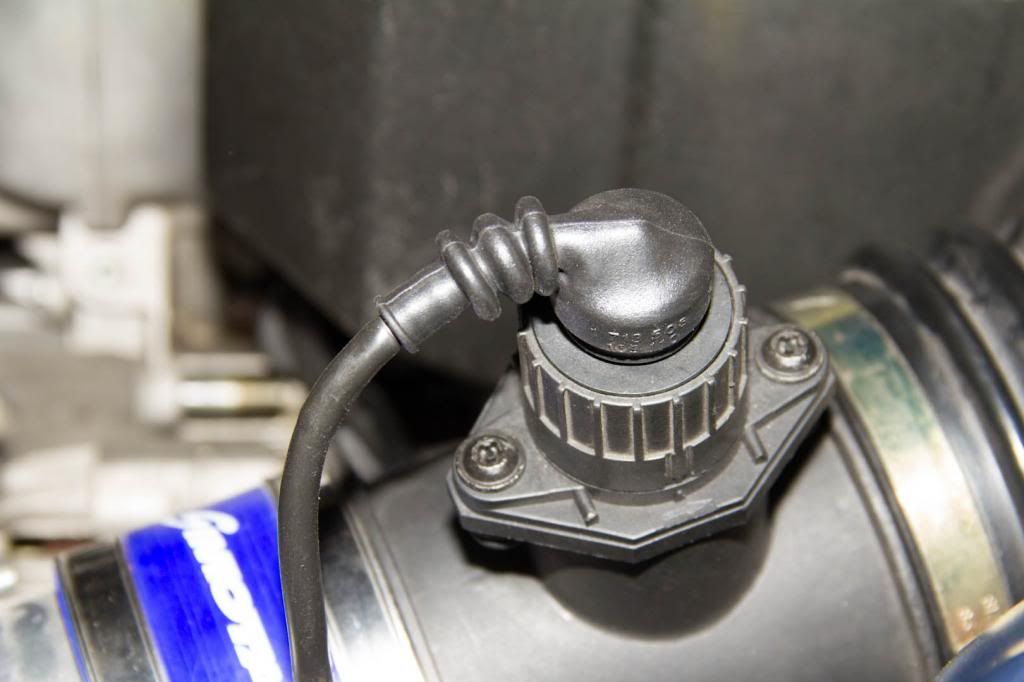
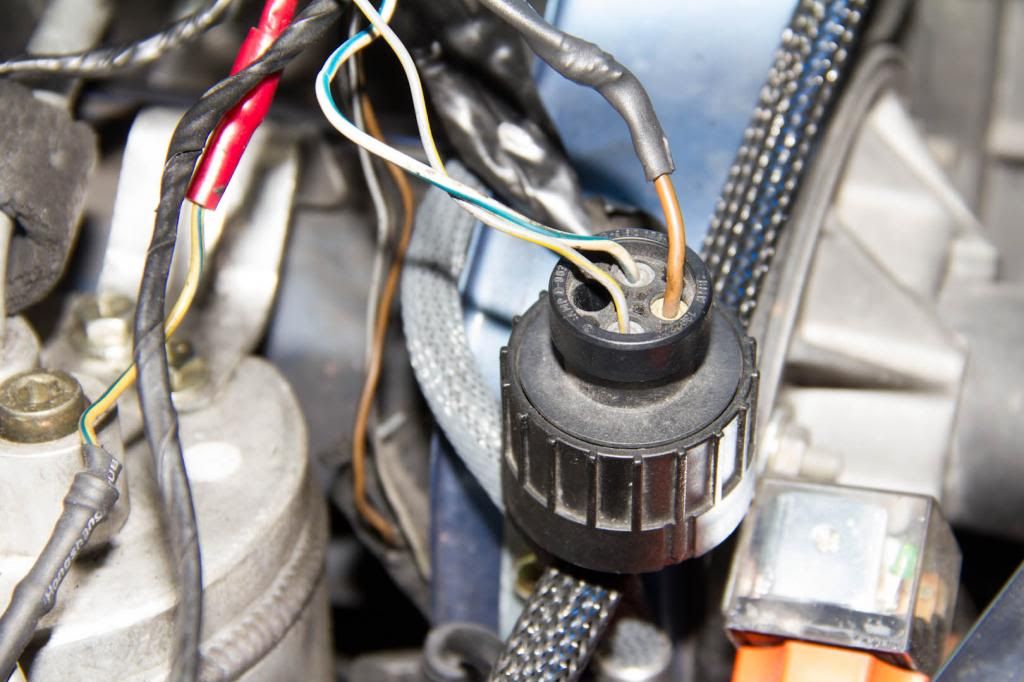
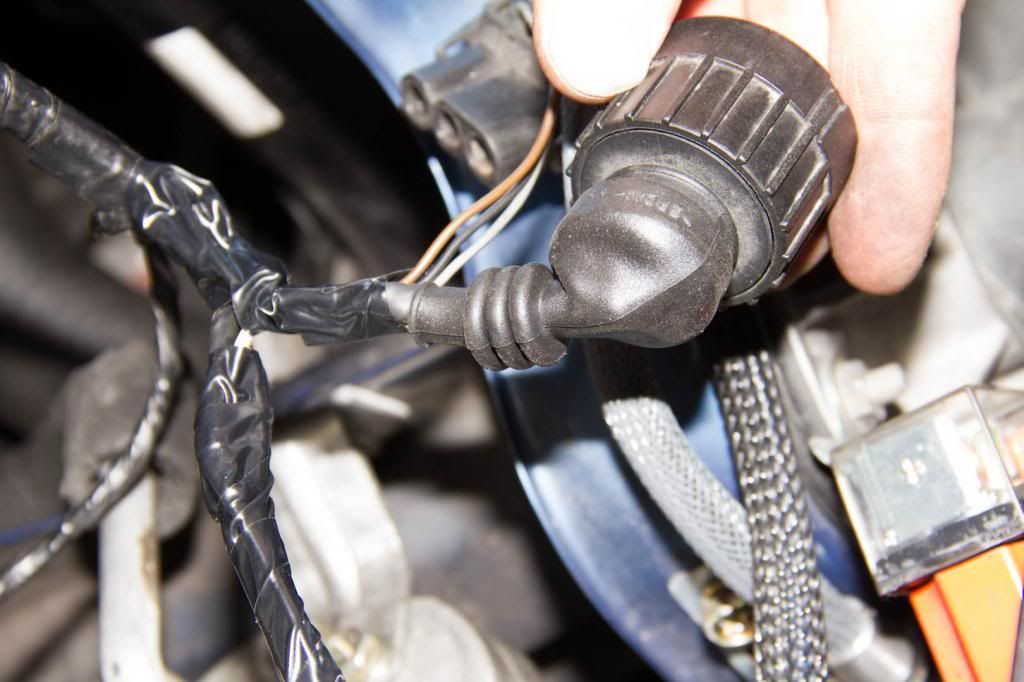
Broken MAF connector cover

Replaced with a new one. It was quite difficult to put on because the wiring needs to be removed from the connector and then put through the rubber cover and then reconnected.
Headlight connector
I wanted to neaten the wiring up a bit so I got some rubber covers that the MAF uses. I don't believe they were there originally nor are they required.
Passenger side
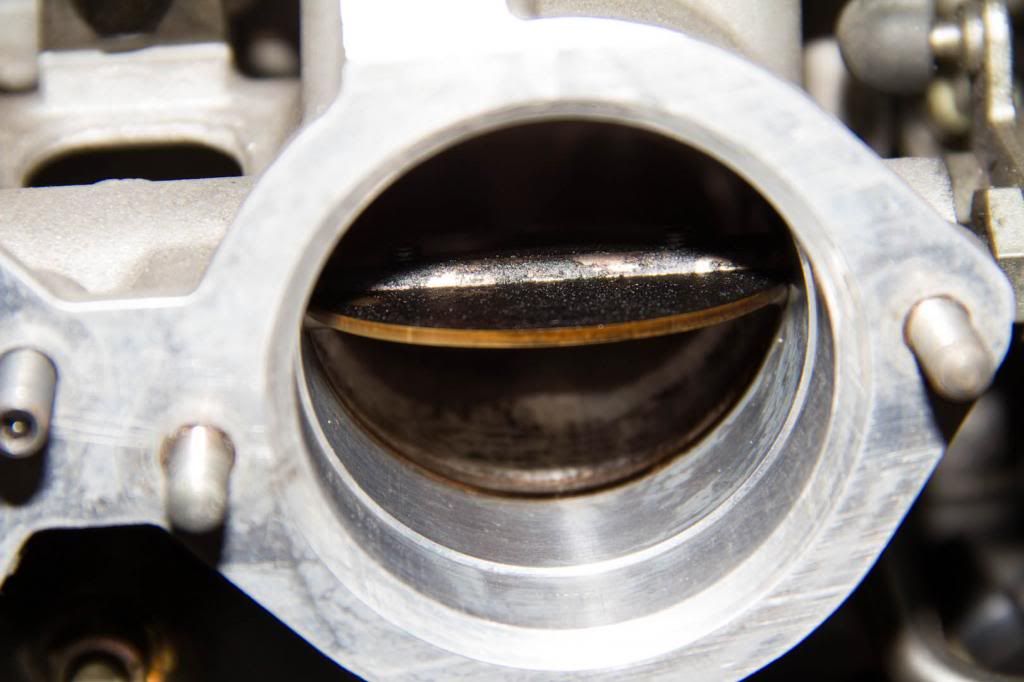
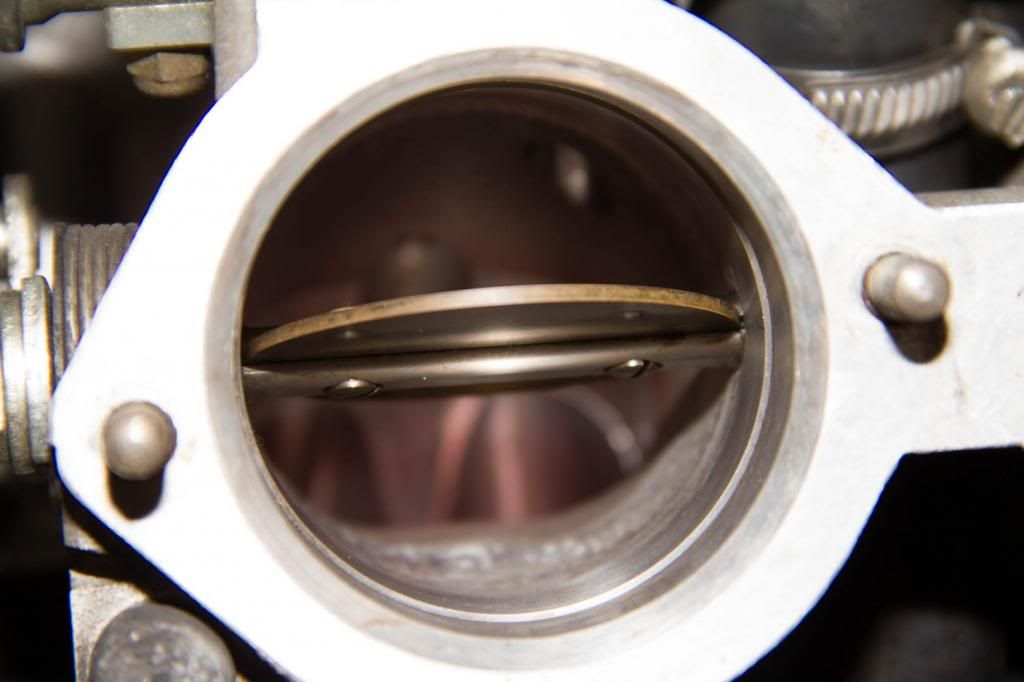
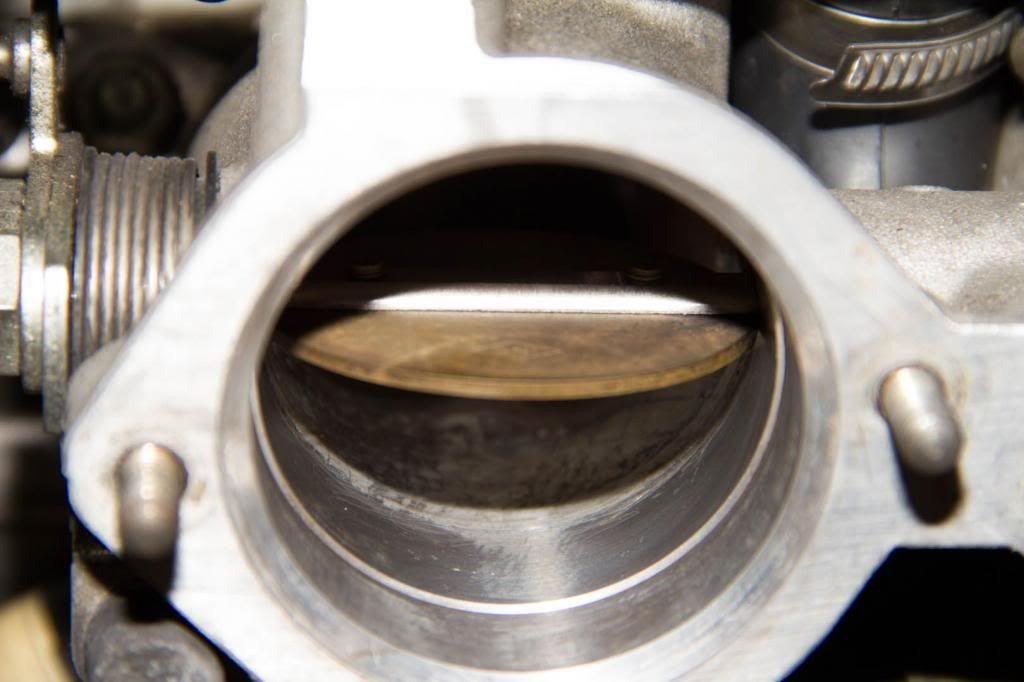
Throttle bodies seemed a little dirty so it got cleaned as well. The very first time I took apart the intake plenum, I did notice some oil on the throttle bodies. Not really sure where it came from but I wiped the oil up and it didn't happen again previously. This time I looked inside the throttle body which I did not before.
Had a little buildup of oil from the inside.
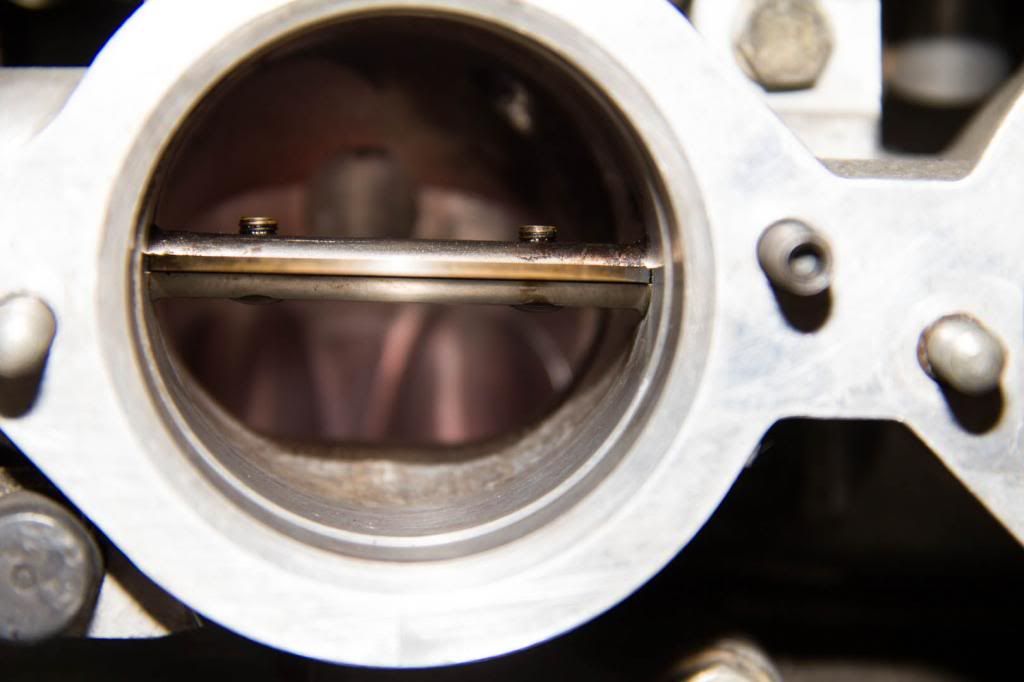
Cleaned it up as much as possible. Will have a look the next time I remove the intake plenum and check if there's any buildup.
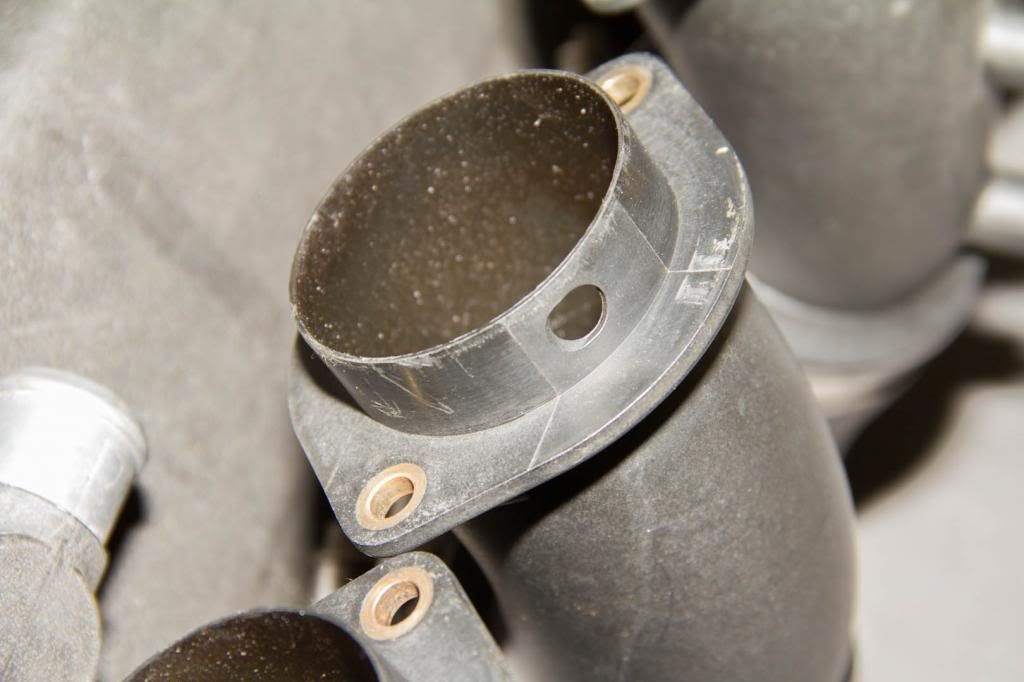
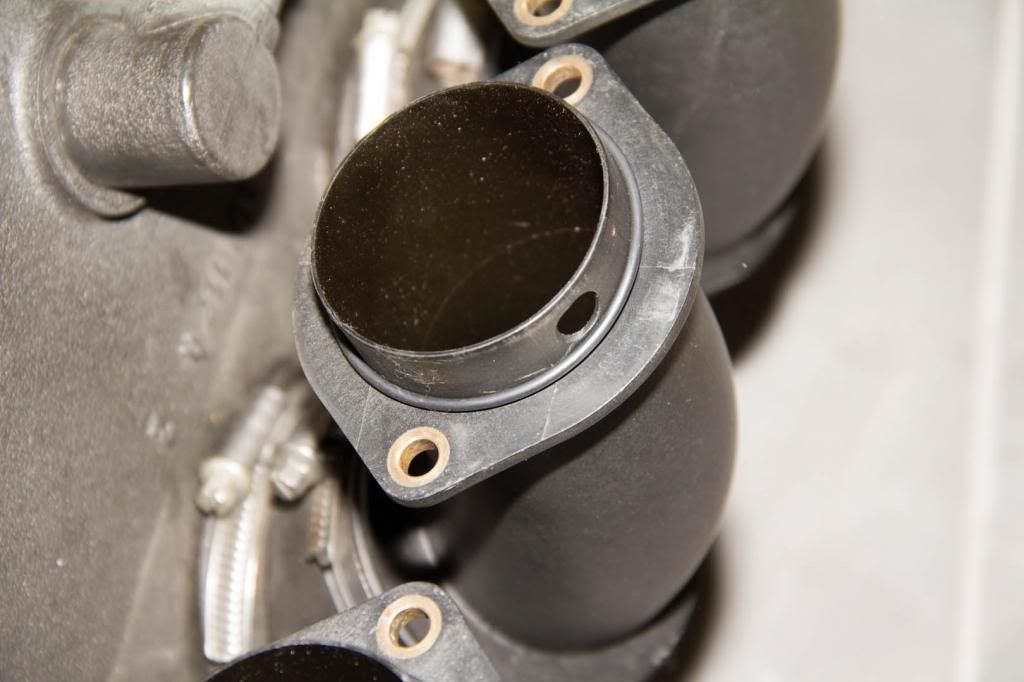
Intake runner o-rings
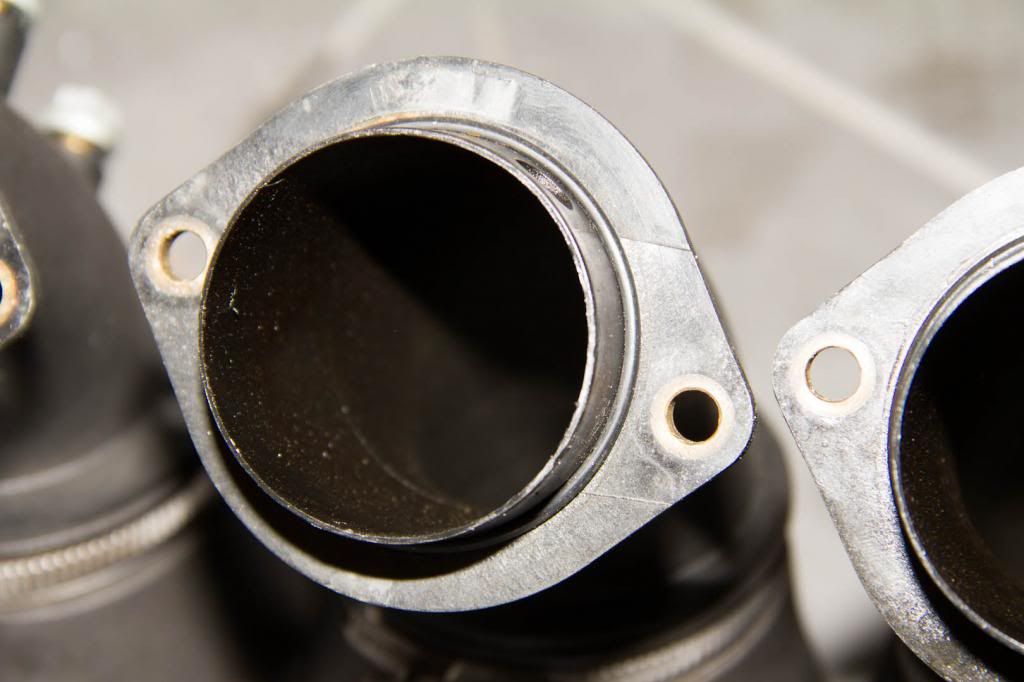
Some sort of deposit around the o-ring
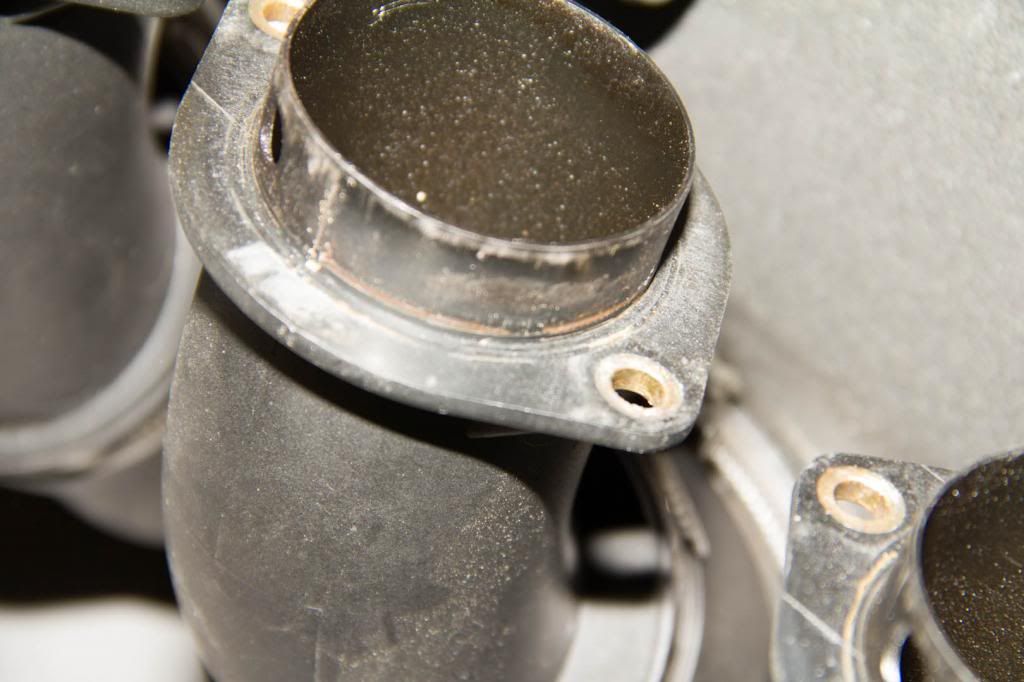
Cleaned up and new o-rings installed.
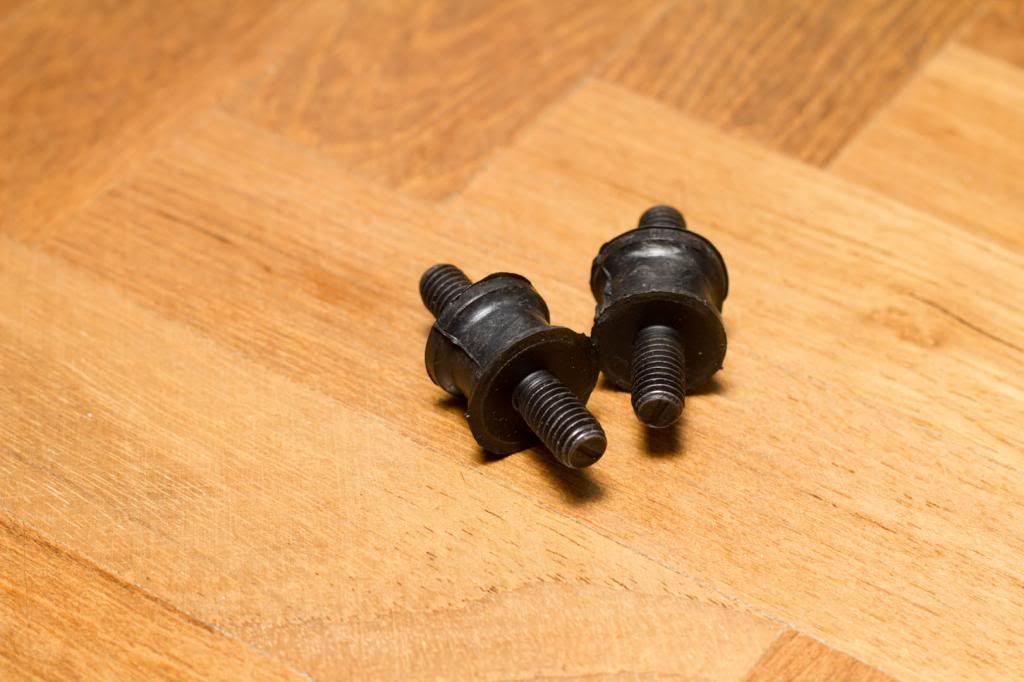
Intake plenum was missing these rubber dampers
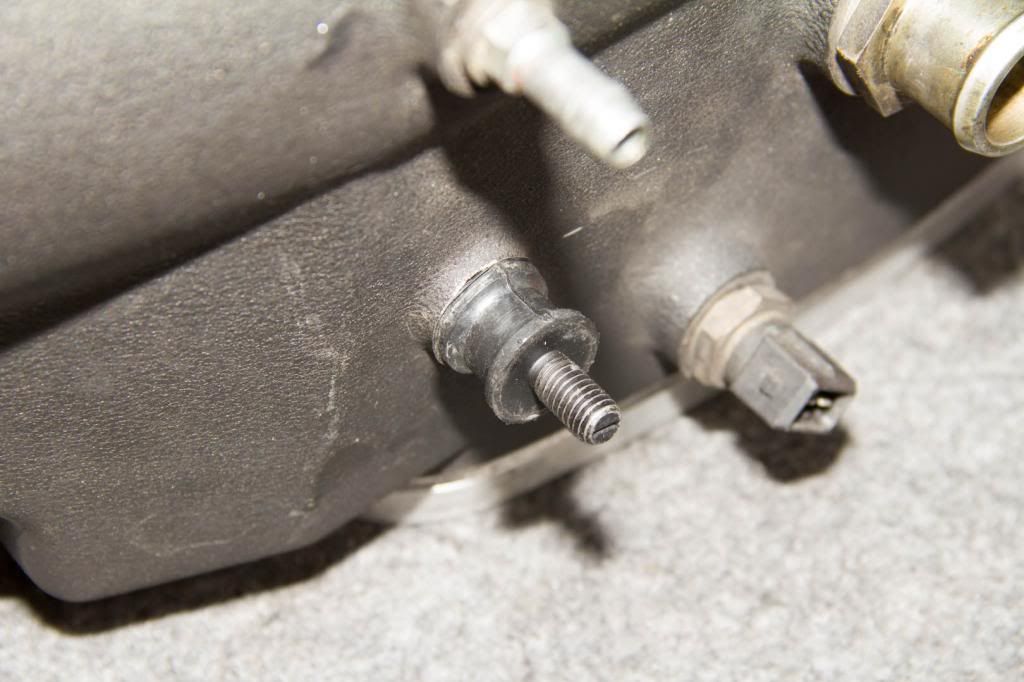
Installed
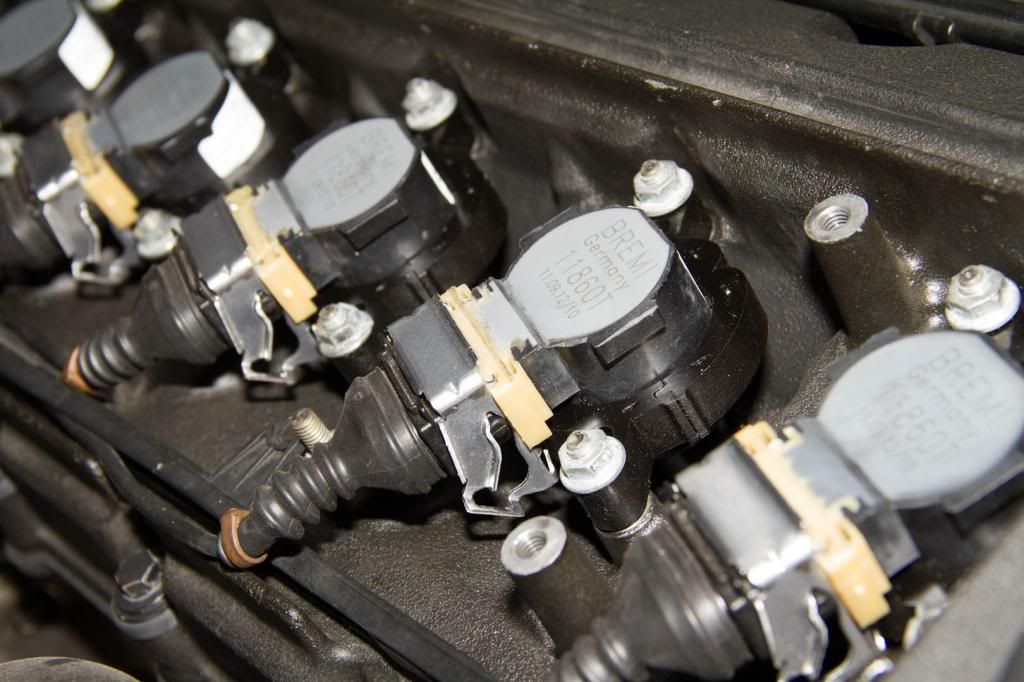
New coils, not that there was anything wrong with the old ones.
Still have a new alternator to install with its cooling ducts. Current one does not have issues but it is from an M50 so the cooling ducts don't fit. Previous mechanic also got rid of my cooling duct so I had to get new ones.

Old sensor

New one

Old sensor

New one

Previous owner bypassed the Aux fan control to run it at either low speed or high speed all the time. It was unnecessary to me so I removed it.


Will add the finished pic later. Can't seem to find it
Coolant vent hose that was missing on my car. Previous owner replaced it with a normal rubber hose....

Rubber hose that was installed by the previous owner

Missing clips for the vent hose

Installed

This is a picture of the compressor plug, or whats left of it.

This is what is supposed to be on the end of that wire.

Connected into the plug for the compressor

Soldered on and heatshrink was used

This connector being broken seems to be quite common on E36's. I believe it is because mechanics lean on it and break off the brittle plastic parts.

Uses the same connector as the compressor.

Soldered together and heatshrink used again.

Broken MAF connector cover

Replaced with a new one. It was quite difficult to put on because the wiring needs to be removed from the connector and then put through the rubber cover and then reconnected.

Headlight connector

I wanted to neaten the wiring up a bit so I got some rubber covers that the MAF uses. I don't believe they were there originally nor are they required.

Passenger side

Throttle bodies seemed a little dirty so it got cleaned as well. The very first time I took apart the intake plenum, I did notice some oil on the throttle bodies. Not really sure where it came from but I wiped the oil up and it didn't happen again previously. This time I looked inside the throttle body which I did not before.
Had a little buildup of oil from the inside.


Cleaned it up as much as possible. Will have a look the next time I remove the intake plenum and check if there's any buildup.


Intake runner o-rings

Some sort of deposit around the o-ring

Cleaned up and new o-rings installed.


Intake plenum was missing these rubber dampers

Installed

New coils, not that there was anything wrong with the old ones.

Still have a new alternator to install with its cooling ducts. Current one does not have issues but it is from an M50 so the cooling ducts don't fit. Previous mechanic also got rid of my cooling duct so I had to get new ones.
Chrix
Club Guest
- Joined
- Aug 15, 2010
- Messages
- 531
- Points
- 0
Wow.
and where did you get these buggers & how much were they?
http://i277.photobucket.com/albums/kk46/yeleon90/File0391_zps9a906b85.jpg
and where did you get these buggers & how much were they?
http://i277.photobucket.com/albums/kk46/yeleon90/File0391_zps9a906b85.jpg
Similar threads
- Replies
- 0
- Views
- 2K
- Replies
- 21
- Views
- 3K
