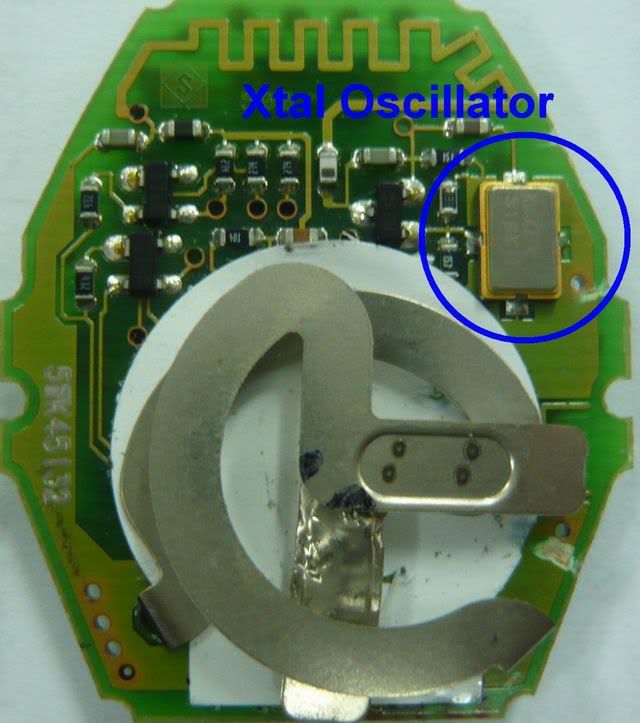
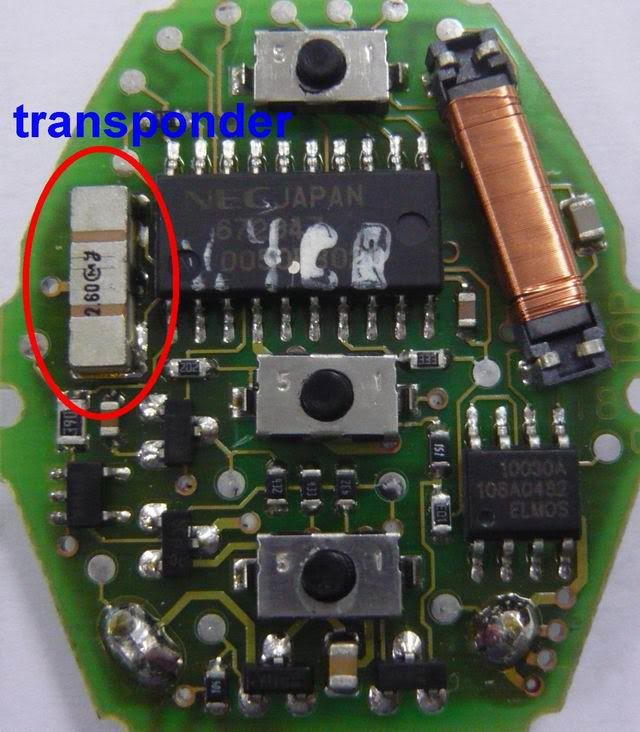
I found this from another website, hope it helps happy diy folks.
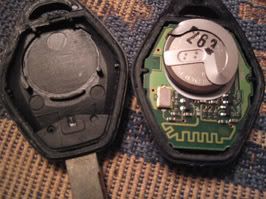
Yeah, my range for the key remote has been bad lately. So I ordered two new batteries from mouser.com I ordered two if these: VL2020-1HF since that's what I read elsewhere. These do not fit, you have to mess with them to make them fit. But shoot, this is a diy, that's why you are reading this. Please accept the stadard disclaimer that this is at your risk, I am not responsible for your problems, etc. Ok, here is what the stock cell looks like:
Two pins, about 90 degrees off:
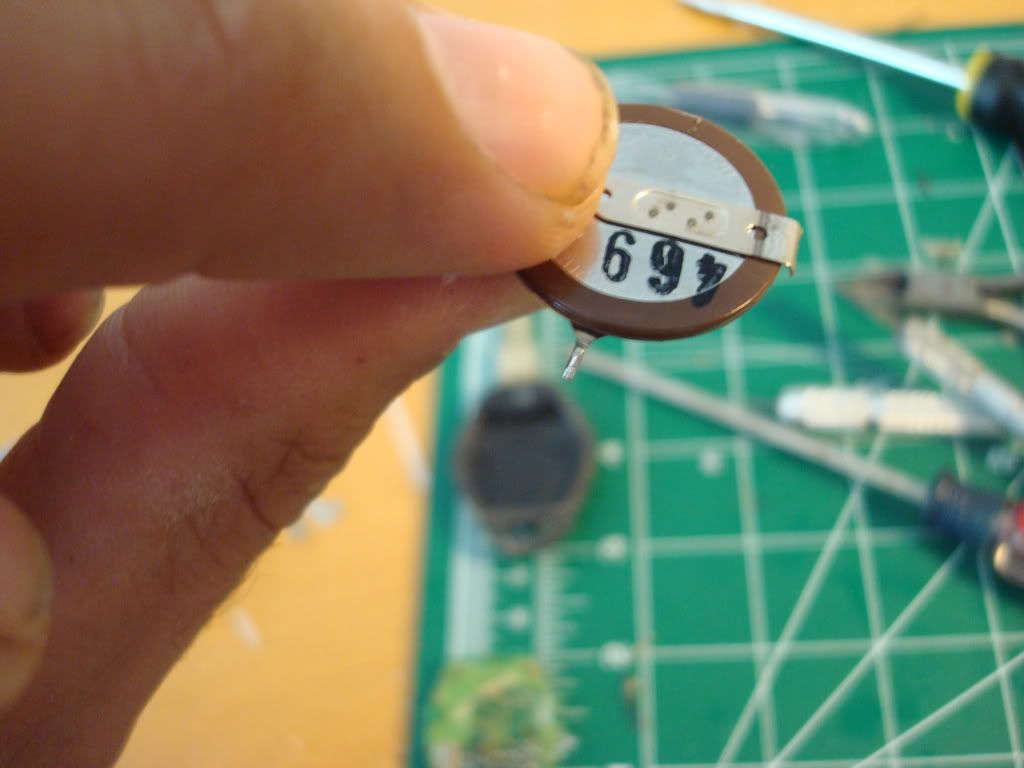
Here is what the mouser cell looks like:
People always say: "I had to bend it a little" man this is a LOT of bending.
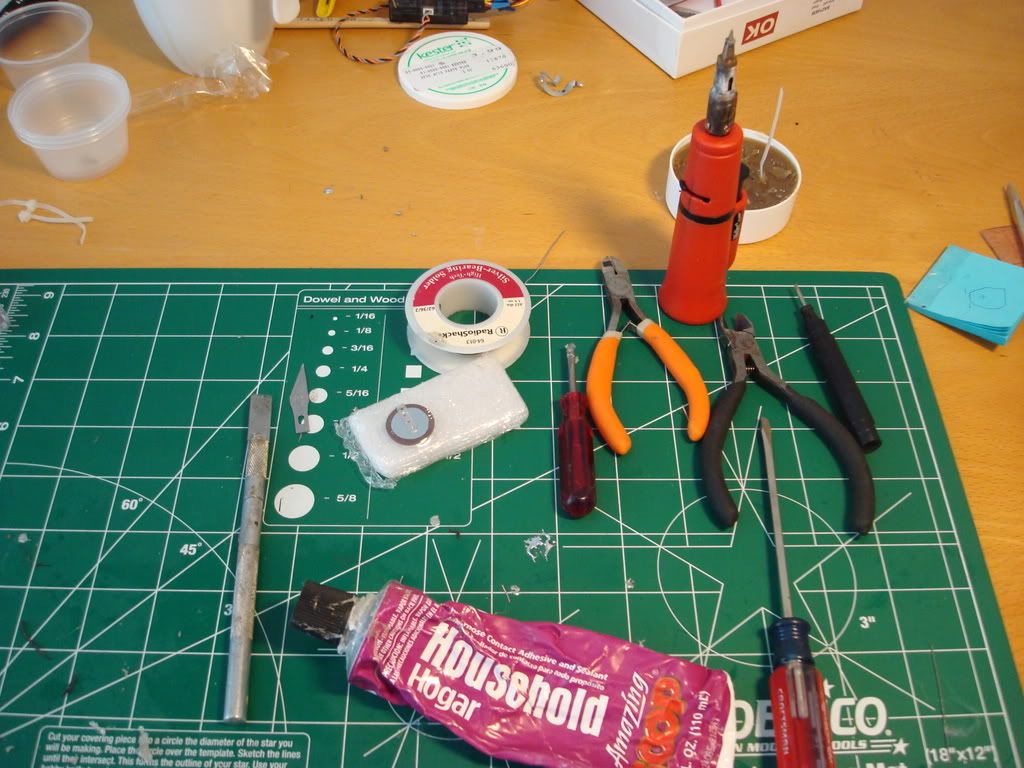
Ok, forst things first: the tools
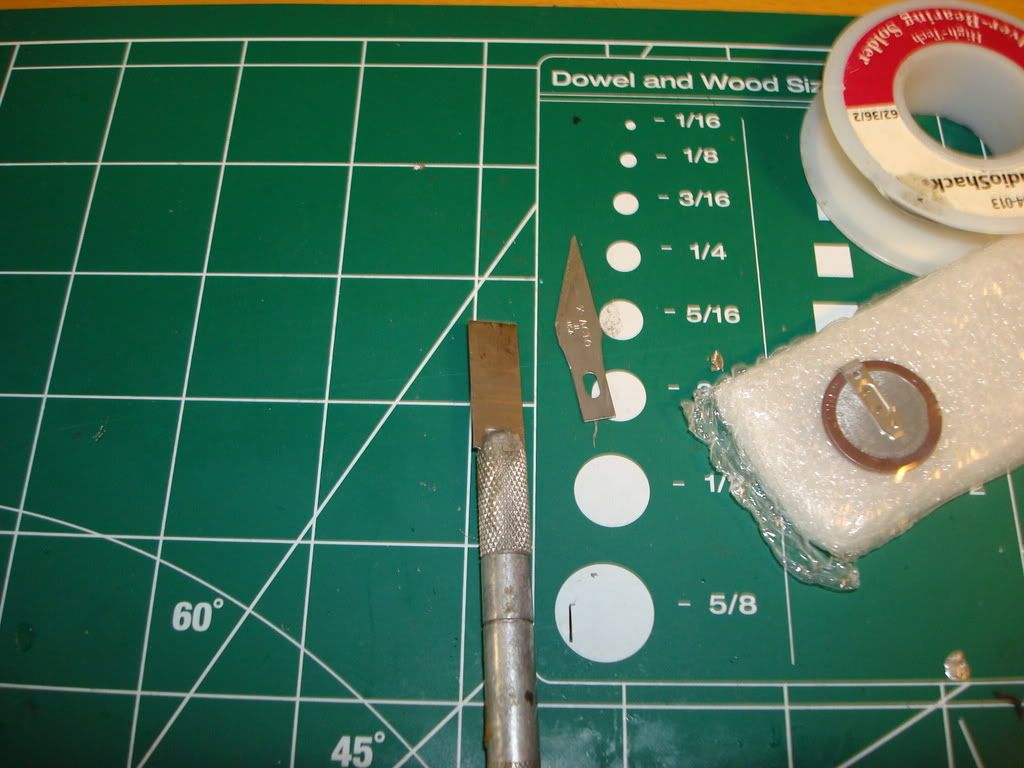
Standard fare, BUT the knives:
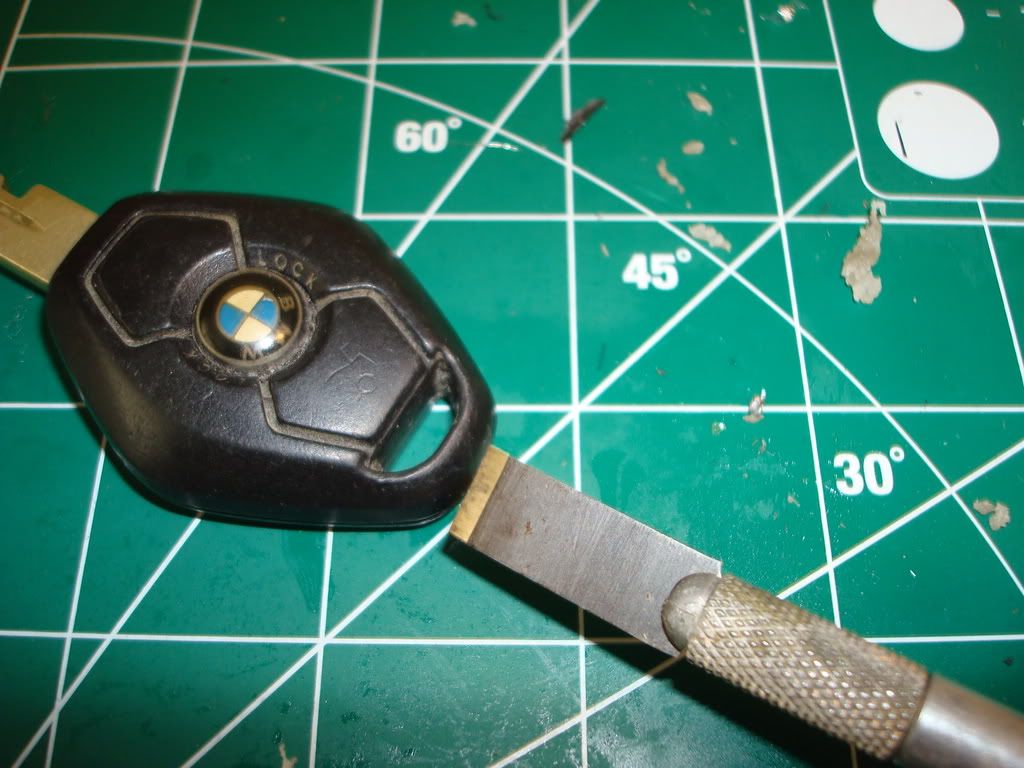
The flat exacto is PERFECT for cutting the key open, which is where I start:
Start from the rear, behind the key ring:
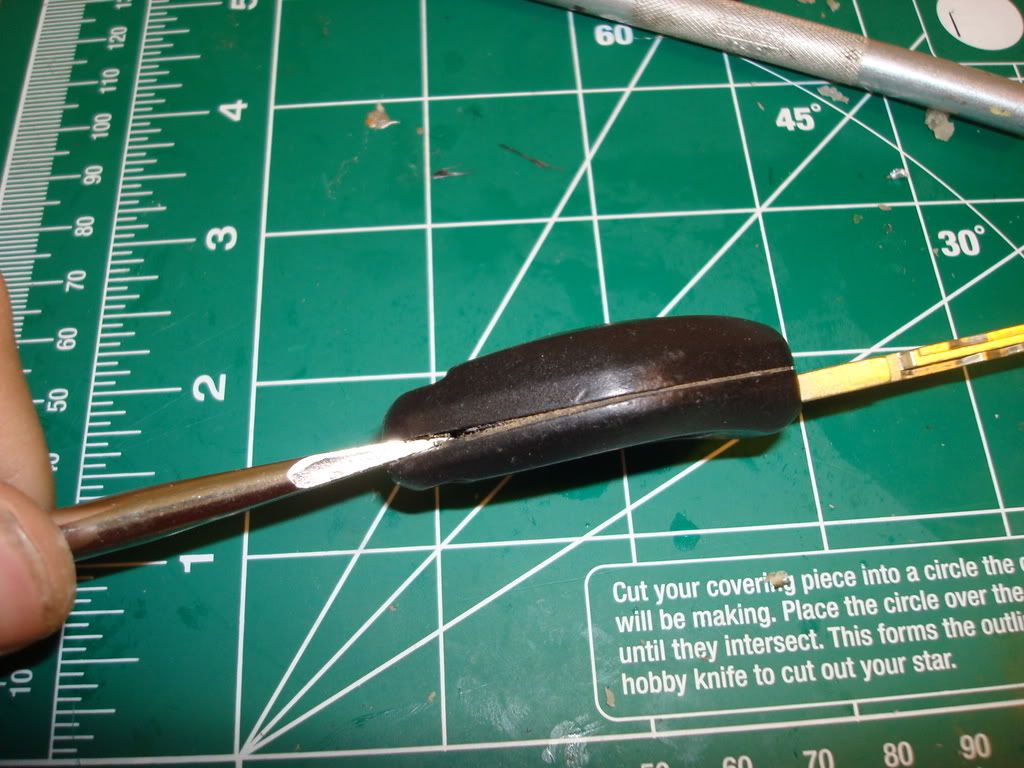
Then push to the meaty part of the key:
You will have to do SOME of this around the perimeter to open the key. This resulted in NO marks to the key intself, only to the stuff between the two layers
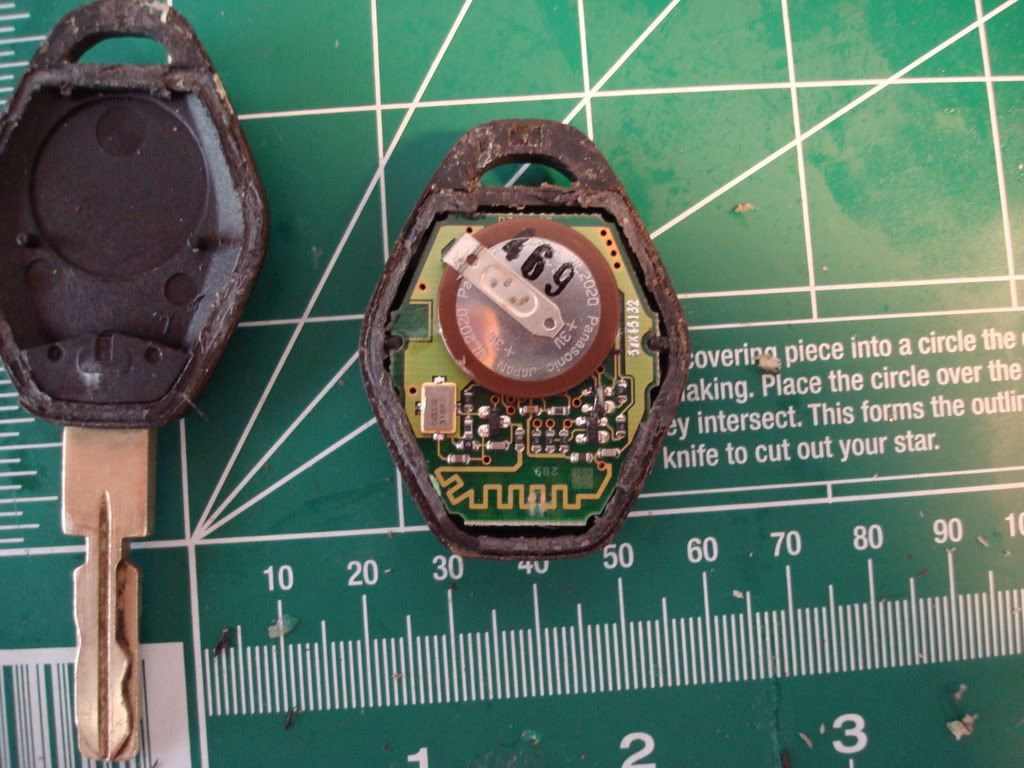
Removed the back and you get here
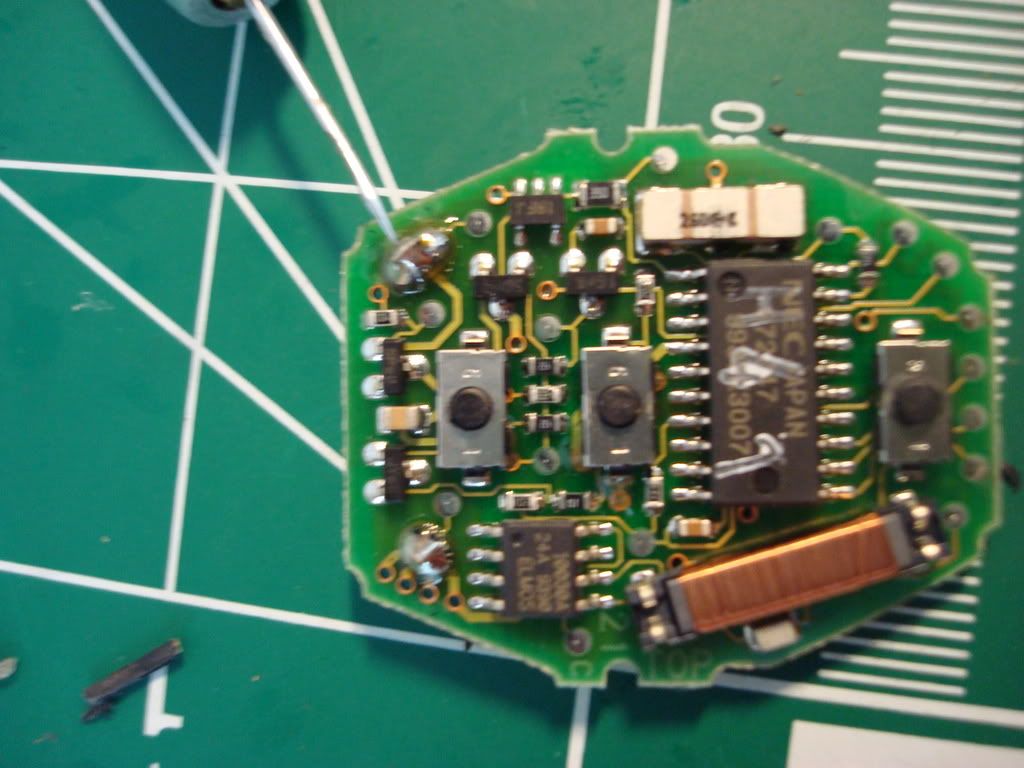
GENTLY pry board from face of key to get here:
Ok, look above. See Where the needle is pointing? Year that and the one on the other side, closest to the camera, need to be heated up., If you heat it, you can pop out the solder tabs of the existing battery.
CAREFUL!!! Do not heat them up too much, on one key, I put too much heat, details later!
Ok, once the solder lets go, the old cell will fall right out. What I ended up doing was, tearing the old thin tab from the old cell, and then soldering it to the new cell. Remember, the arms are TOTALLY off on the new cell, so you can;t get it to go in the correct holes. I take the old skinny:
Put some flux on the top, and tin it with solder. Then solder the tab into the circuit board. Now take the new cell, cut off the old skinny tab, not all, just the thick part, and then solder the thick tab in. Both tabs are now in, but the cell is not connected to the lower tab. Looks like this:
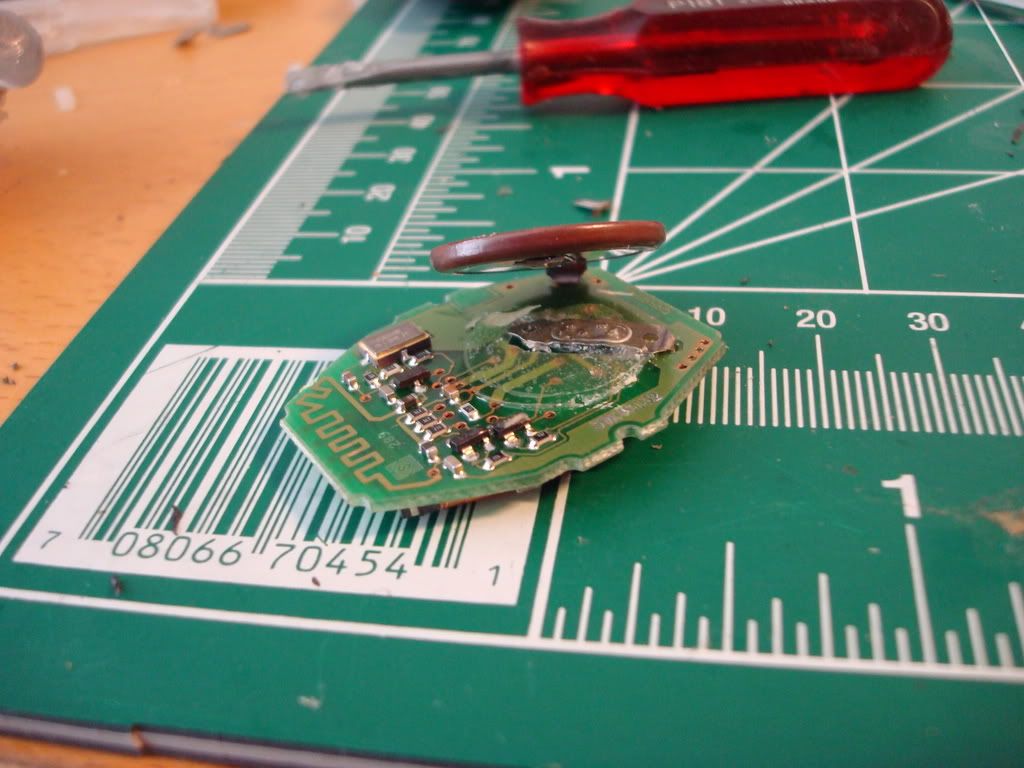
Now, heat the solder on the skinny tab, and when hot, fold the new cell on it. The solder tabs sill be soldered together. Even if this does not work, the pressure on the cell when the key s closed will keep it working. OK, all done. Use the Goop, that stuff is an awesome adhesive: (I build remote controlled planes, I have every adhesive at my disposal, and this is the best for this job, and can be purchased at any hardware store). Take the goop on the tip of your finger, and then apply generously to the edge of the key. Close it up, and now, with the key closed, rum in all the excess goop that flowed out when you closed the key. Kind of message it back in. This will make a total mess. BUT, you know wrap the key in a rubber band, or clamp it shut. 1 hour later, return to the key, remove the clamps or bands, and rub the edge of the key with your finger. You rub for 2 minutes, ALL EXCESS GOOP will be gone. Thing is water tight now,
enjoy the fact that you spent $5 per cell, plus $5 for ground delivery (mandatory by law for lithium batteries) and saved $600 from dealer. Remember to go down and re initiate both keys
Horror story: On one key, I overheated a joint. Long story short, when I put the new one in there, the old solder would not stick to the circuit board. No matter what (maybe too much flux was applied? I would not use any again on there). So, I solder a lot, and keep testing. Nothing. Finally, I decide to solder a wire from the tab, to where I thikn the old leads go. Nothing. Open the working key, and find only two places the big solder tab goes to. Solder mini jumpers from the new tab to the spots, and bingo! It works. Still need to see if it will charge, but I think it is ok. BE CAREFUL!
__________________

