astroboy
Well-Known Member
- Joined
- Dec 15, 2006
- Messages
- 8,734
- Points
- 63
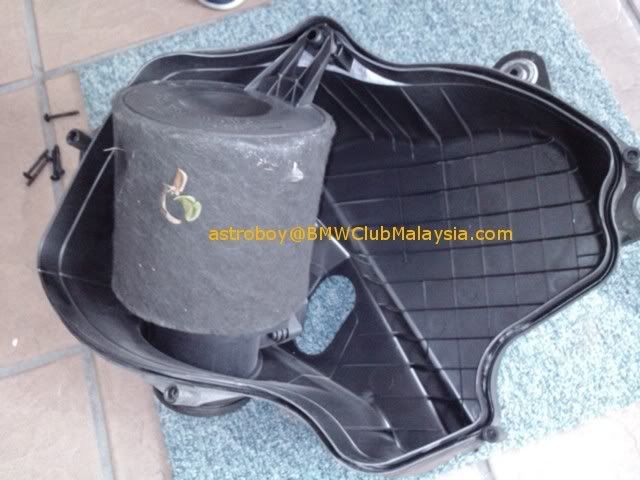
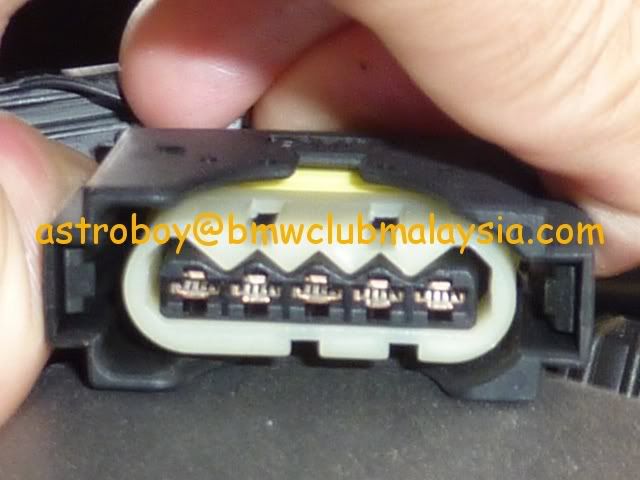
I suspect nothing was done to my air filter during my 1st BSRI service last week at the SC. At 24k km I figured the OEM air filter is pretty clogged up because if its K&N, it would be pretty dirty at 20k km. Since our air filter element is covered/protected by a synthetic wool sleeve, it's washing time!  Refer here for instruction to open the AF box:http://www.bmwclubmalaysia.com/forums/showthread.php?t=18090"Prying" open the air filter box after removing the several T-20 screws:
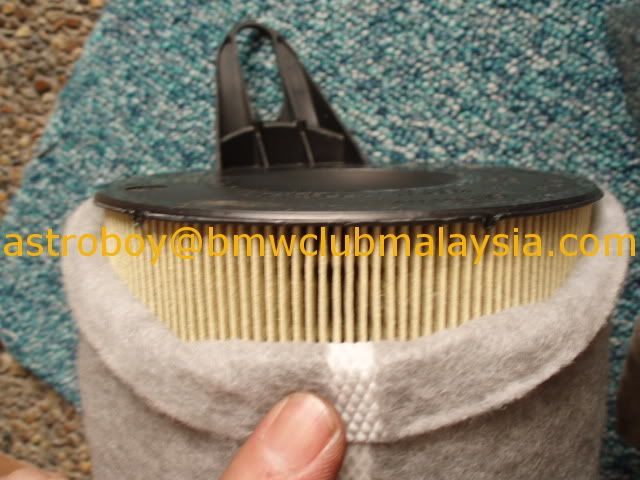
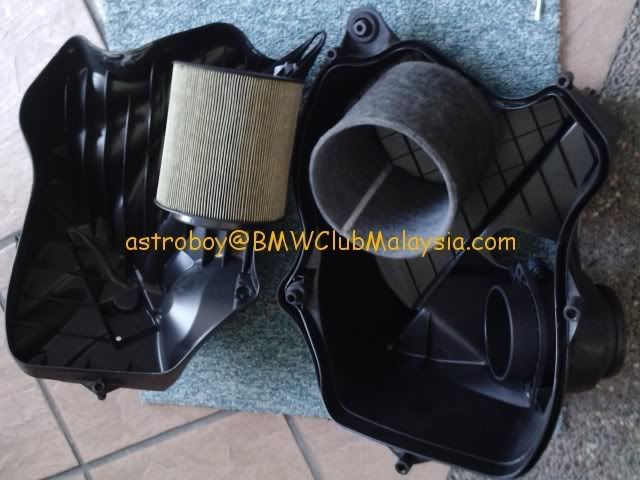
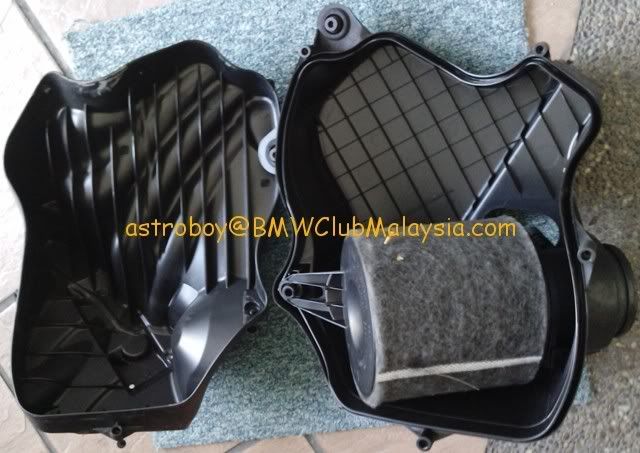 Separated the sleeve from the element:
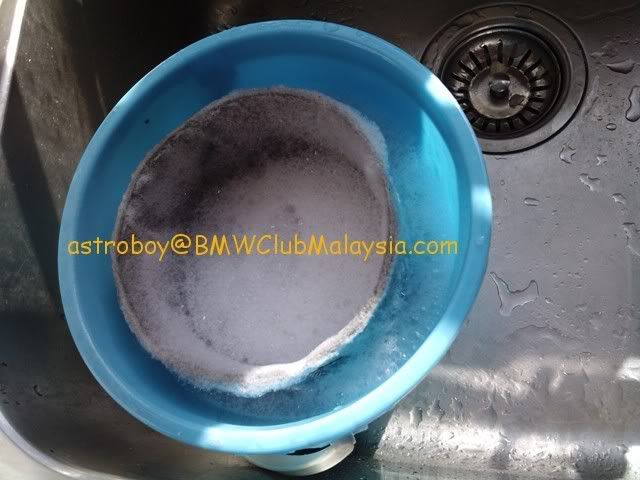
 Dip the sleeve into a bucket of water premix with dish cleaning detergent:
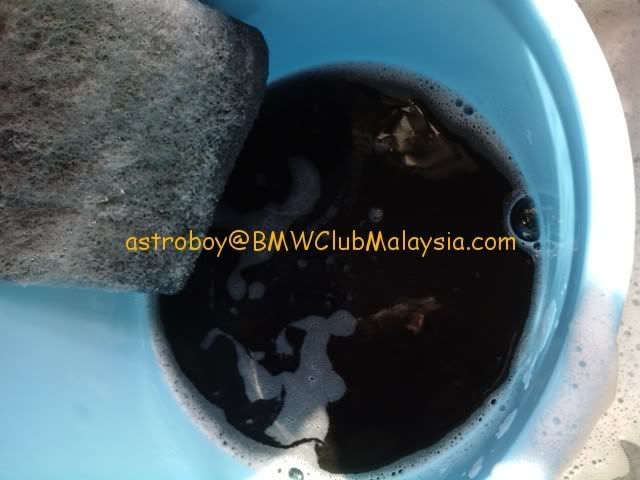
 Moving the sleeve in and out of the soap water repeatedly for several minutes and this is what u get:
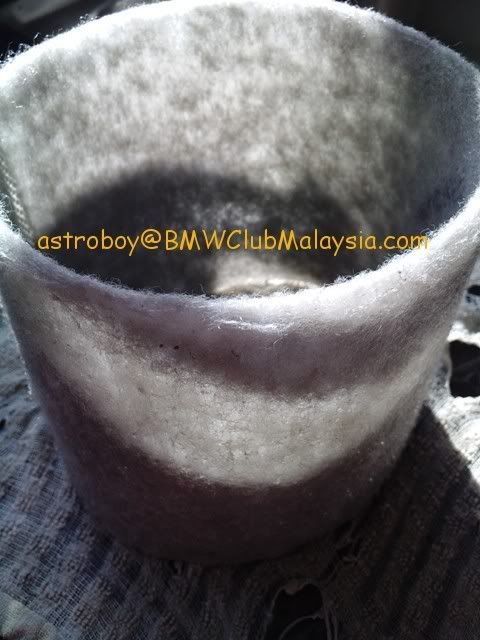
 After cleaning, it dries pretty fast because the synthetic wool repels water:
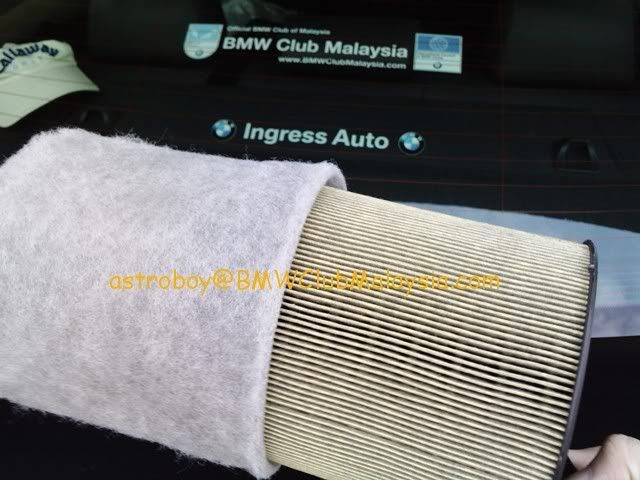
 Slot it back to the filter element and kao tim!
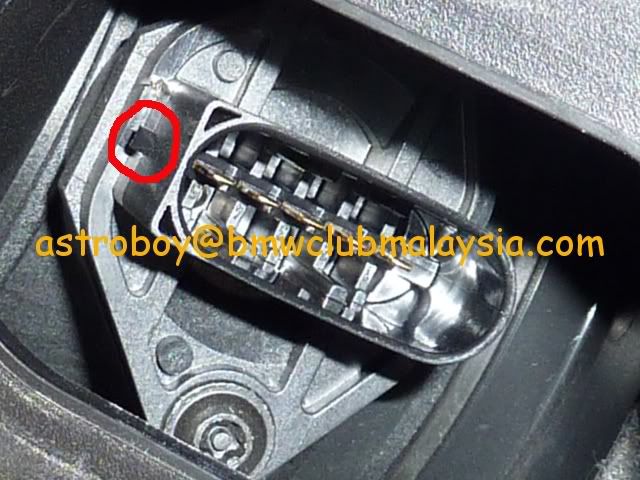
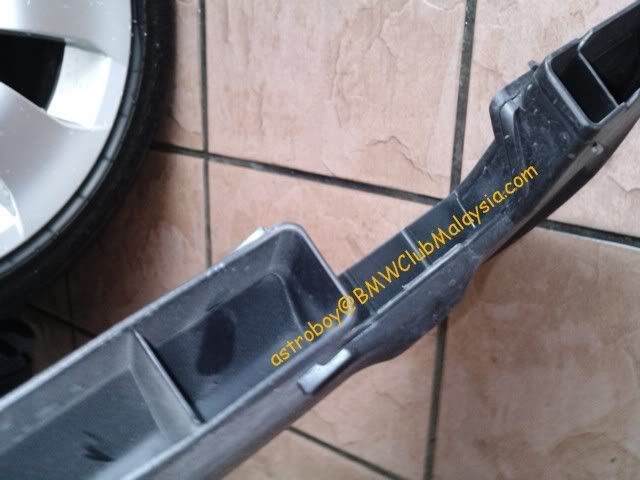
 Now, expecting my all time FC meter to drop from 11.5L/100km to below 11 region.. A new discovery while doing this DIY:I got this Air Filter buffer box removed by unscrewing T-15 screws marked with the red cross in the photo.
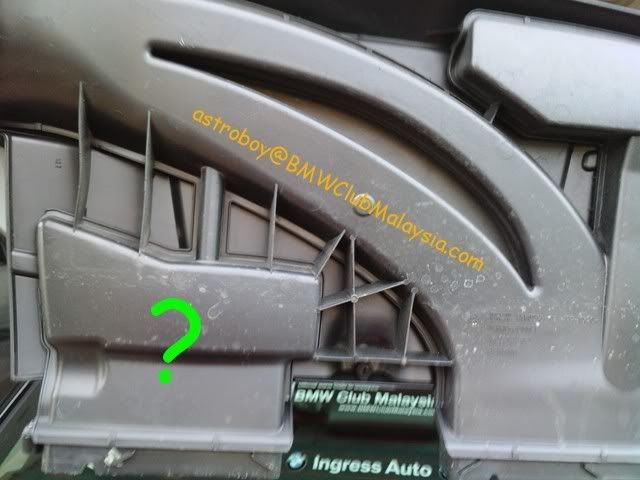
 Flipping it over I noticed the interesting rips and air tunnel EXCEPT the huge green question mark:
 Check out the inlet in this close up:
 When in position, pay attention to the right inlet:
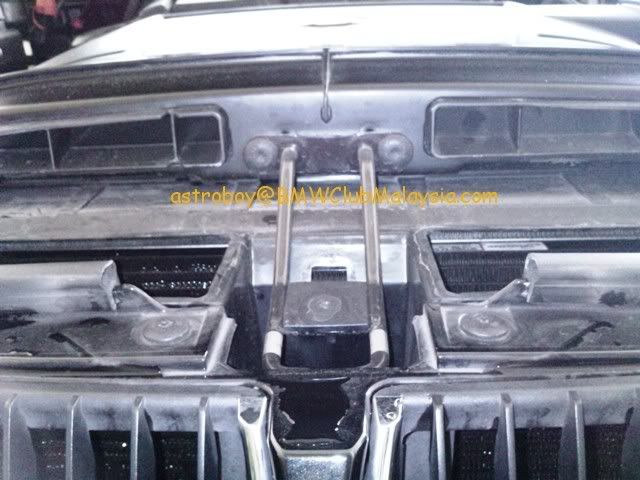 You see what I see?
Refer here for instruction to open the AF box:http://www.bmwclubmalaysia.com/forums/showthread.php?t=18090"Prying" open the air filter box after removing the several T-20 screws:
A new discovery while doing this DIY:I got this Air Filter buffer box removed by unscrewing T-15 screws marked with the red cross in the photo.