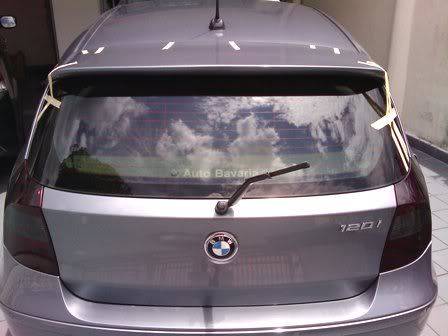
Just got it done today. Here are the pics:
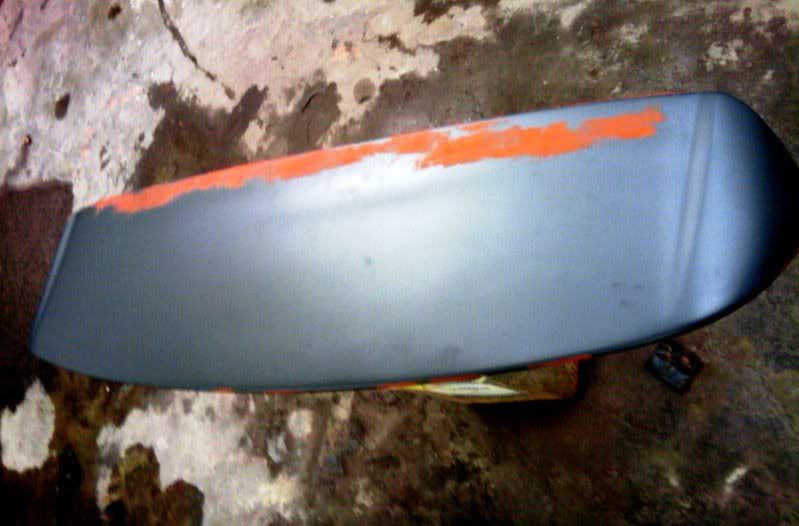
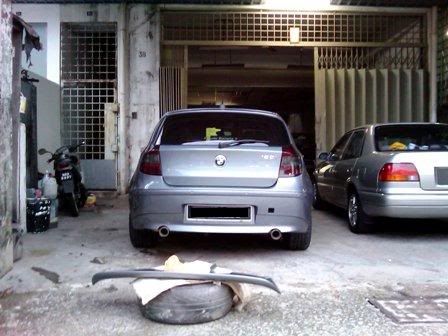
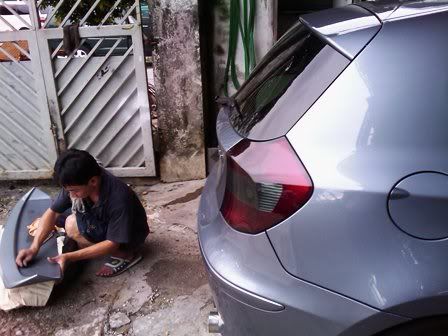
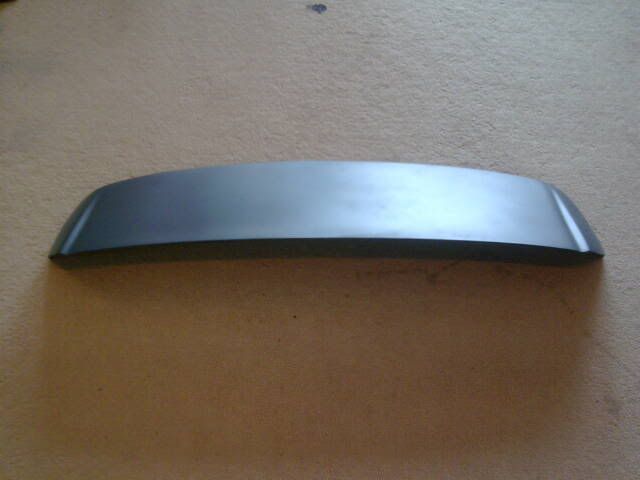
At Onn Chai's workshop in Desa Tun Razak. That's the spoiler placed on the tyre on the ground, ready to be installed.
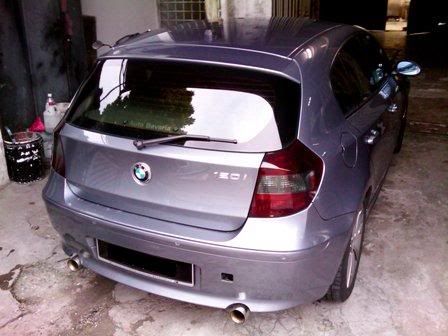
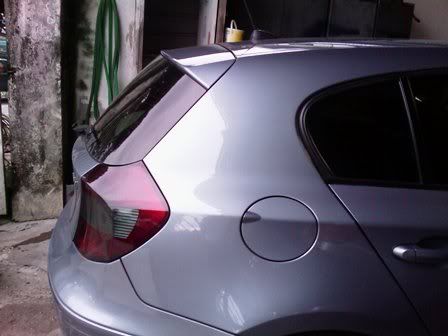
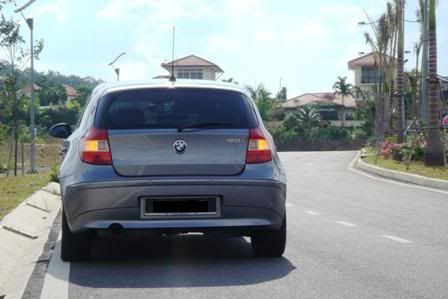
The last few photos of the baldy, rotunded baby 1er... soon to be equipped with sayap!
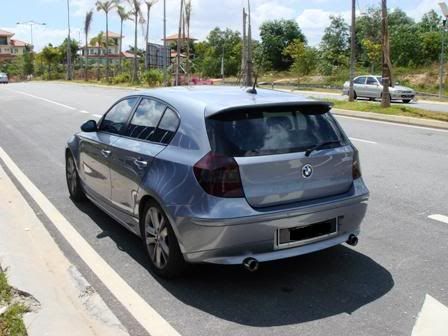
Onn Chai working his magic. He's a very meticulous and down-to-earth friend. He actually sprayed the spoiler twice when he spotted some discrepancy with the original paint the first time, which was undetected to untrained eyes like your's truly.
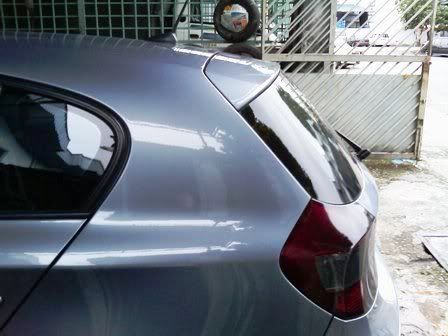
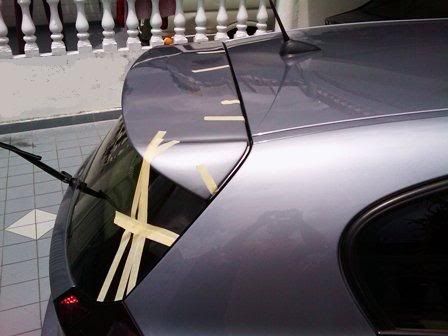
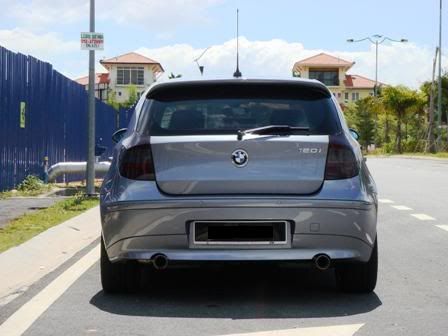
The sayap is taped down to keep it in place while the adhesives settle in.
More pics to come later!
")