E36 M3 - respraying and interior refurbishment

  • Click here to become an Official Member of BMW Club Malaysia Download Form

plutoII

Club Guest
Joined
Aug 14, 2008
Messages
48
Points
0
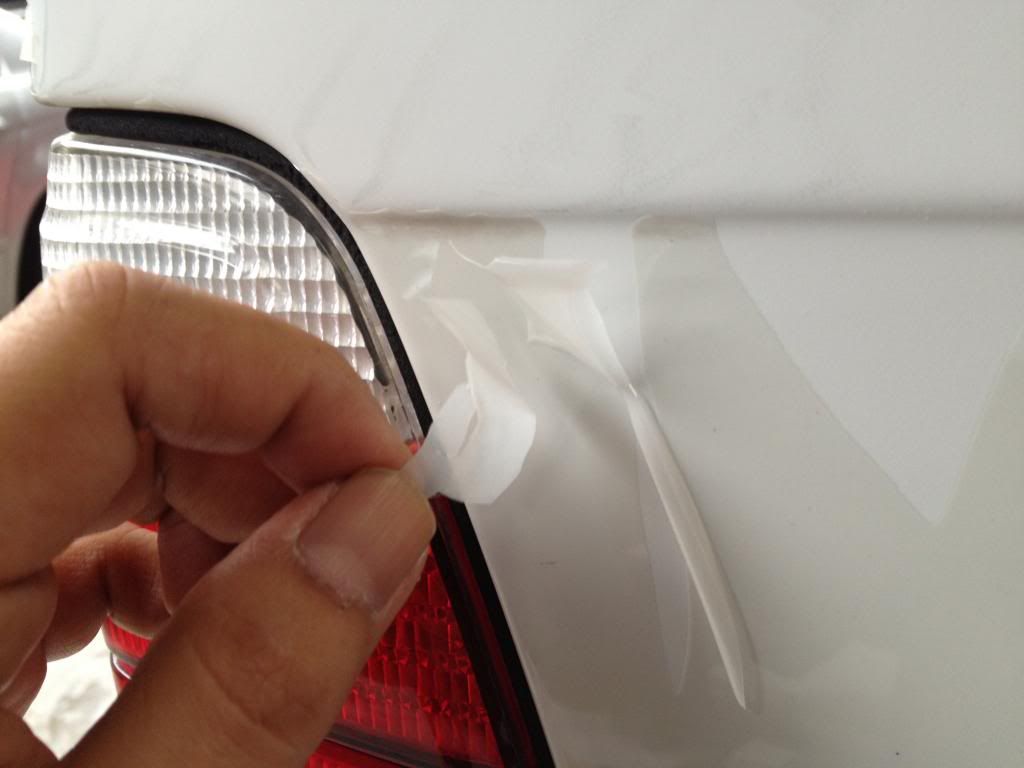
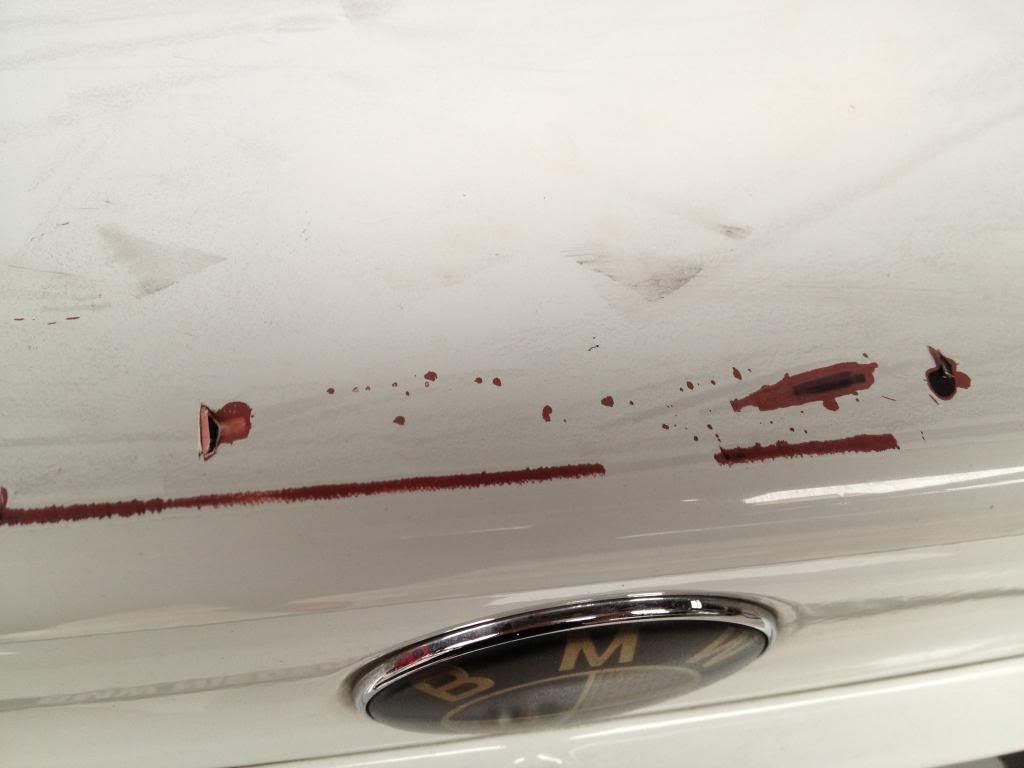
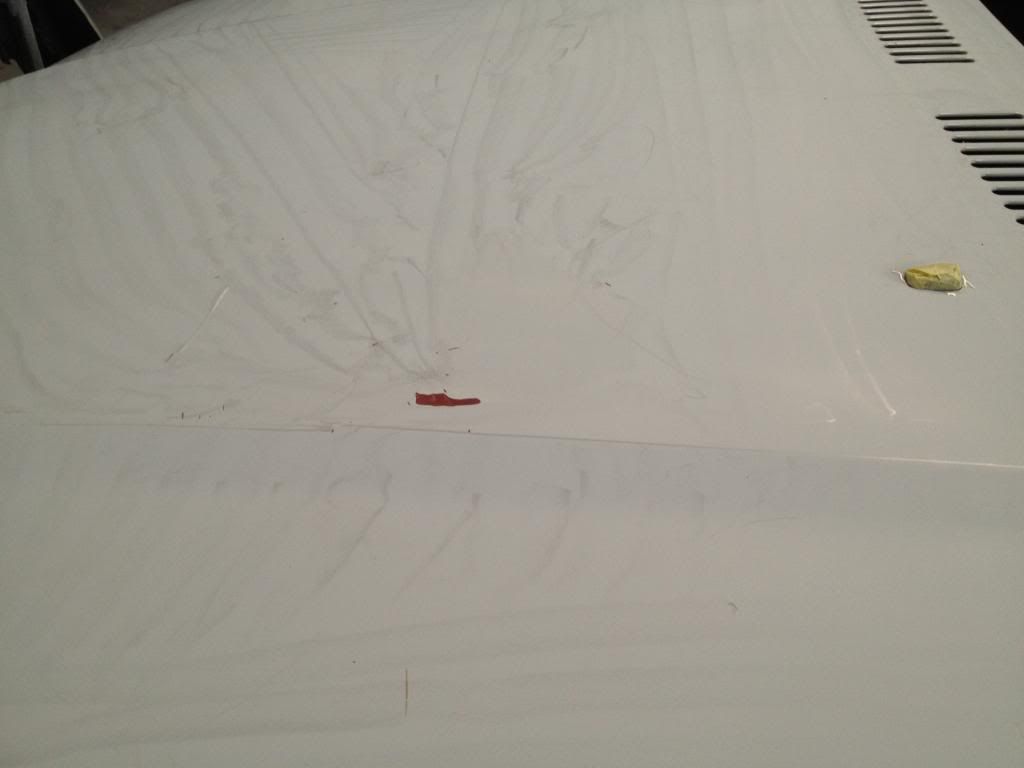
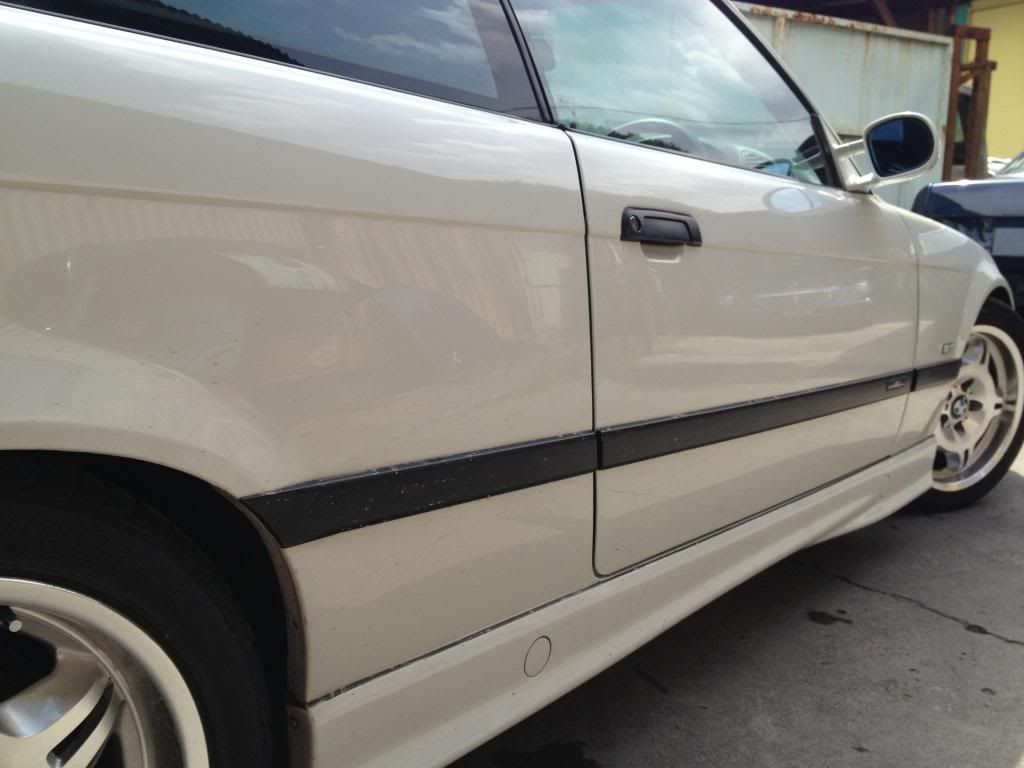
This white, genuine E36 M3 belongs to a forumer here, and was brought to us for changing its colour from white to the classic Techno Violet.
IMG_9428_zps1b25c711.jpg
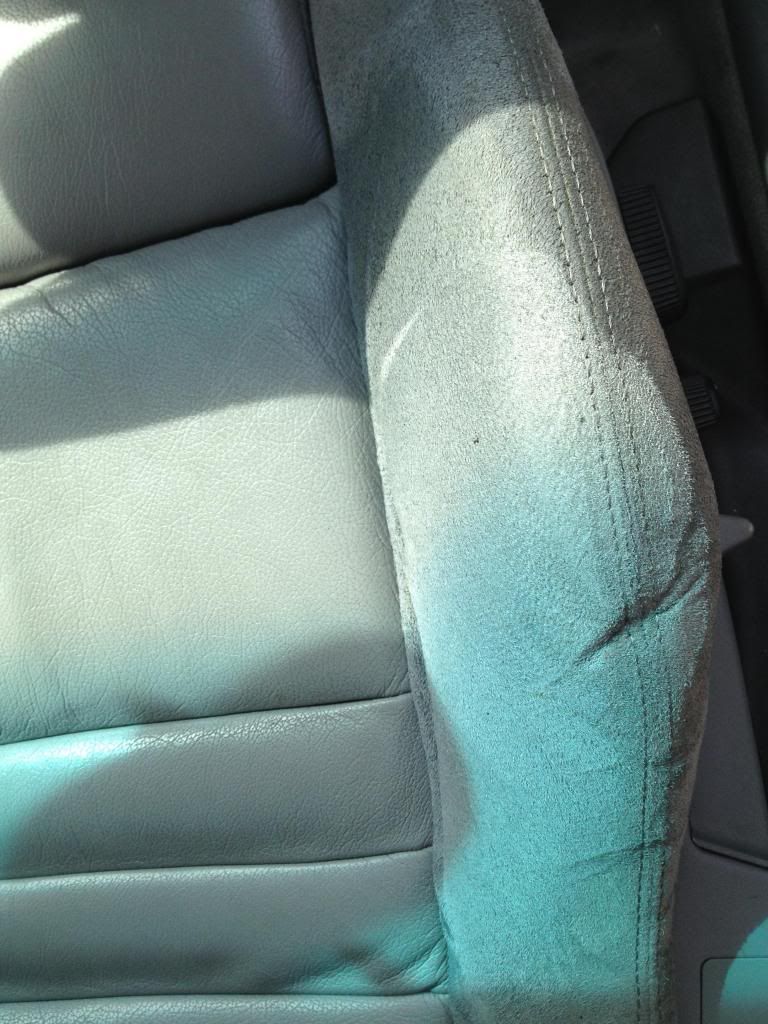
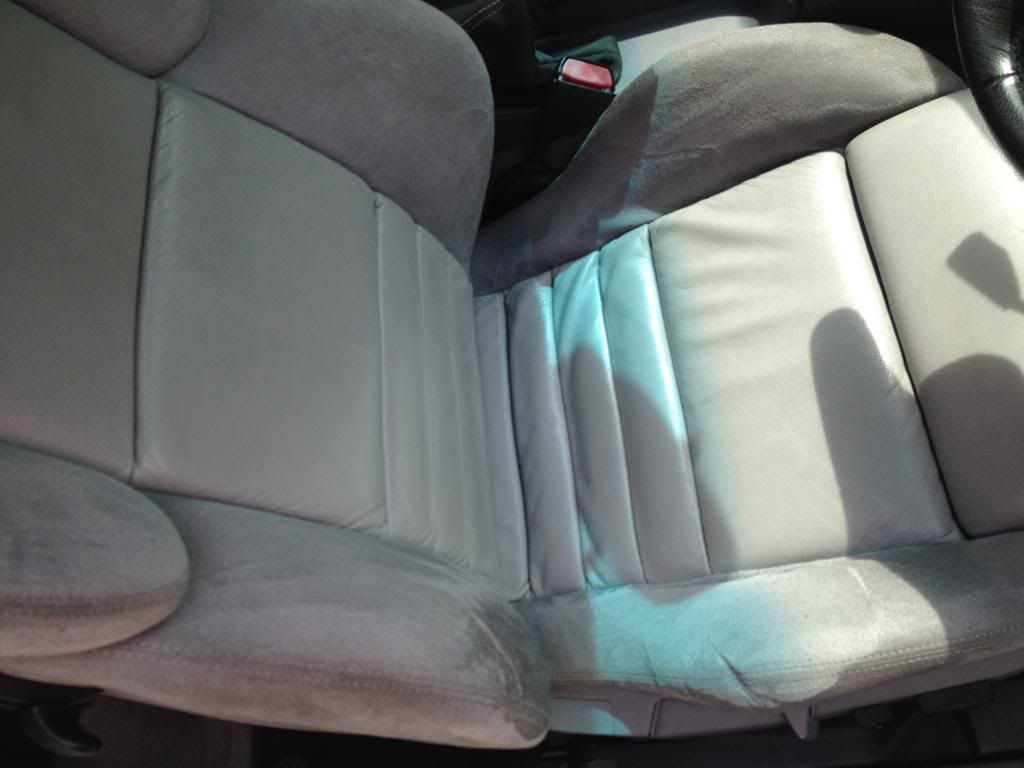
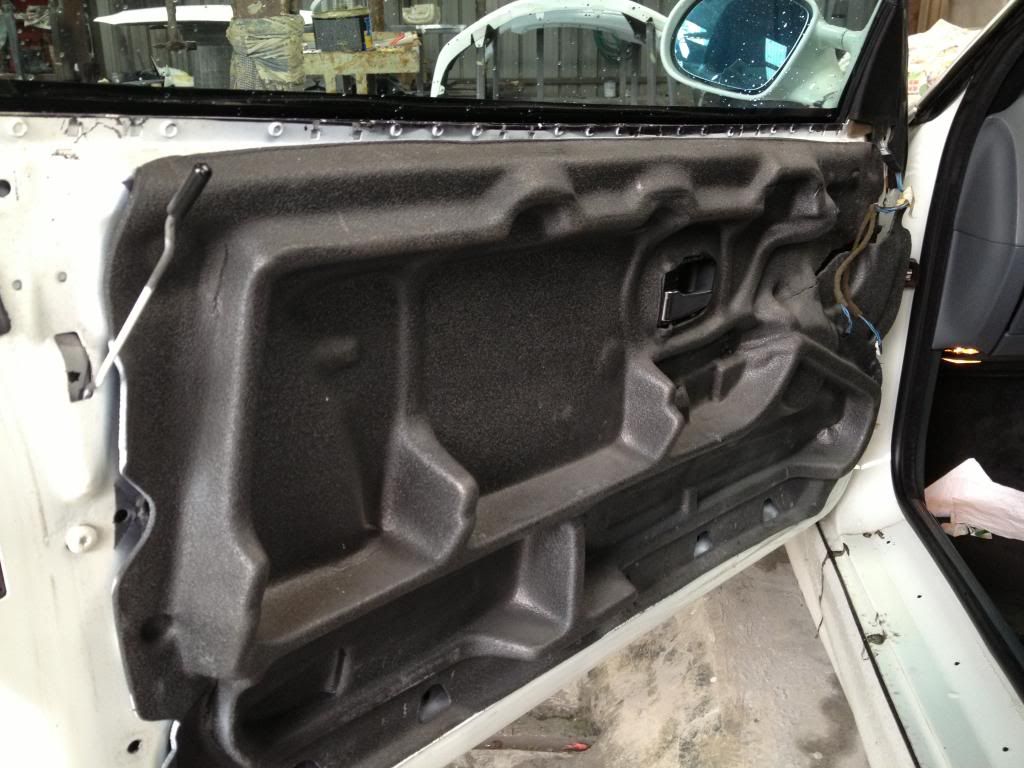
The interior was still in great shape although the seats (previously re-wrapped) needed to look much better. It was decided to re-wrap all seats, front door panels, rectify rear side panels etc. Hence, these items were removed to be done by the interior specialist before we started work on the exterior, so that both tasks can be executed in parallel. Very common for deep bucket seats to look like this....the bolster's foam had collapsed, and the Alcantara-like material has experienced lost of wear and tear. Common.
IMG_9429_zpsb5b3a307.jpg
IMG_9430_zps22b40645.jpg
IMG_9604_zps5158ebf1.jpg
IMG_9606_zpscb81f418.jpg
IMG_9608_zps463fcc44.jpg
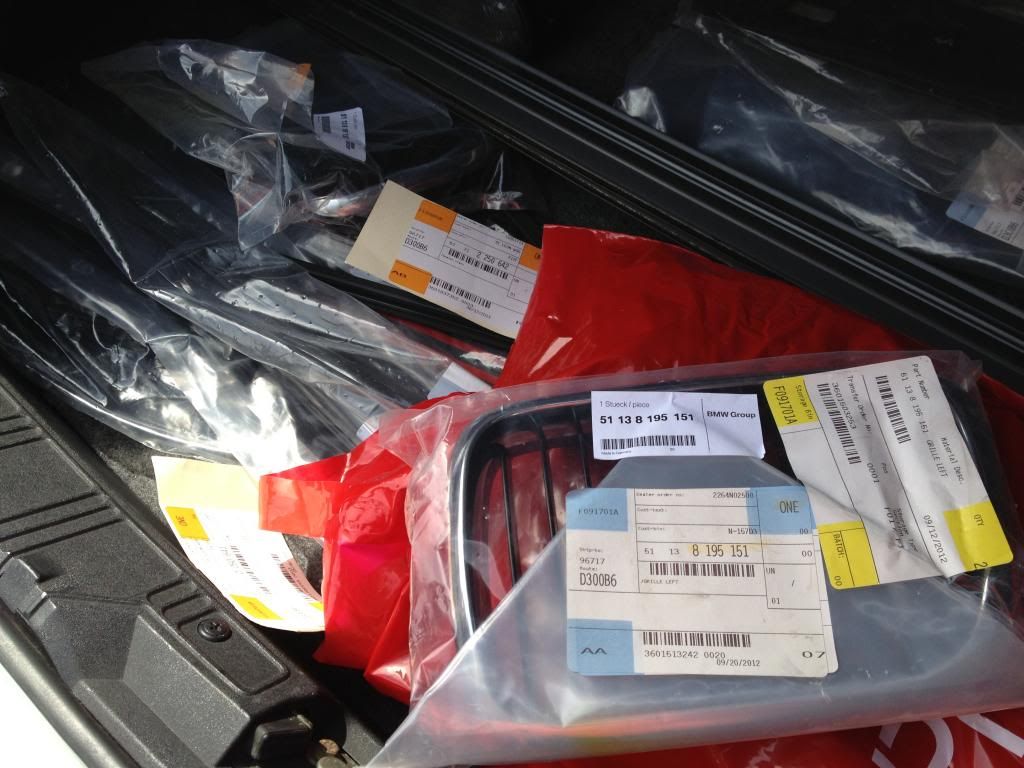
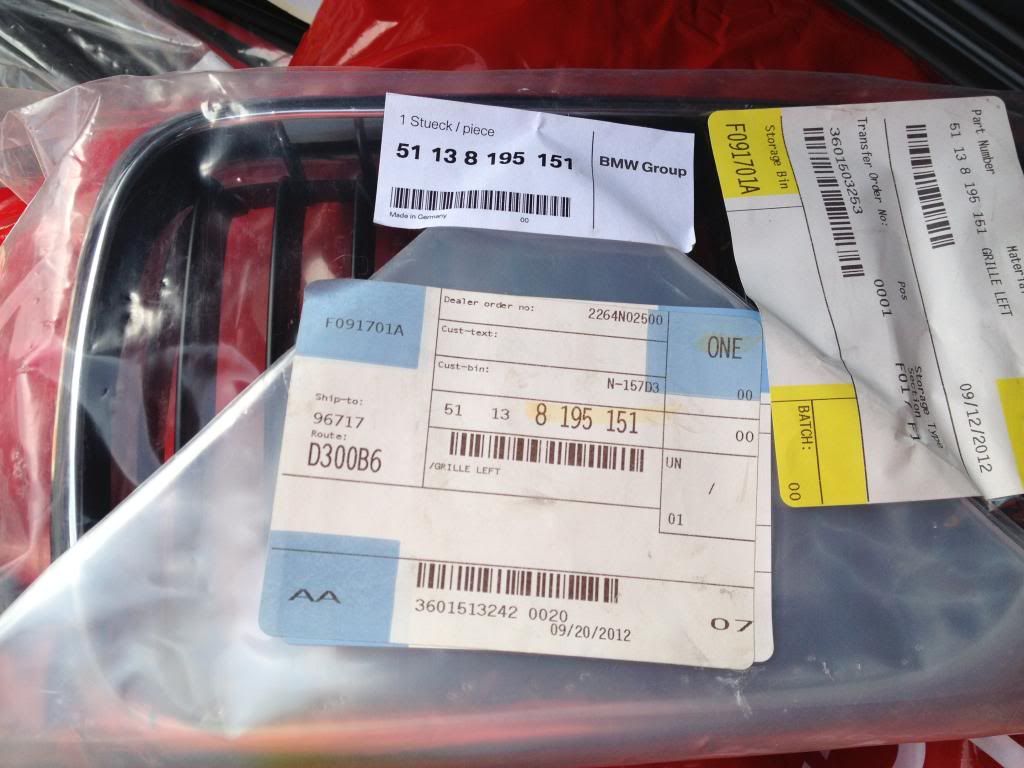
The highly enthusiastic forumer/car owner also sourced for many new parts, and these will be installed as well. Common sight in a car-crazy BMW lover's car trunk:top:
IMG_9426_zps4bcaf849.jpg
IMG_9427_zps110aff95.jpg
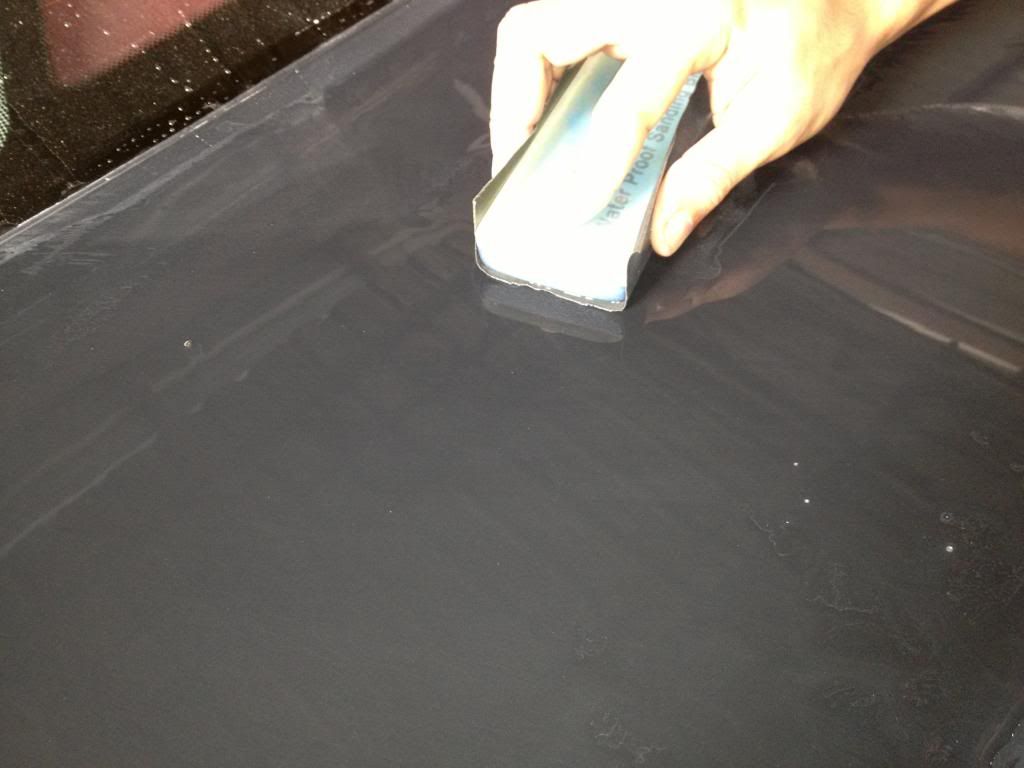
Vehicle has returned to us from the interior specialist, and God Willing....we'll start work on the vehicle tommorow (sanding down, dismantling etc). Spray shop and panel knocking bays are heavily packed at the moment.
IMG_9673_zps0cf3e9d8.jpg
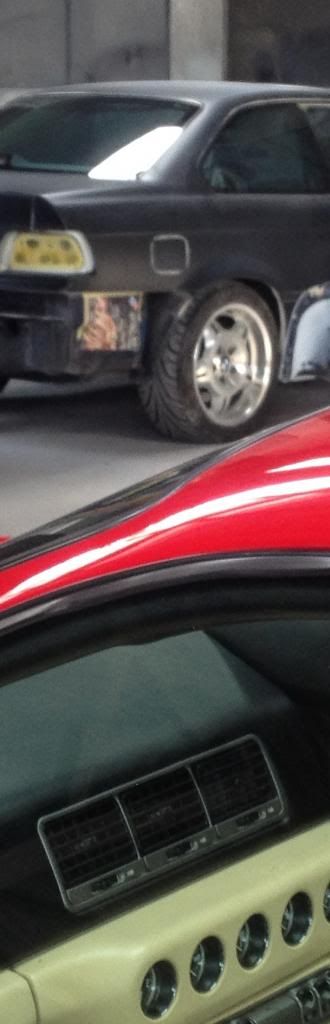
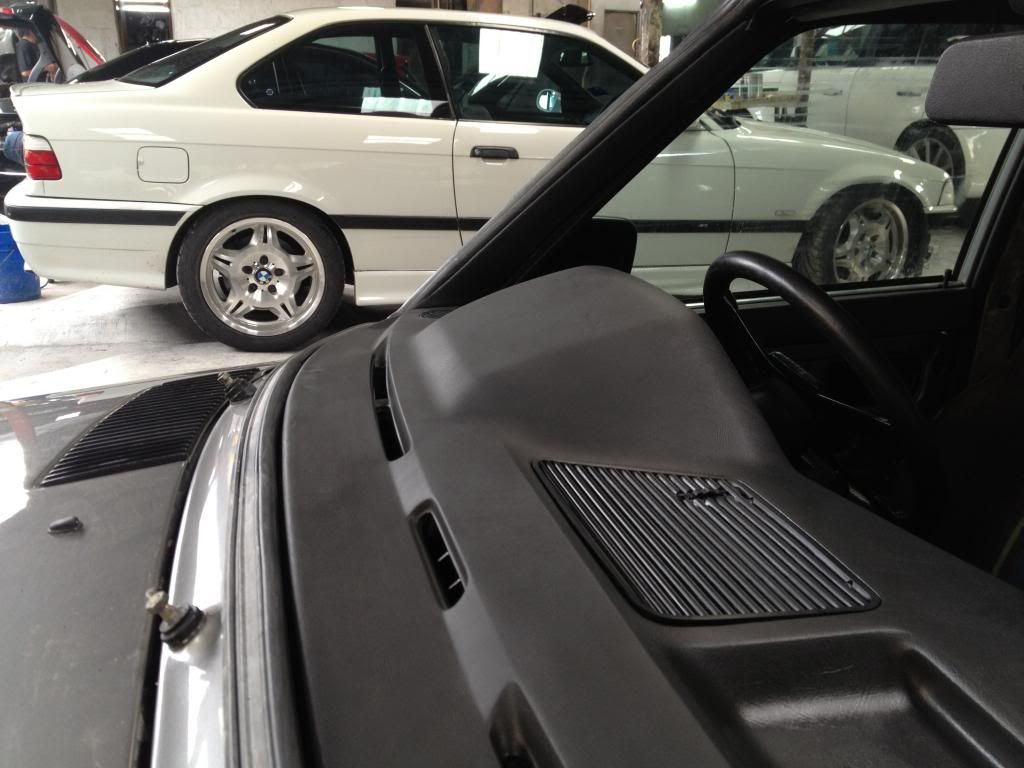
In the foreground is the E28 being lovingly restored (read about it on the E28 section). Will keep everyone posted on this M3's progress:67:
 
woww another hidden gem there e36 M3 coupe ..can't wait to see more pictures or see it in close somedays
 
The objective of this post is to enlighten forumers as to why it is never easy, never fast nor straighforward nor cheap to honestly respray any aged vehicle properly with no shortcuts.

On the surface, this M3's white finish looked fine.
But upon closer look, it had a flat, dull look....albeit with a decent gloss level.

When work commenced on the vehicle, the 1st sign of problem materialised.

The clearcoat could be peeled off in large pieces.
IMG_9879_zpsf4052671.jpg


Some of the possible causes:
White colour coat's quality problem/characteristic (unable to provide a proper surface for clearcoat to bond to). Many older Glasurit paint finishes used to exhibit this problem.

After white colourcoat was sprayed, sprayer waited too long before spraying the clearcoat. Usually, in our weather, you should wait no longer than 30mins max.
Some workshops can miraculously spray the colour at 4pm, let the car rest, close shop, and then spray clearcoat tommorow. Recipe for disaster.

Incompatibility between clearcoat and colourcoat.

Although clearcoat is supposed to be clear, this clearcoat was like 90% opaque, white-tinted plastic.
An often used old-school trick is to put a few drops of colour into the clearcoat for a more vibrant effect. But this only works on certain colours such as red, and must be skillfully done. On dear E36M3 here, this only made the white paintwork look dull and flat.

Try clicking on this video link below
[video]http://s783.photobucket.com/user/JKLow123/media/Shaiful%20E36%20M3%20white/IMG_9882_zps11abc3e7.mp4.html[/video]
 
Half way through sanding down, these pink patches are also a clear indication of a quick, low-budget repair done previously. Below are just 2 areas out of many other problematic areas. As mentioned previously, this posting is merely to educate forumers as to why any respray of aged vehicles is almost never a straighforward matter. You simply can't see the gremlins lurking below the colourcoat.

IMG_9886_zps23595038.jpg


IMG_9888_zpse0f82a25.jpg


Note: Pink-coloured fillers/putty are usually used by insurance panel workshops and those doing quick, high volume jobs. Easy to work with, its prone to cracking in the future. A better alternative is the light yellow filler, which is much more difficult to sand, but offers much greater durability.

Many sprayers will leave these repaired areas alone.
If the price of the respray justifies it, these previously repaired areas will be "removed", and properly repaired again the proper way. This is the only way to ensure a proper "base" on which to spray the primer, colour, and clearcoat.

In the case of this lovely E36 M3, these old problems are not a serious issue.
All necessary measures will be taken and 100% no short cuts to ensure the base is as pristine as possible before primer is sprayed.
 
After stripping and sanding down, above vehicle was shot with dark grey primer.
IMG_0421_zpsdf7bed5c.jpg


Primer wet-sanded with 360grit, and then 600grit
IMG_0494_zps92c272c3.jpg


After 600grit.
IMG_0530_zps743464f3.jpg
 
Top Bottom