Russie
Club Guest
- Joined
- Dec 17, 2006
- Messages
- 933
- Points
- 18
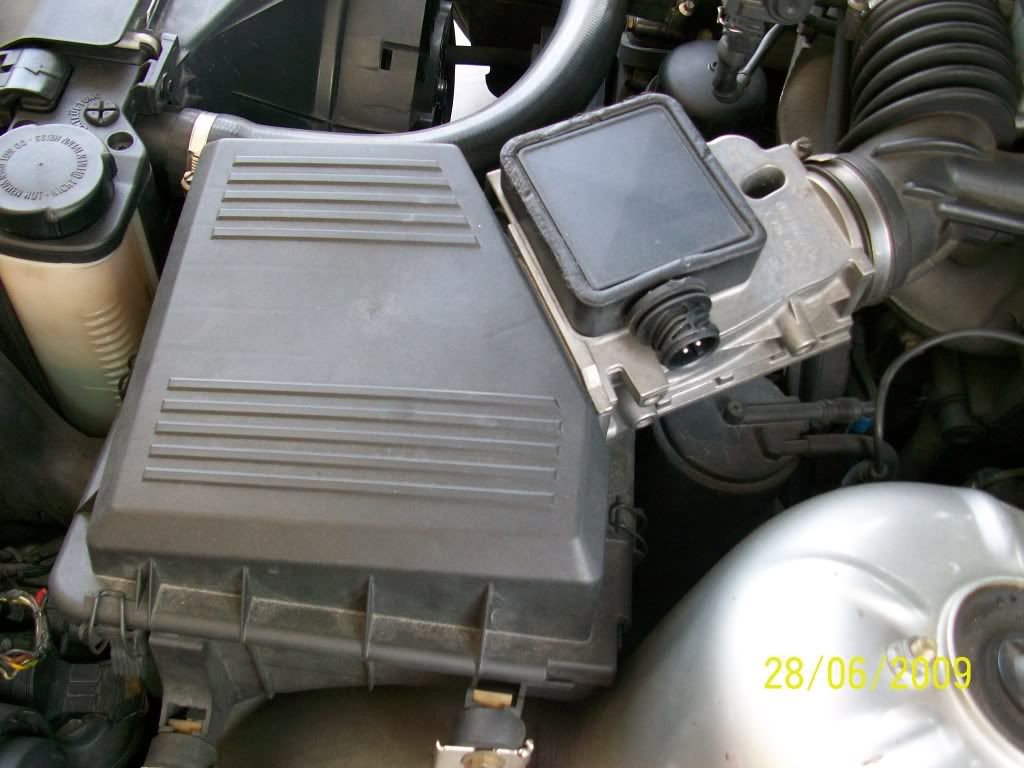
Hi guys,I managed to get my AFM cleaned today, thanks to Jarance for his wonderful help. Jarance had earlier posted a similar DIY process at:-http://www.bmwclubmalaysia.com/forums/showthread.php?t=494&highlight=AFMMy thread should be read in conjunction with Jarance's, so check it out.The process is exactly the same, so I am just gonna post some of the pictures taken this afternoon.Man-at-work: JarancePhotographer: RussieAFM for M43 engine
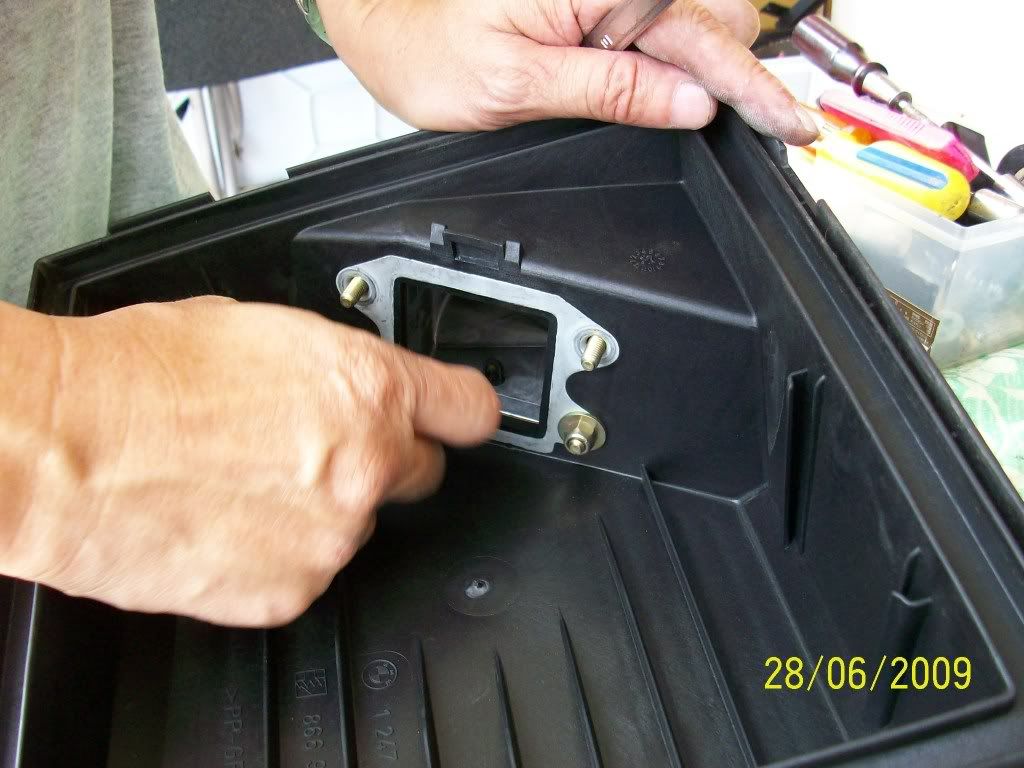
 The flap on my AFM is stucked when it's pushed 100% (i.e. it did not spring back)
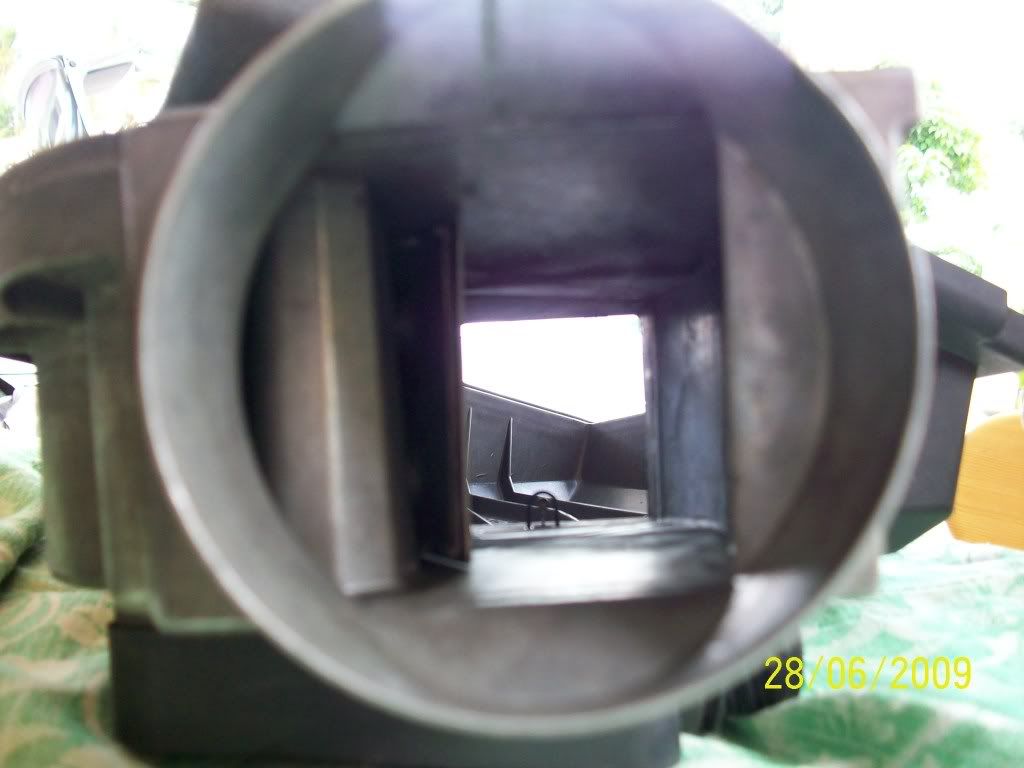
 Another view on the fully opened flap
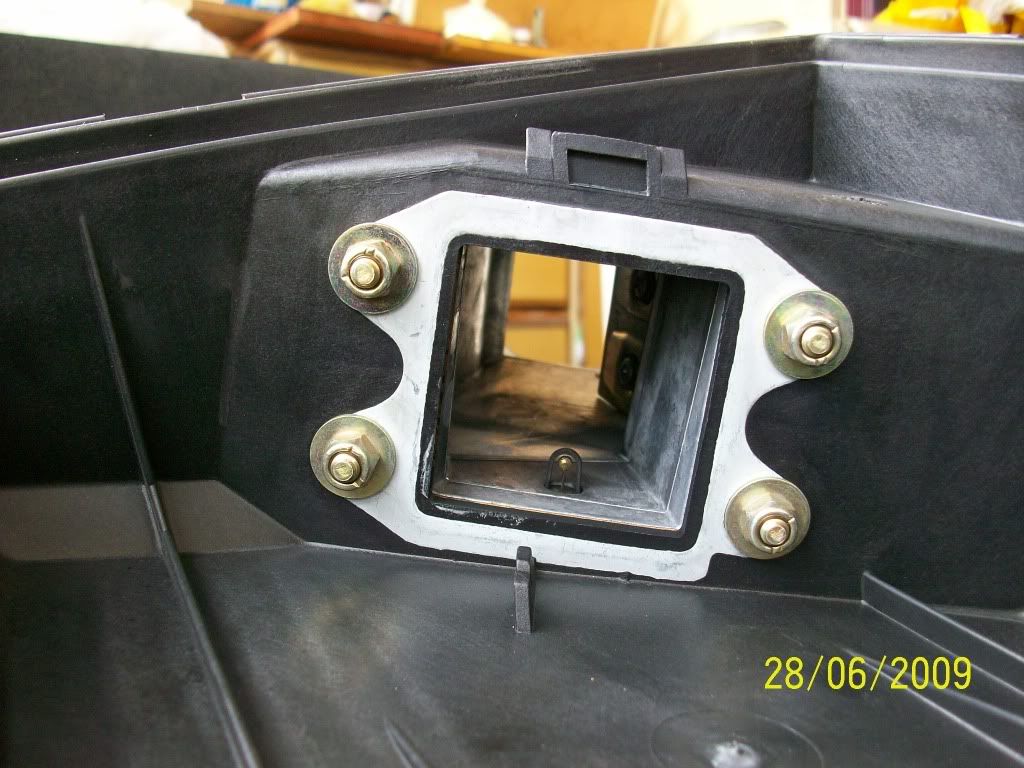
 Remove the AFM from the air filter housing
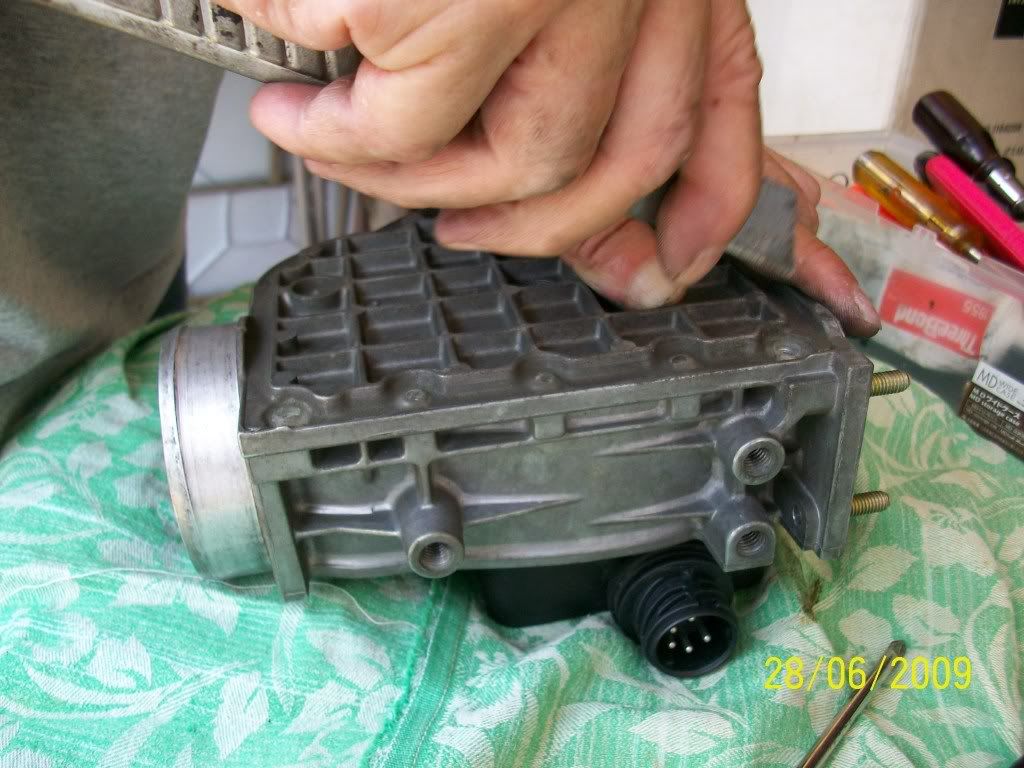
 Open the top cover of the AFM - a lot of screws to be removed
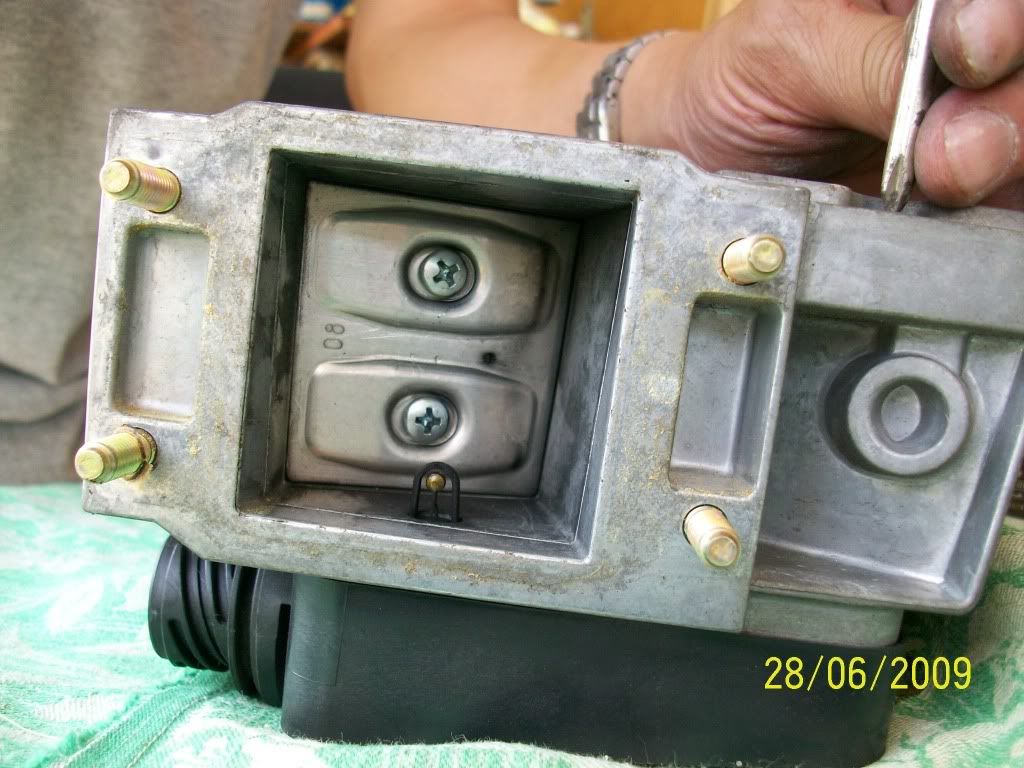
 Closer look...
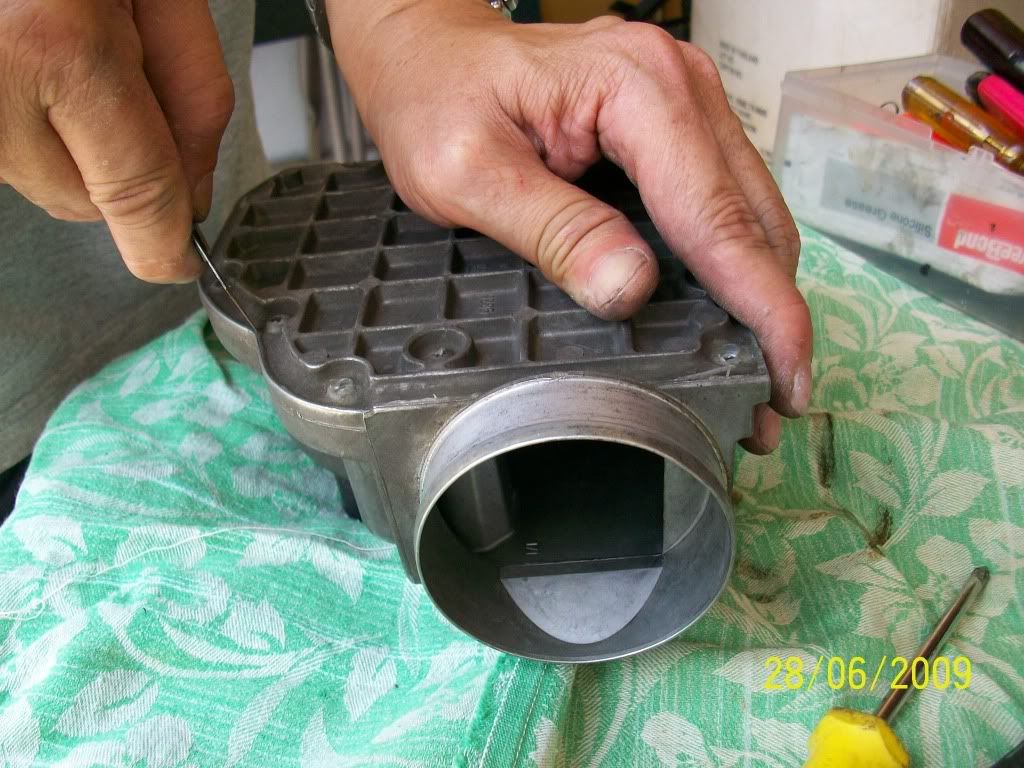
 Use a pen-knife, cut open the top cover (a lot of silicone glue covering it)
 Another view on how to cut open the top cover
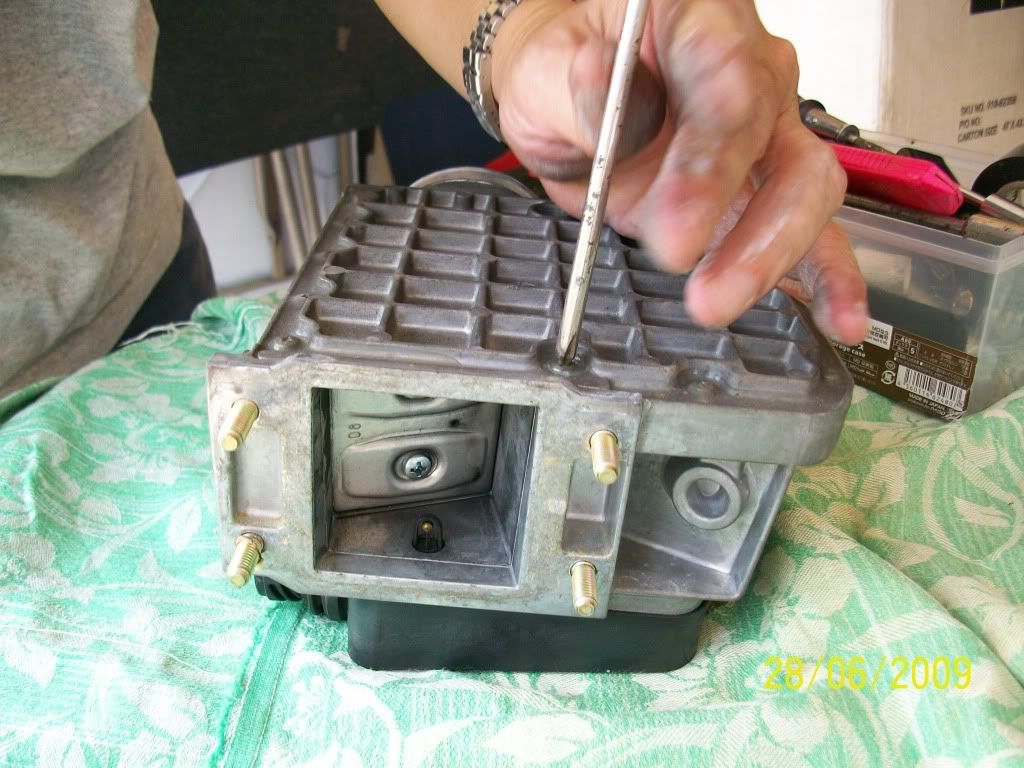
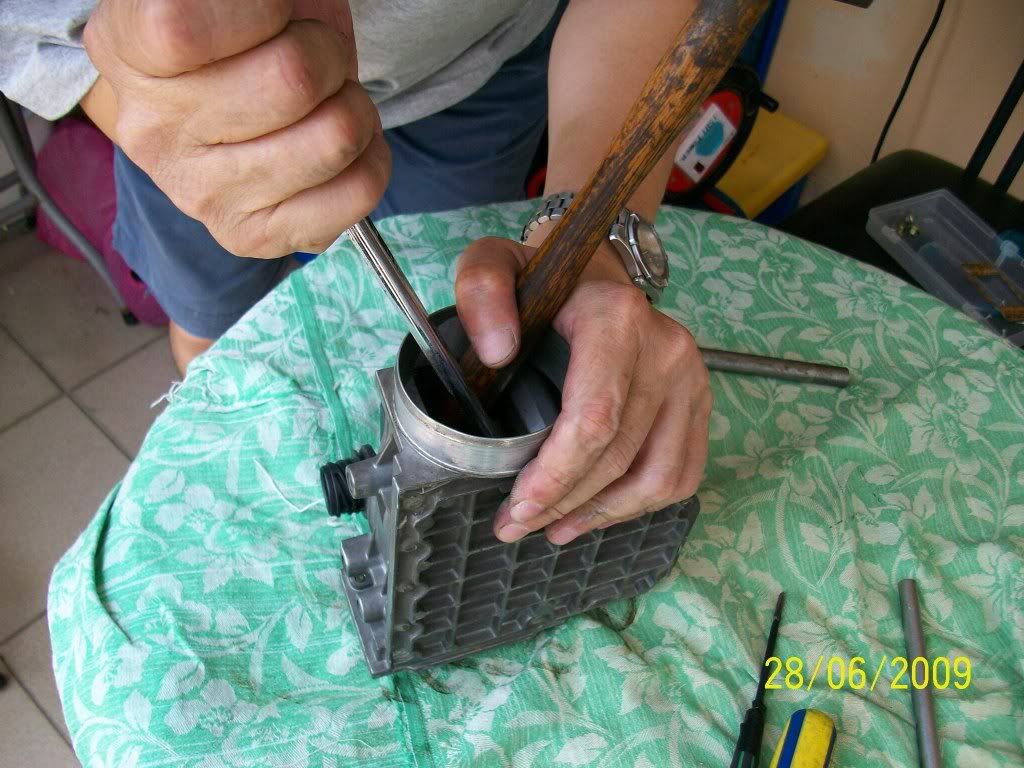
 This is a tricky part, to push open the cover using a screw driver.. man, it's so tight (my AFM has never been opened before, it's a virgin
 ") )
)
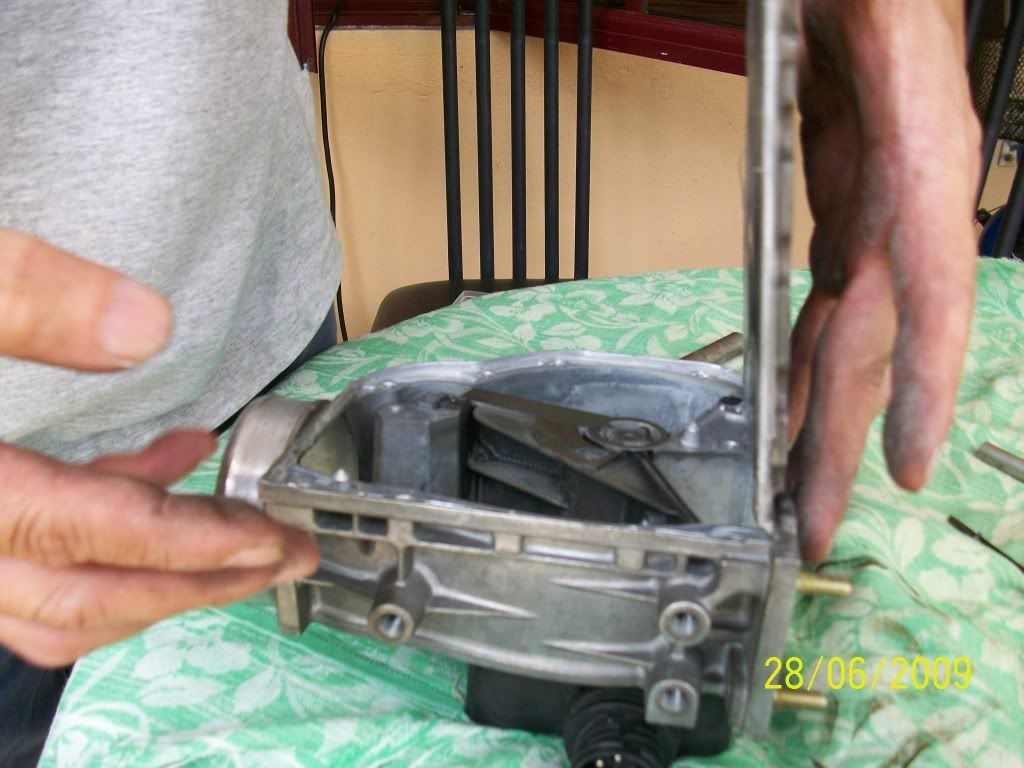
 Jeng, jeng jeng...finally the top cover is opened up
 Testing the flap movement in clockwise. It's quite reluctant to move smoothly, so some cleaning is to be donehttp://i186.photobucket.com/albums/x131/russ_teh/11.jpgA closer look at the inner part of the AFM. Notice the slightly corroded surface?http://i186.photobucket.com/albums/x131/russ_teh/12.jpgAnother look at the AFM before the cleaning process startshttp://i186.photobucket.com/albums/x131/russ_teh/13.jpgUse a proper tool to grind away the corroded surface of the flap, creating a restriction free movementhttp://i186.photobucket.com/albums/x131/russ_teh/14.jpgSimilarly, grinding away some corroded surface on the flap as it's been scratching the flat coverhttp://i186.photobucket.com/albums/x131/russ_teh/15.jpgUse the "Carb and Choke Cleaner" to spray on the inner part of the AFM, be careful not to overspray on the temperature sensorhttp://i186.photobucket.com/albums/x131/russ_teh/16.jpgThe spray cleaning in processhttp://i186.photobucket.com/albums/x131/russ_teh/17.jpgUse finger to scrub away the dirt and carbon build-uphttp://i186.photobucket.com/albums/x131/russ_teh/18.jpgApplying some sort of grease to smoothen the surface on the AFM (not sure what grease is that)http://i186.photobucket.com/albums/x131/russ_teh/19.jpgNoted that the top cover of the flap was also scracted by the movement of the way, so using the right tool to chip and smoothen the rough surfacehttp://i186.photobucket.com/albums/x131/russ_teh/20.jpgAnother similar lookhttp://i186.photobucket.com/albums/x131/russ_teh/21.jpgFinally, screw back all the screws to secure the front flat panel of the AFMhttp://i186.photobucket.com/albums/x131/russ_teh/22.jpgFinal test: Start the engine and rev it up a few times to test if the flap is still stuck. No flap stucking even when the engine is revved up to 5,500 rpm. With air-cond off engine speed is at approx. 500rpm, with air-cond at approx. 750rpm -800rpm (normal I guess)Result: 1) Smoother engine revving2) Better pick-up3) Smoother kick-down4) More confidence in over-taking carsNote: Drove my car from Klang back to Setapak, tested some kick-down along NKVE, no more flap stucking...feels like a UDM again. Reached back home at Setapak, rested for 10 minutes then took another drive to Klang again (for another function) and the journey was smooth...Will monitor on the fuel consumption and other effects over the coming weeks and will update you guys.Special thanks to bro Jarance for his friendly advices and help on the DIY process.
)