al3dx
Club Guest
- Joined
- Aug 22, 2007
- Messages
- 269
- Points
- 0
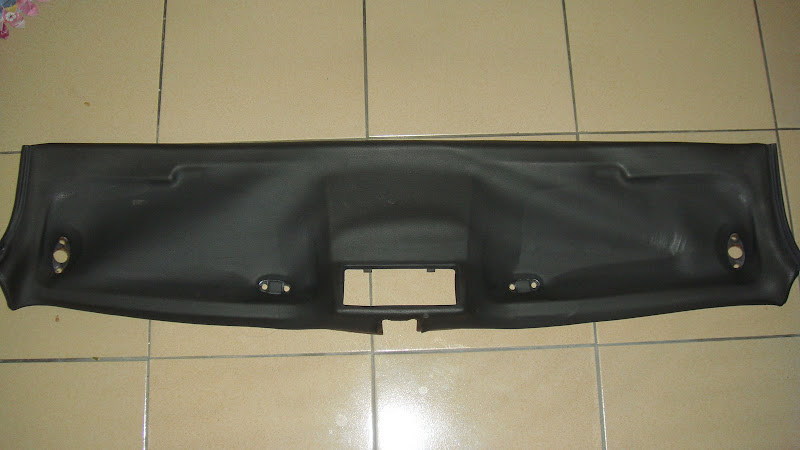
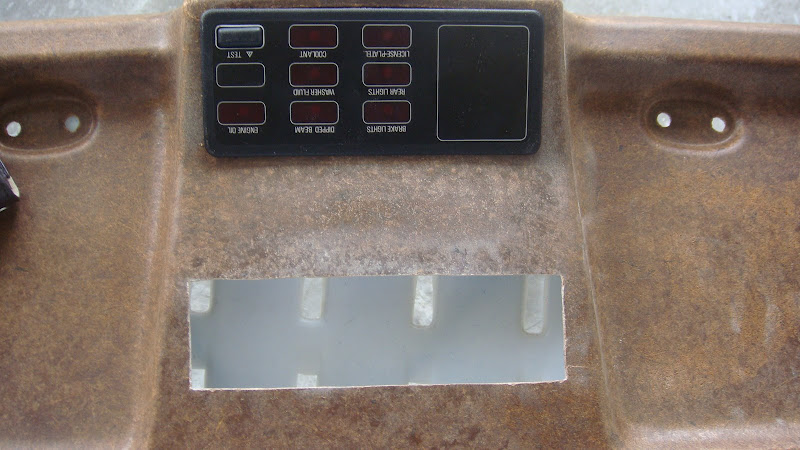
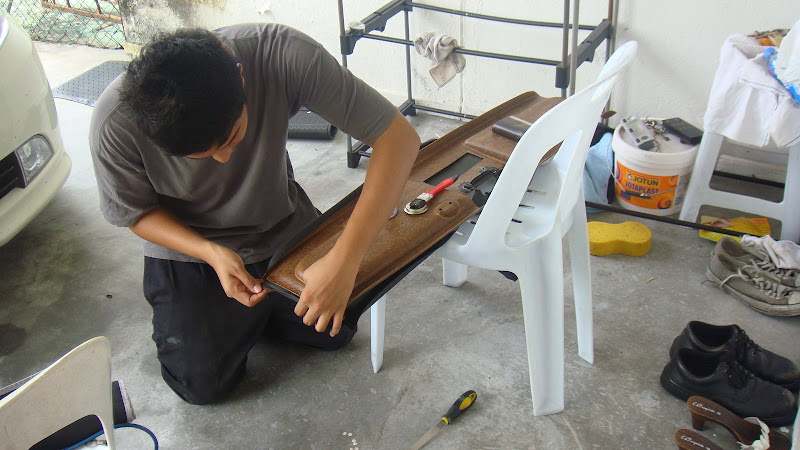
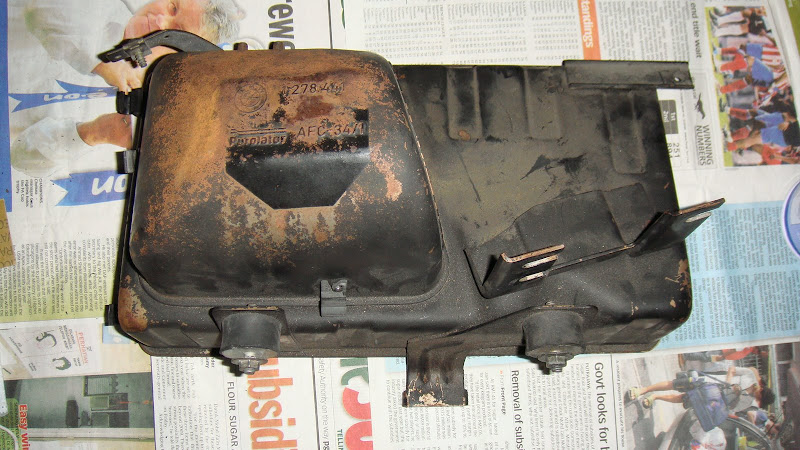
* Respray & Clean "Air Box" & "Grills"Well this is actually an easy DIY...I guess most of you guys have done this...But to my case as a student...With no sustainable income... I cannot do this together with the Body in the body shop...So... Since i cannot do this in the body shop so i'll just start with the faded & rusted parts...Well this time i did not spend as much as i did...All i have to buy is:- Spray Can (Flat Black) = Rm7.00 x 3 rolls- Rough Sand Paper = RM2.50 x 2 rolls Total = RM26.00Let's start with the Air Box...This is my old rusty Air Box... (Front The Top)
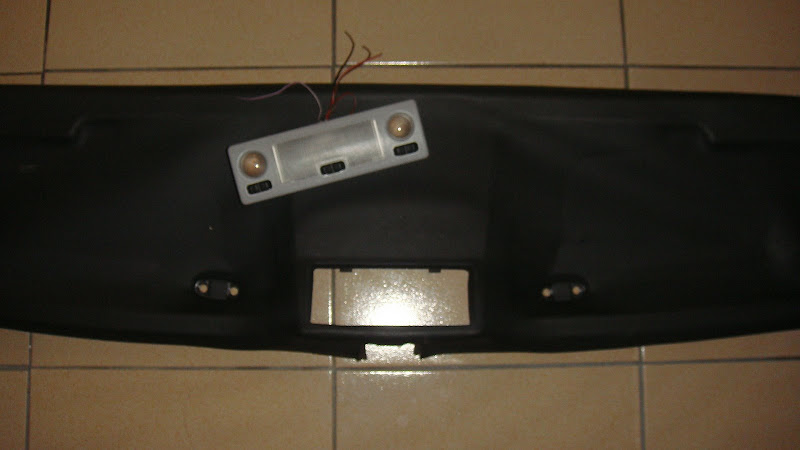
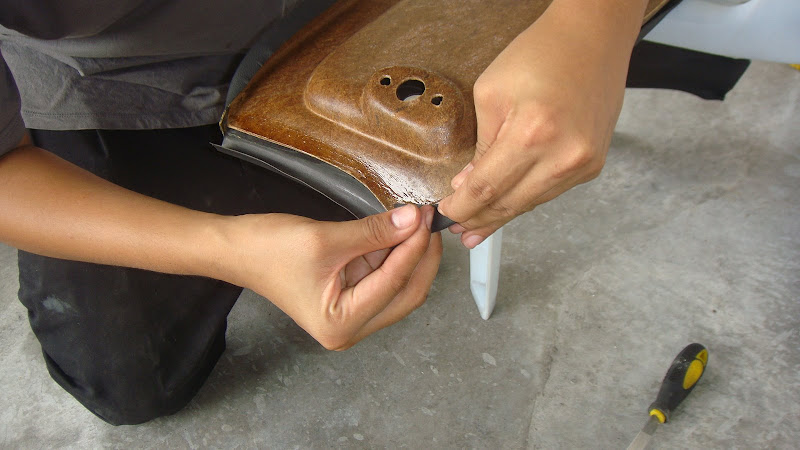
 To The Side...
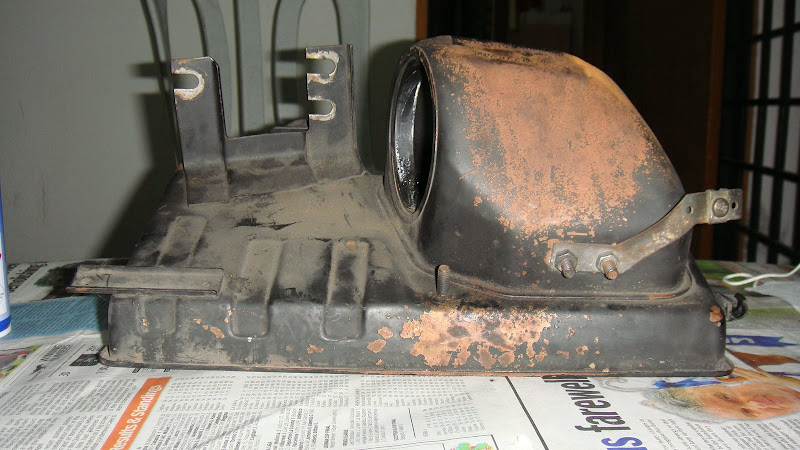
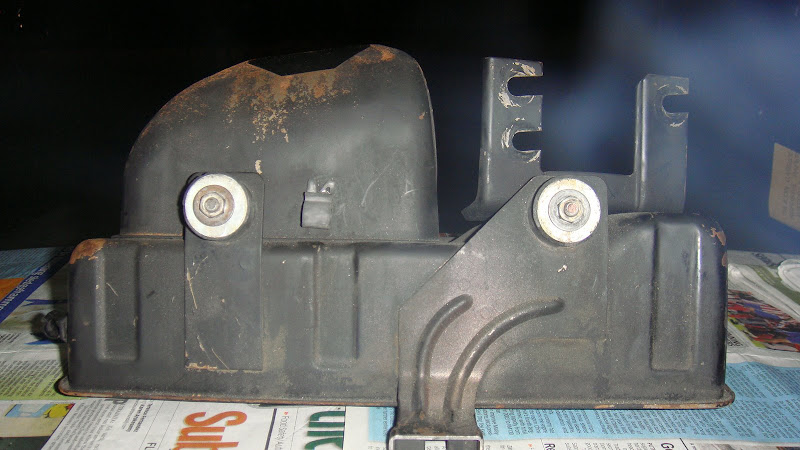 To The Other Side...
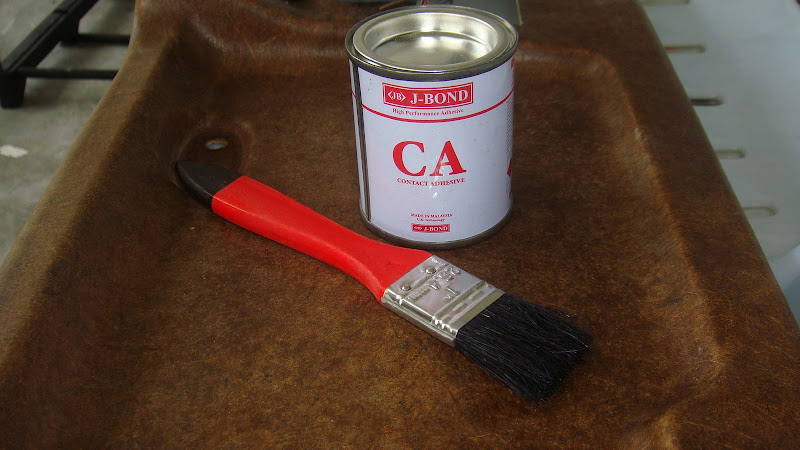
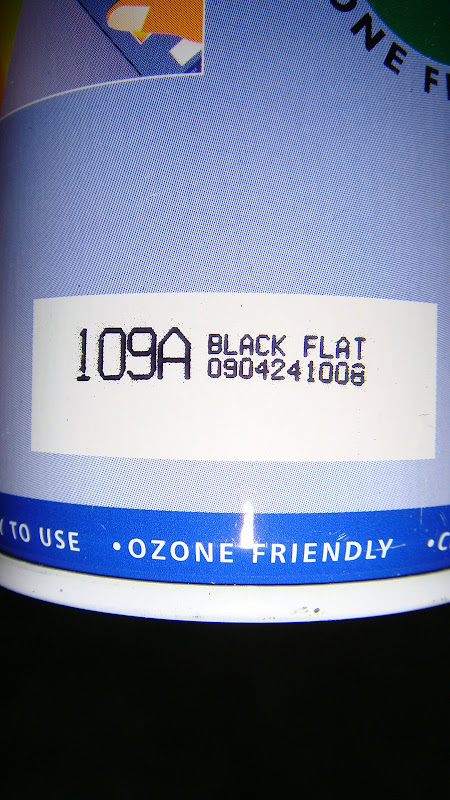
 The Spray Can I Use...

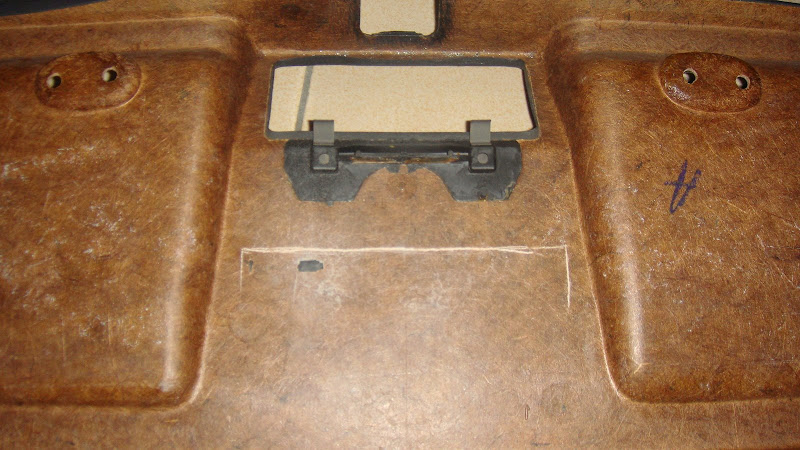
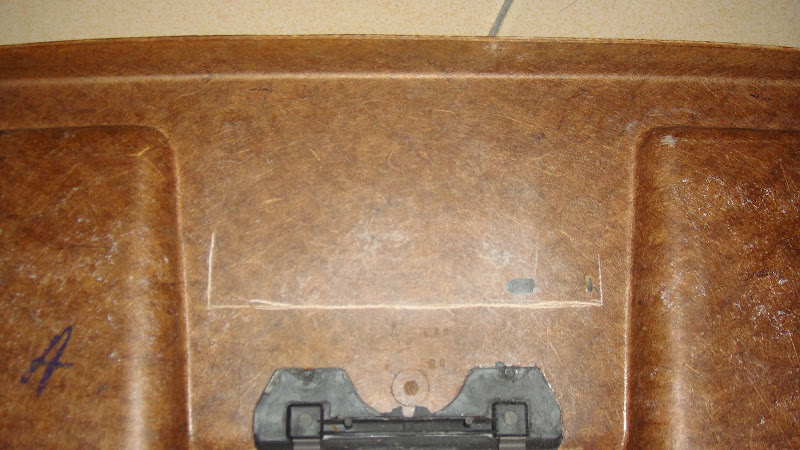
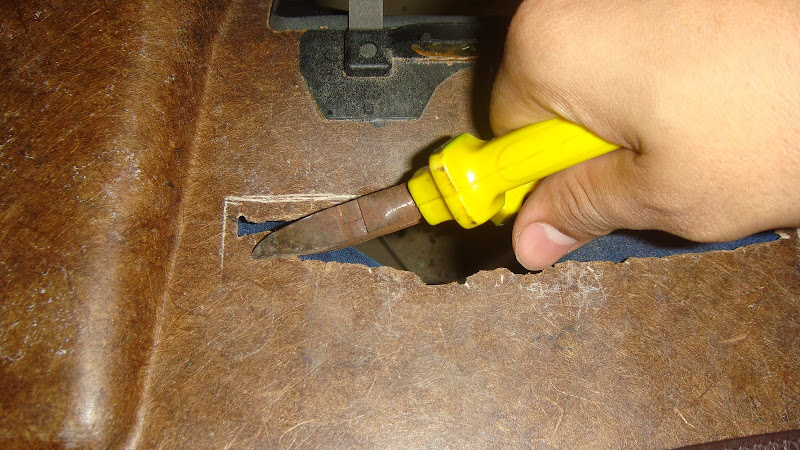
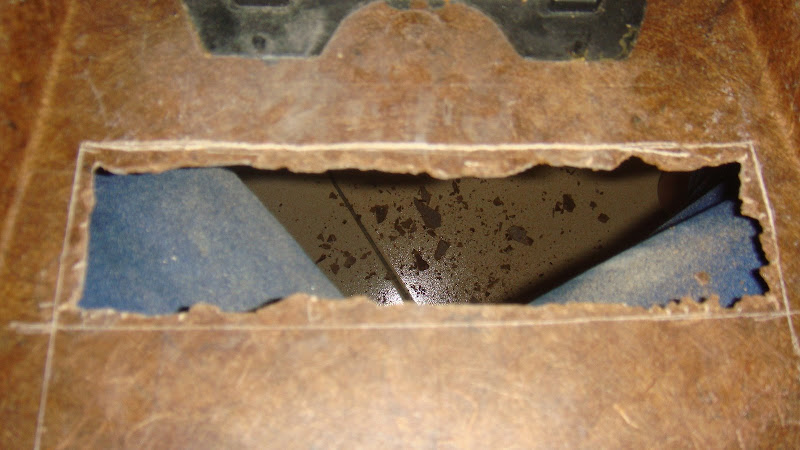
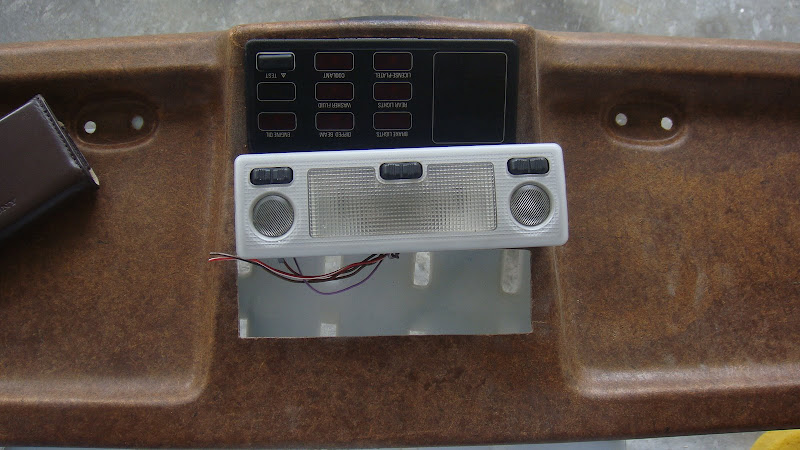
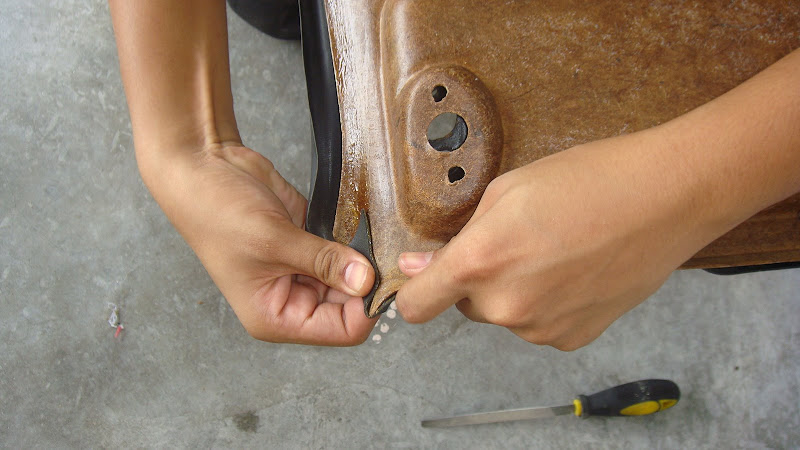
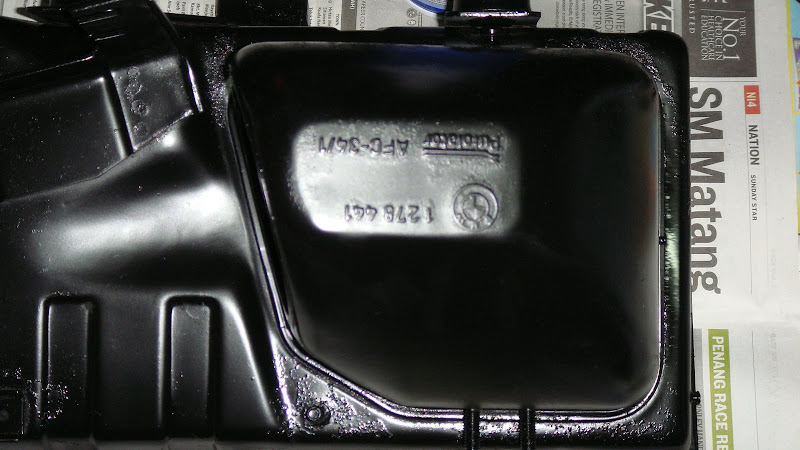
 Actually this image is when, i started to use the sand paper & scrub off the rusted area... but did not manage to take another picture when it's done because My hands were too dirty...
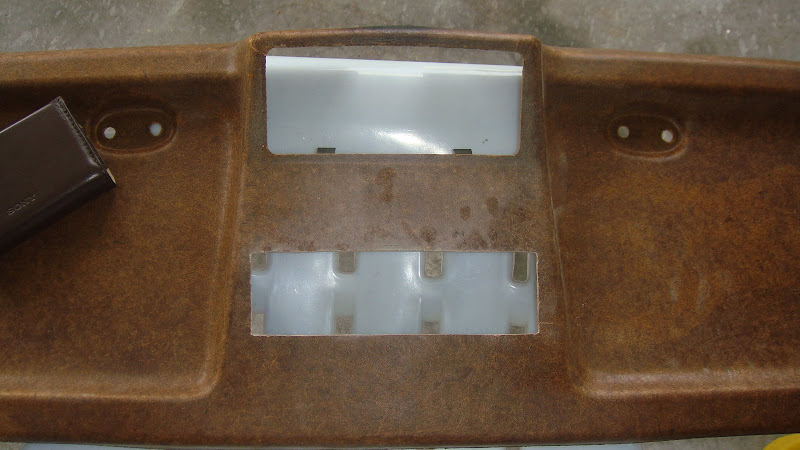
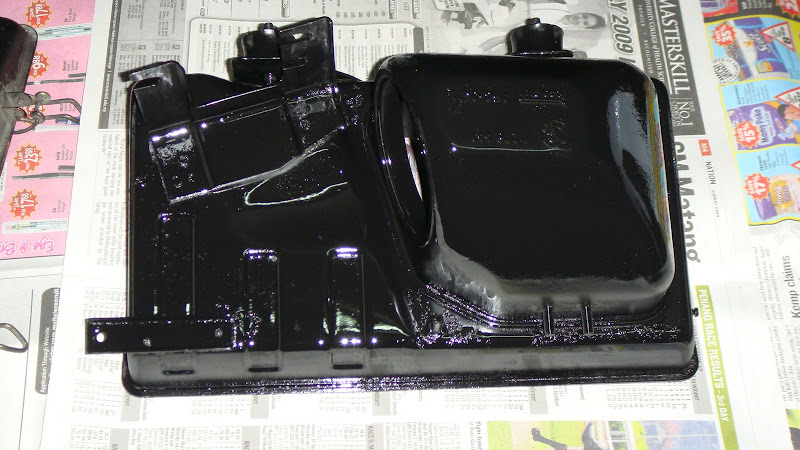
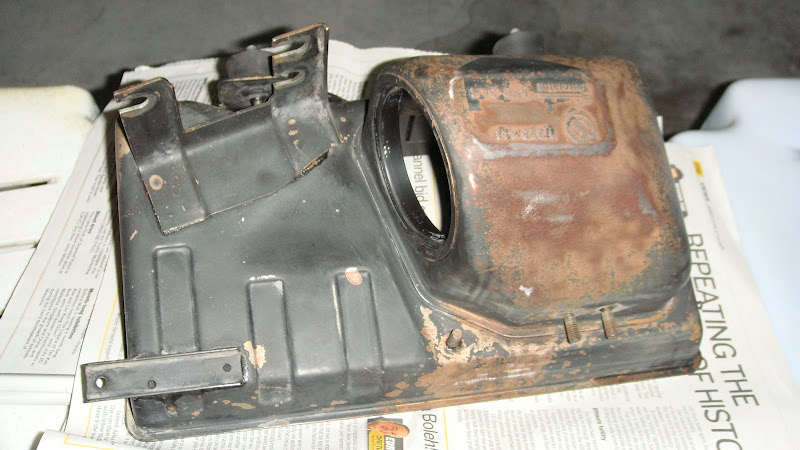 Sorry again... But this was when i already spray the 1st coating...
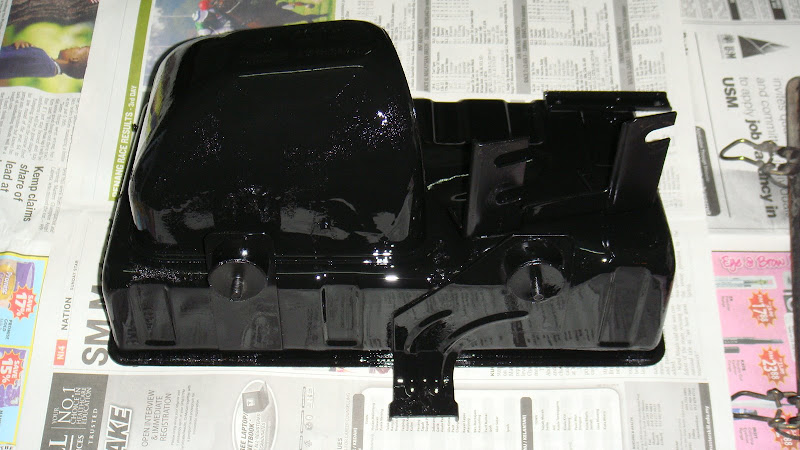
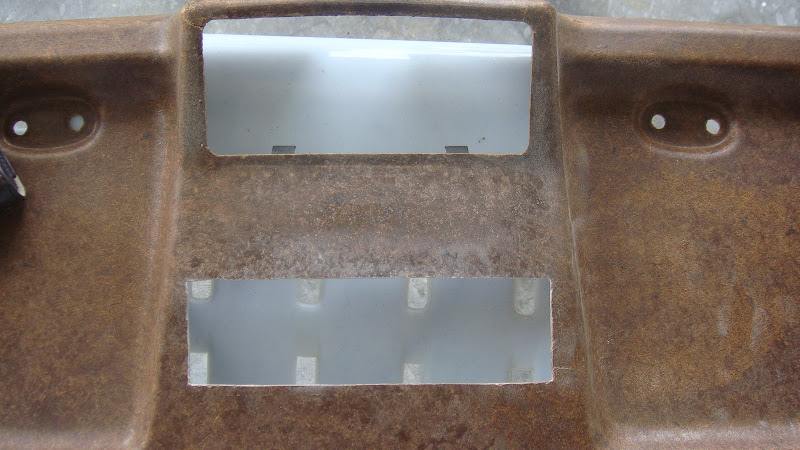
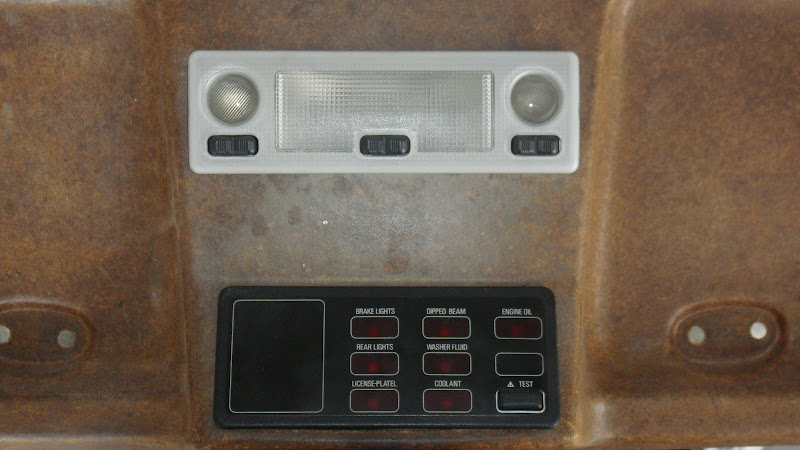
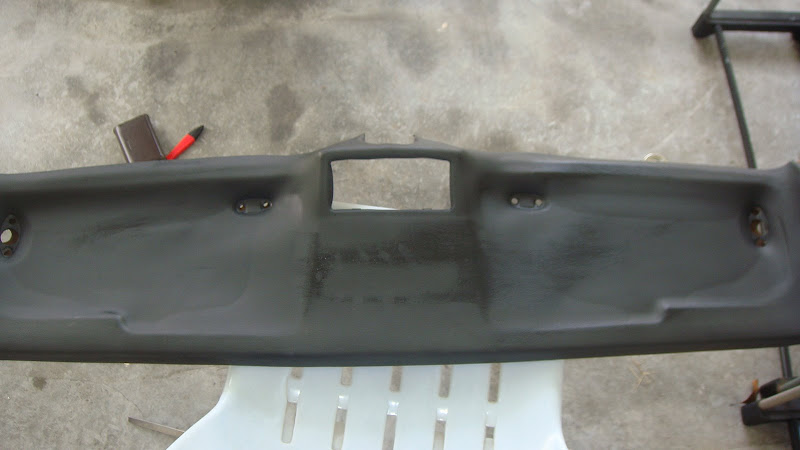
 This one is when after the 2nd coating was sprayed...My friend came by & help me take the pictures...But as you can see the top head has a more smoother look than the base... It's cause i did not spray the 2nd coating yet on the base...
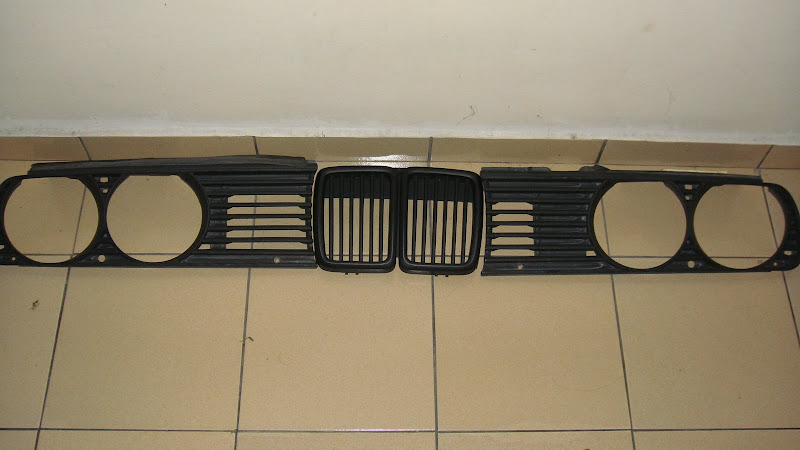
 * Now On With Repainting The GrillsThis is my grills after taken out from the car....
 This was how bad was the Grills...http://lh3.ggpht.com/_TNb7GHpzyLQ/SsS0cMu2O9I/AAAAAAAAA9o/QncaS_tnOpo/s800/DSC02484.JPGThis is real carbon grills... Which was one of the 1st thing i change when i 1st got my E30...I still remember that time i saw it online @ BMWCM & the person who was selling it is Nik @ Nik Surano... Thanks Again Nik...http://lh5.ggpht.com/_TNb7GHpzyLQ/SsS0fcAL39I/AAAAAAAAA9w/JvdVWJoKqiw/s800/DSC02490.JPGActually...Before I paint them.. I kinda wash them 1st to remove what ever dust & then sand paper the top of the grills & the inside...Sand papering the inside of the grils is not easy by the way...http://lh3.ggpht.com/_TNb7GHpzyLQ/SsS0nIqeCeI/AAAAAAAAA-E/EHxeN9wd6-M/s800/DSC02494.JPGAfter Cleaning Them...(Sorry I did not have pictures of me Sand papering it...)http://lh6.ggpht.com/_TNb7GHpzyLQ/SsS0pZfQOtI/AAAAAAAAA-I/s5aCf74Ak4U/s800/DSC02495.JPG1st Layer is sprayed on...http://lh3.ggpht.com/_TNb7GHpzyLQ/SsS0s9wjloI/AAAAAAAAA-M/Bduaq8e8HrM/s800/DSC02496.JPGhttp://lh3.ggpht.com/_TNb7GHpzyLQ/SsS0w1x3_hI/AAAAAAAAA-Q/E1eLjo3ogFI/s800/DSC02497.JPGI even painted the Bolts & Clips Together To Match the Grills...http://lh5.ggpht.com/_TNb7GHpzyLQ/SsS09EsMh2I/AAAAAAAAA-c/Blhu3Hqk8Og/s800/DSC02500.JPGSorry about the lack of pictures...Luck was not on my side that time...cause it was about to rain...So i rush to spray the 2nd & 3rd coating...Plus i did not have time to take picture...But this one is after the 3rd coating & it was wet...http://lh4.ggpht.com/_TNb7GHpzyLQ/SsS0_c1uGvI/AAAAAAAAA-g/DZH0vsh-GVg/s800/DSC02501.JPGRain.... :xhttp://lh5.ggpht.com/_TNb7GHpzyLQ/SsS1DaZHKwI/AAAAAAAAA-k/V9fJ1wcUHfk/s800/DSC02502.JPGRain Stop.... :lol:http://lh5.ggpht.com/_TNb7GHpzyLQ/SsS1HNpY05I/AAAAAAAAA-o/VWpr7rnpcNE/s800/DSC02503.JPGSo after reinstalling it back & drying it after the rain...This is how it looks like now....http://lh3.ggpht.com/_TNb7GHpzyLQ/SsS1MKZefcI/AAAAAAAAA-0/2g-2XlEbEIU/s800/DSC02591.JPGCloser Look...http://lh3.ggpht.com/_TNb7GHpzyLQ/SsS1PSrF9iI/AAAAAAAAA-4/k92iem5reAI/s800/DSC02592.JPGThis was how it looks @ night...http://lh6.ggpht.com/_TNb7GHpzyLQ/SsS1Ju_rsFI/AAAAAAAAA-w/aXk3CdVTDwM/s800/DSC02590.JPGWell That's about it....I've done a lot of DIY actually....but I have not even yet uploaded my photos into my computer..I'll try to post it as soon as possible...Thanks for viewing... & All The Best.....Cheers....
")