Da Mean Green Sewing Machine

  • Click here to become an Official Member of BMW Club Malaysia Download Form
Raja_Mongkut;767249 said:
Haha yeap but shipping is gonna KILL me lolz!

Okay... I did a couple of case mods for you before, that was aeons ago so you prolly don't remember lolz!

Shipping for small items is actually quite reasonable, plus it saves you time and effort hunting around at chop shops.

You're gonna have to just tell me, cause yeah, I have no recollection whatsoever hahaha.
 
Finally gotabout to replacing that damned air slide valve
View attachment 26280

Old vs the not-so-old
View attachment 26281

Removed air filter and throttle body to gain slightly more access to that damned part. finally replaced after 1 hour of wrestling in the dark - wrench in one hand, torch in the other. After reconnecting everything and triple checking all vacuum hose, started her up.

Choke, gasp and gargle, she dies after 2.4 seconds. Panic ensues. check vacuum lines and connections again. same scenario happens.

Then i notice this:
View attachment 26282

A crack all around the brake booster non-return valve. The part looked like it was gonna crumble apart anyway, and while fumbling in the engine bay i must've bumped into it on couple occasions, hence cracking the top. Nothing a lil epoxy can't seal. Mix up a solution and apply generously around the long crack. 1 hr later started it up, still hesitated abit so i mixed up another batch of epoxy and added a double layer. Note that this was at 2AM.

Due to the previously faulty air slide valve, maximum air had been allowed in via that valve, and the idle screw on throttle body was turned all the way in to reduce the air intake. Now with a functioning air slide valve, more had to be introduced to prevent the engine from stalling. Adjust the idle to 900rpm. Perfect. Previously it was running at 1.2k rpm. Great, i deserve some rest.

Drove it to work this morning, epoxy seems to be holding fine, but i'd like to get it replaced anyhow. A project for another day yet again...
 
Brake Booster Non-Return Valve

It's been a while! Anyway, pretty much has been done, just a lack of updates. Let's see how much i remember.

A follow-up from the previous post on the non-return valve:

A trip to the halfcut shop yielded following bounty, which i duly reinforced with a layer of epoxy and coat of black paint. The old hose connected to the brake booster was also starting to look like a turkey's neck, so it was a welcome change.
View attachment 26671
 
Throttle Body removal and clean up, and wee bit of misfortune

This is where things started going downhill.

4 nuts and couple of hoses later, the throttle body slips right out. Of course, MAF and air box had to be removed.

Dirty Intake Manifold:
View attachment 26675

Dirty MAF:
View attachment 26676

Even Dirtier Throttle Body:
View attachment 26677

Source of the leak: A 6mm nipple not connected to anywhere. Later plugged with 6mm fuel hose and a bolt.
View attachment 26672

TPS soaked in engine blowby:
View attachment 26678

Scrub-scrub with diesel and worn toothbrush:
View attachment 26673

Looking more like a Throttle Body now:
View attachment 26679

Tragedy befalls! Apparently 30 years plastic connectors weren't diesel friendly, and virtually disintegrated while being soaked! Have a ghetto solution in mind but if anyone has a spare they don't need, please throw it my way :) (PS: I just need the broken part)
View attachment 26674
 
makeshift solution that has kept her alive for the past 1/2 yr: rafia string, wire and 2 wall plugs. Till i can find a replacement haha
View attachment 30499...

Centre console removed to ease removal of carpet
View attachment 30500

PS: I realise that my idling becomes a see-saw when temperature hits the middle mark. It doesn't die but just keeps going up and down, and my fan clutch doesn't kick in. Could it be a bad fan clutch?
 
Raja_Mongkut;766311 said:
Dang... It's gonna be a RM600 bullet. Kinda hard to fathom... I'll try sourcing from halfcuts...

Reinstalled rear door card today after putting the central locking together...

2moro morning will work on that jammed rear power window motor (and install my front 5.25" speakers as preparation for my HU install)

i can get for 250 used,if u want u can PM me.
 
rezzsya;830367 said:
i can get for 250 used,if u want u can PM me.
Hey bro, you mean the air slide valve? I already replaced it. On the third page u can see that i uploaded the photo of it already. Thanks anyway!
 
Eventful Weekend

Replaced front passenger side door latch from a donor door courtesy of a forumer. Bitch to get out and even harder to get back in.
View attachment 30835 View attachment 30836

Manual tranny lovers should know of these bling-bling yellow rings that make up part of the shift linkage. These tend to wear over time and attribute to sloppy shifting. 4 in total but only managed to replace 2 on the shifter. Need to remove propeller shaft to access the other two. Anyone removed the propeller shaft before? Was having a hard time with mine and gave up.
View attachment 30846

Gave the ol' carpet a got cleaning and beating. Removed all insulation under it as well.
View attachment 30837

Painted the Wiper washer bottle black. Looks much better compared to the white paint job of the previous owner.

View attachment 30847 View attachment 30850 View attachment 30851

Some rust on the rear floor pan. Welder did a shoddy job on the circle cutout so I made it look better by tracing out a template with paper and applying some elbow grease with a file.
View attachment 30839 View attachment 30841 View attachment 30842 View attachment 30843 View attachment 30844

Removed tar backing with a scraper and cleaned up with thinner
View attachment 30840 View attachment 30845

Cleaned up these round covers with scraper and wire brush attachment
View attachment 30838

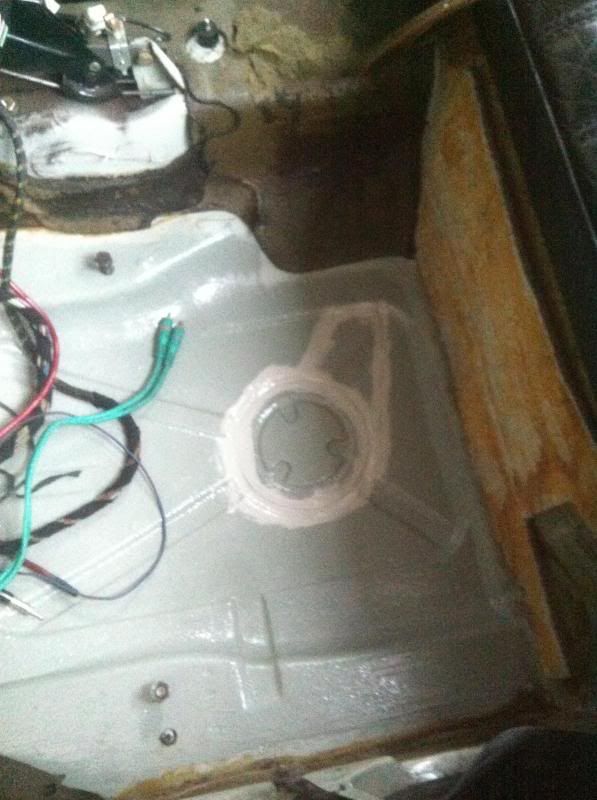
Last but not least, prepped and painted passenger floor pan to receive a layer of mastic paint; getting high on paint fumes along the way. A gargantuan task indeed.
View attachment 30848

Before:
View attachment 30849

After:
View attachment 30852 View attachment 30853
 
evilnickwong;832382 said:
Good to see you're keeping up with the DIY. :D Btw, those yellow rings didn't do much diff for me. I fixed my shift slop previously by replacing parts 2, 4, 7 and 14: http://bmwfans.info/parts/catalog/E...1991/browse/gearshift/gearbox_shifting_parts/
Haha thanks! Yeah the yellow rings don't help much, but the shift linkage was wobbling like mad coz there was only 1 yellow ring. After adding 2 brass rings it drastically reduced the wobble. My E30 is pre-86 so it comes with the sheet metal shifter as seen here: http://www.realoem.com/bmw/diagrams/l/t/7.png

Will be a Z4 2.5 shifter going in, along with refreshing other rubber parts so that should spruce up the shifter quite abit.
 
Ah, I guess it's parts 1,7,16 for you then. :p Hmm funny. I've also got a Z4 2.5 lever in mine hahaha. It's nice without being notchy.
 
Reverse Switch Repair

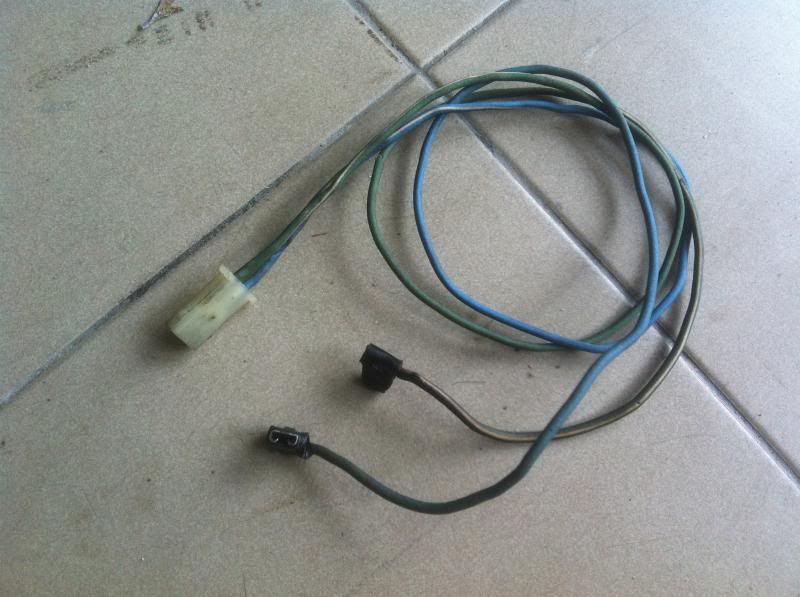
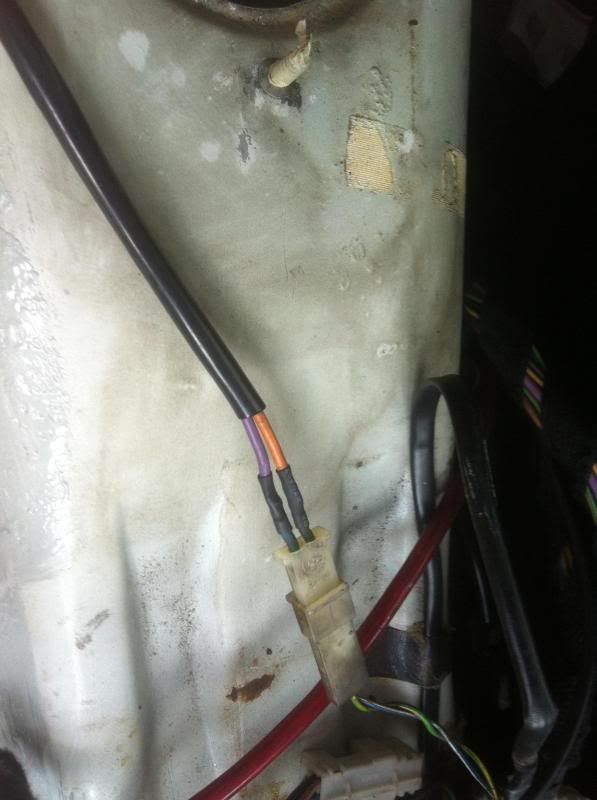
My reverse light hadn't been working since I acquired Greenie a year ago, PO mentioned the reverse switch was bust so I blindly took his word for it. Replaced the switch, and it still didn't work so I moved on to the fusebox and found a busted 15A fuse. Replaced the fuse and tried again, no luck except another broken fuse. Something was shorting somewhere so I didn't pursue further.

When i removed my shifter plate to install my DSSR linked here, thought of removing the reverse switch cable to check it out. The cable itself had seen better days, and the shielding had become brittle so I thought I'd replace the cable.


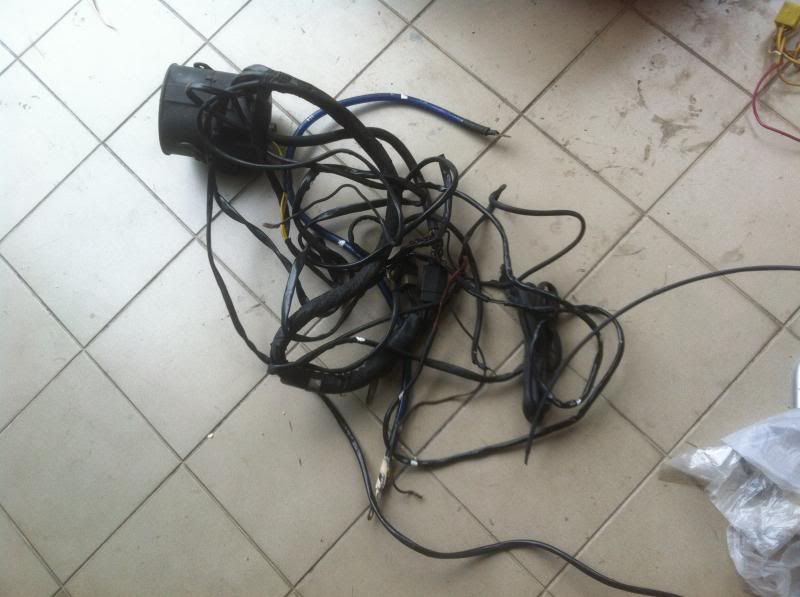
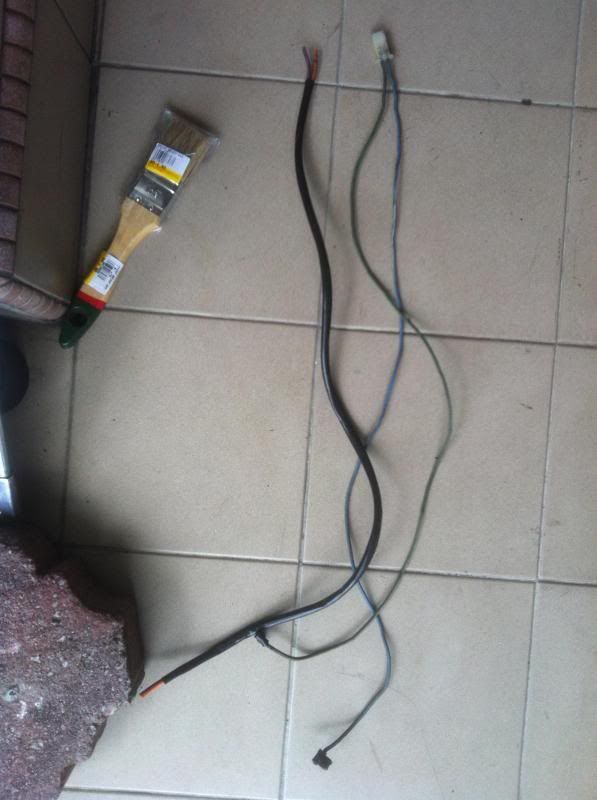
Sourced the wiring from an broken alarm harness removed from Greenie and cut it down to size.


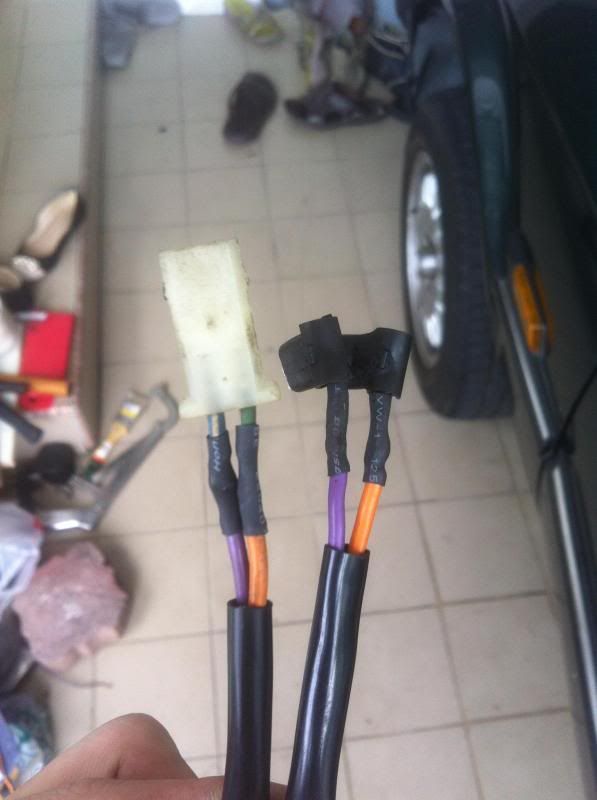
Here it is soldered and crimped


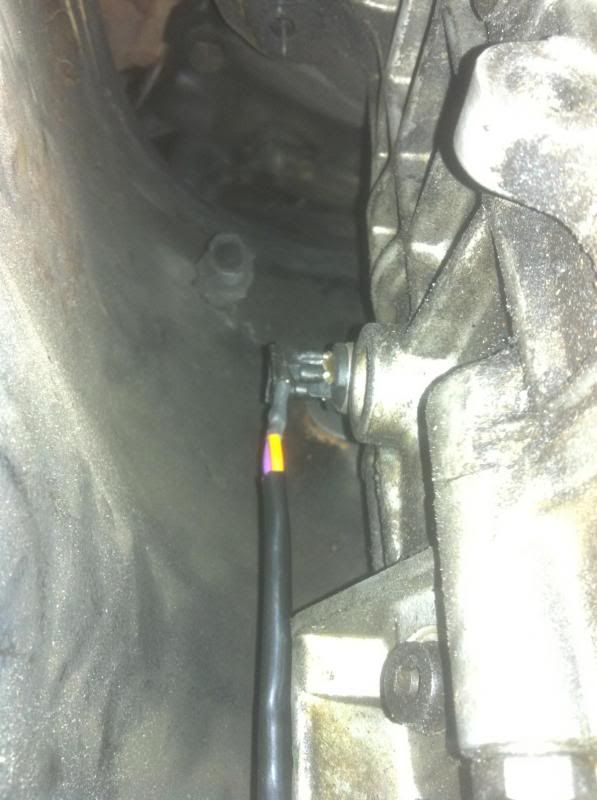
Reinstalled


Reattached the other end to the transmission and installed new fuse


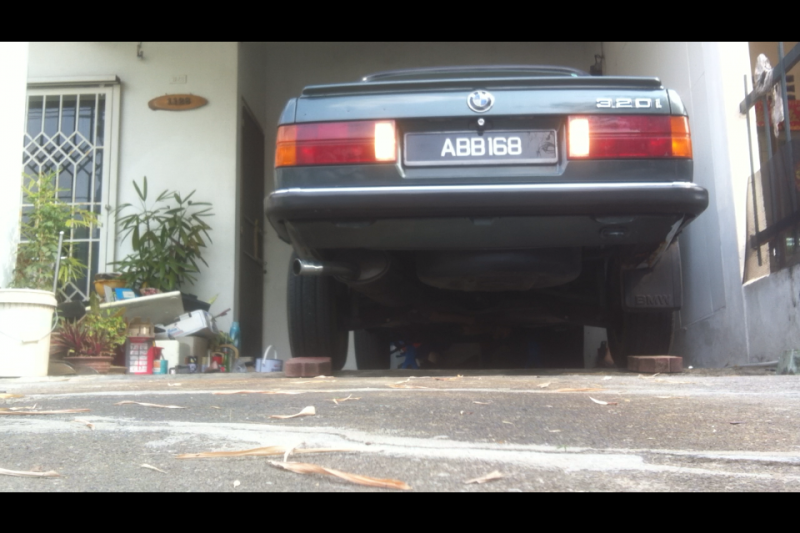
Great Success!
 
Turn Signal & Seam Sealing

Note: Sorry for the blurry pics, they looked fine on the phone and I was weak from battling a dengue fever last week.

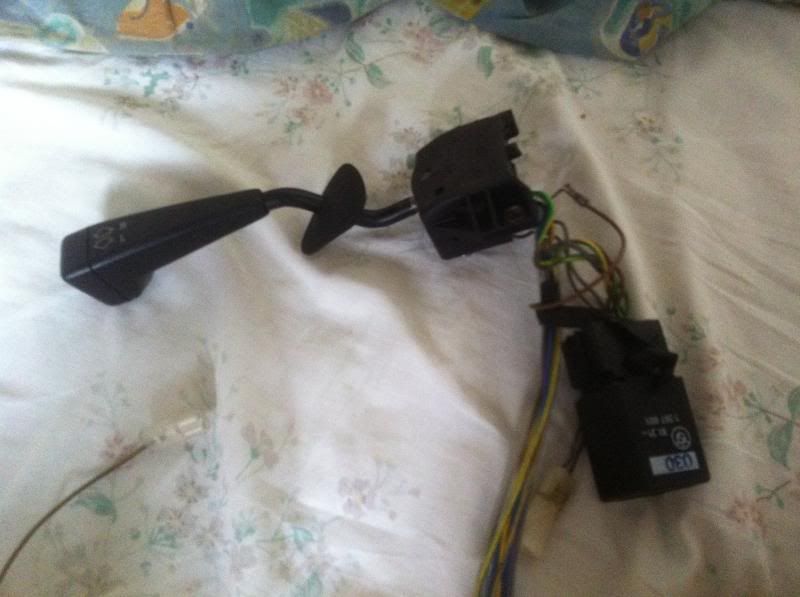
Something arrived in the mail


Unpacking it revealed the following


Installed it and it workkssss againnn~!

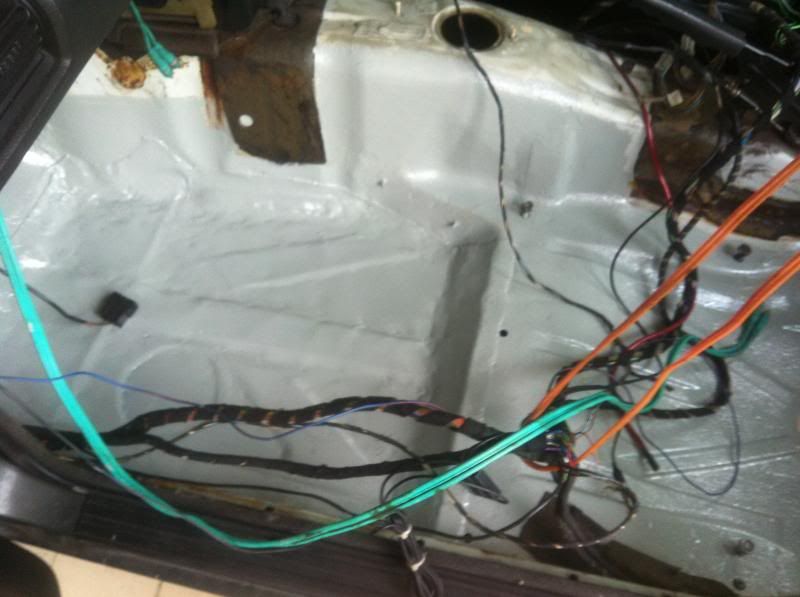
I also seam sealed the undercarriage after coating it in mastic paint. How it looked before:


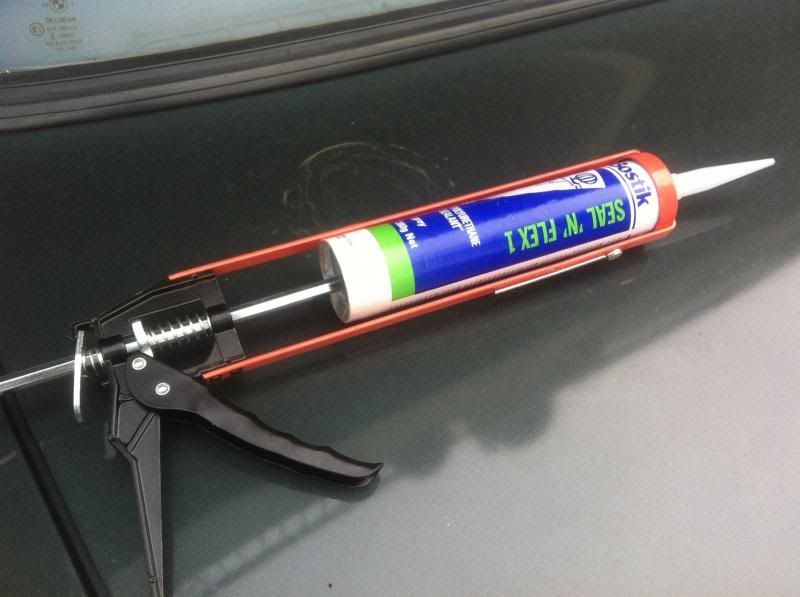
This was the seam sealer used, Bostik Seal n Flex:


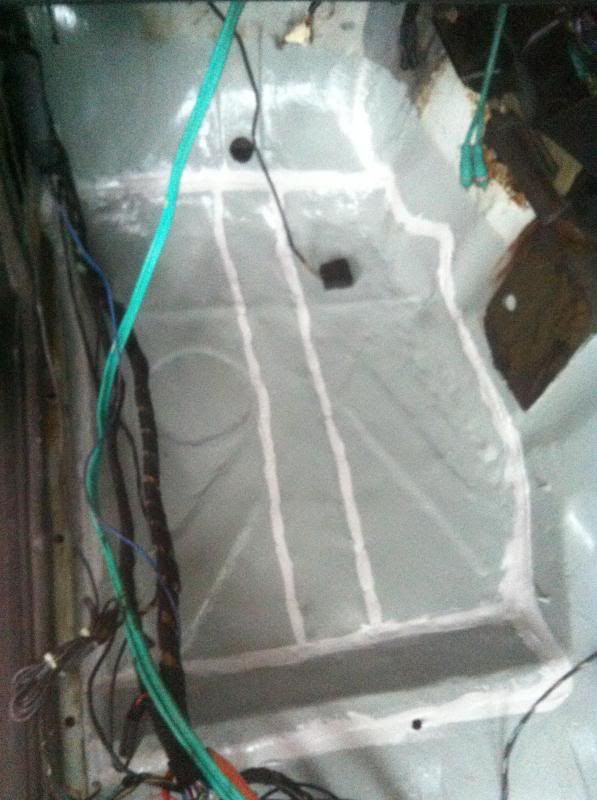
How it looks all sealed up. Didn't take pics of the undercarriage as the fumes were getting me super high.


Dashboard removal and moar rust!

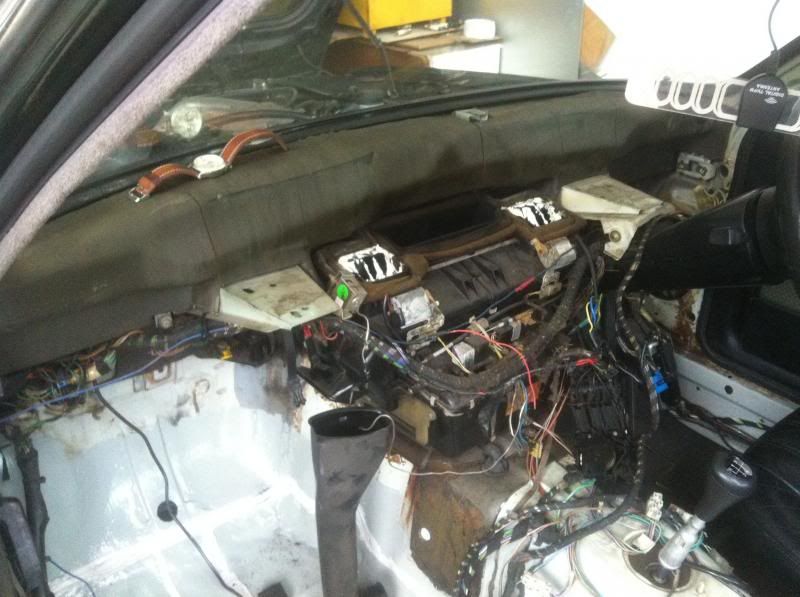
Finally mustered up the courage to pull my dash today. Plenty of tutorials online to guide the way so i didn't screw it up.

Since most of the stuff was already out of the way, it took me a meager 2 hours to remove the dash.


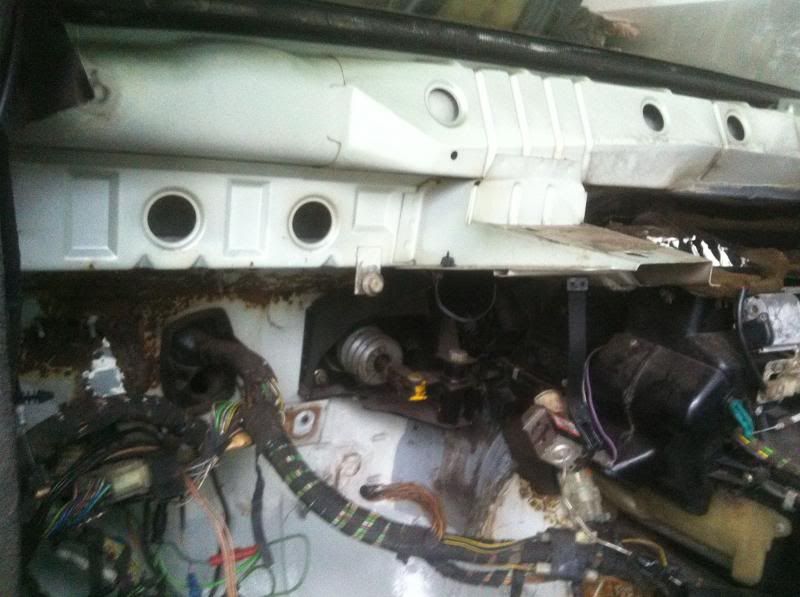
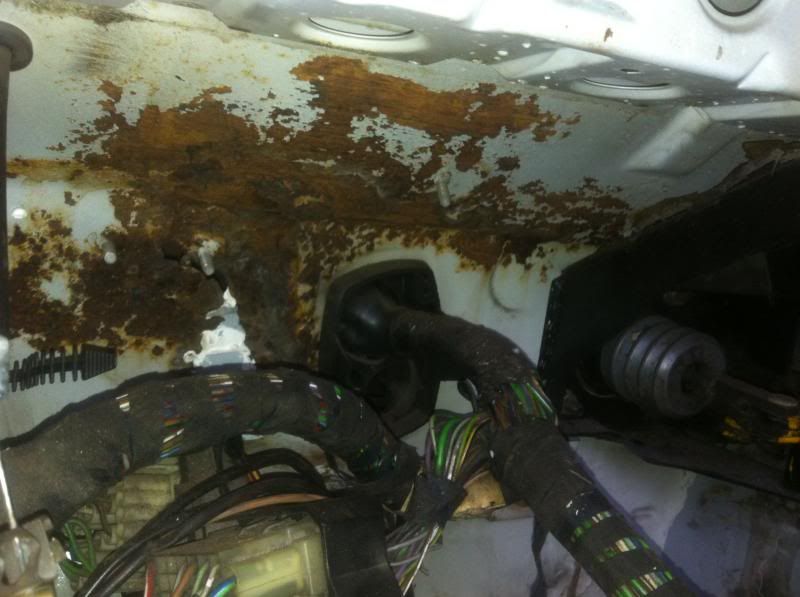
And the reason for this arduous task, RRRRUSTT~!! See if you can spot it.


Close up of the cancer. Happy times.
 
Top Bottom